Preface
MidjourneyIt is the most popular AIGC head tool. This tool needs to be paid every month to use. It has powerful functions and good user experience (after all, the money is not spent in vain). For novices, how to understand the "settings panel" is a prerequisite for use. With the update and iteration of Midjourney, the "settings panel" has also undergone some changes. This article will take you to systematically understand the "/settings" setting command.
How to call out the settings panel
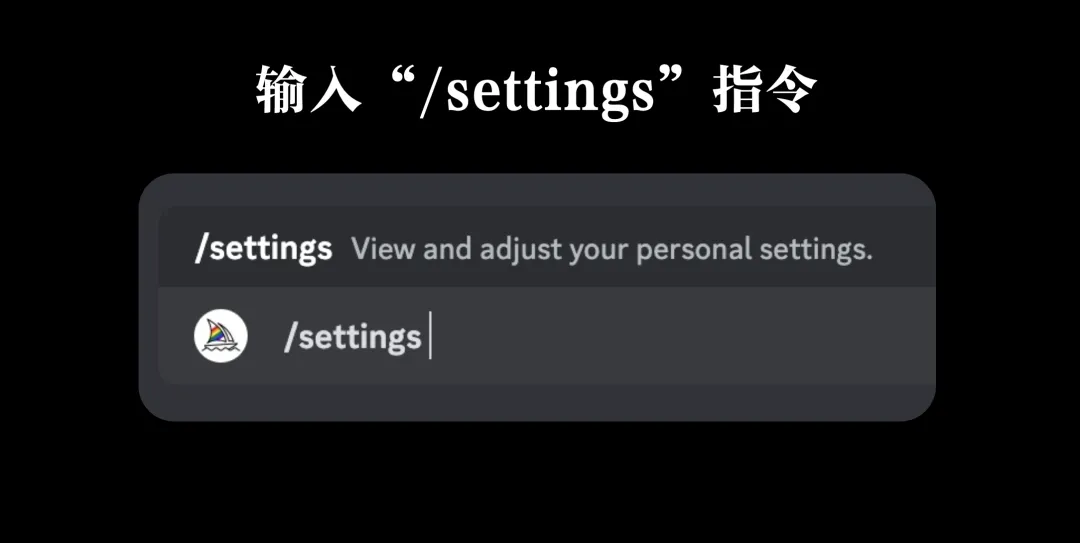
In the Discord input box, enter "/settings" and press Enter to send.
Midjourney will return to the Settings Panel.
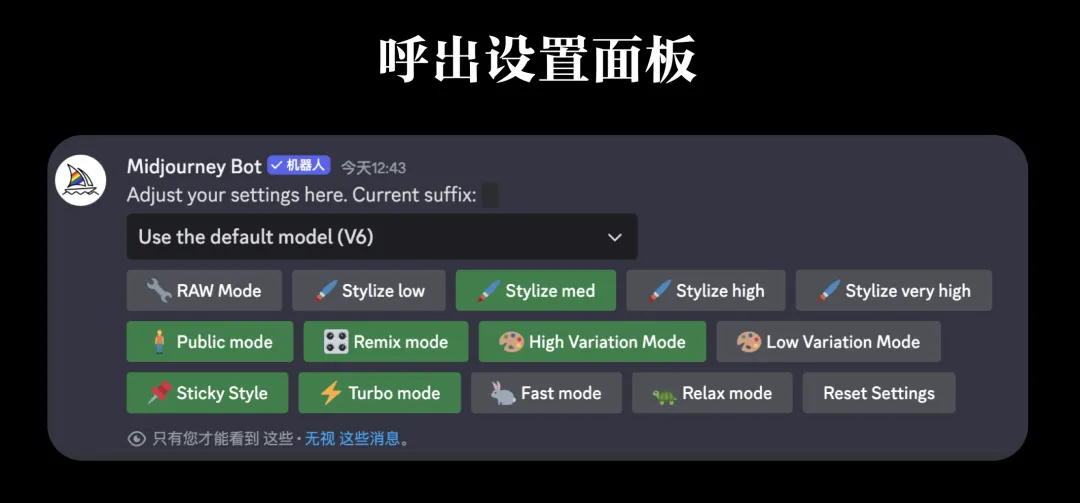
There seems to be a lot of content in the settings panel. We can simply divide them into two categories: the changing part and the fixed part. Among them, the changing part refers to the content related to the "output mode".
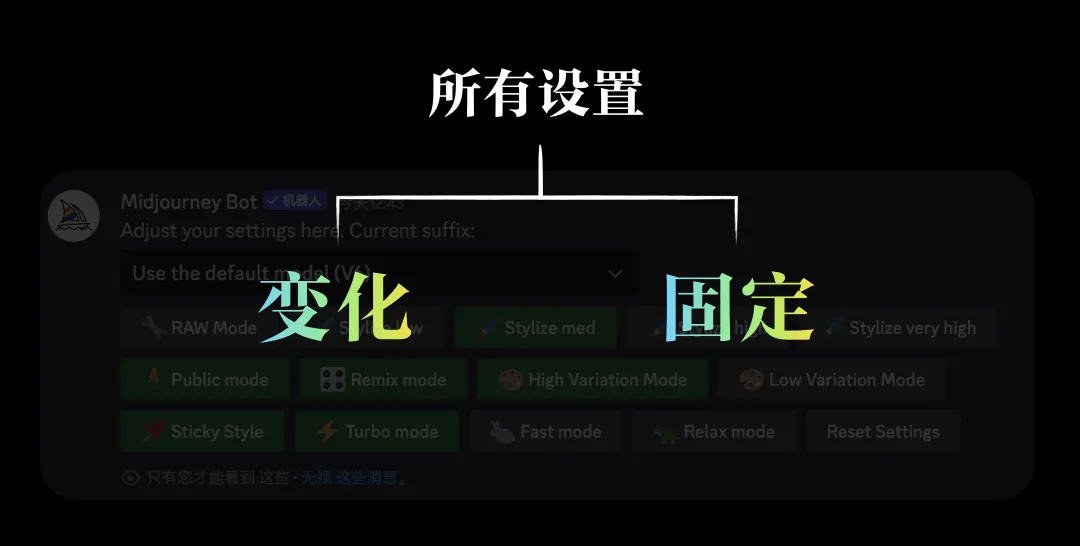
Click the drop-down box to select a different output mode
At the top of the settings panel, there is a drop-down box. Click this drop-down box to see all current output modes.
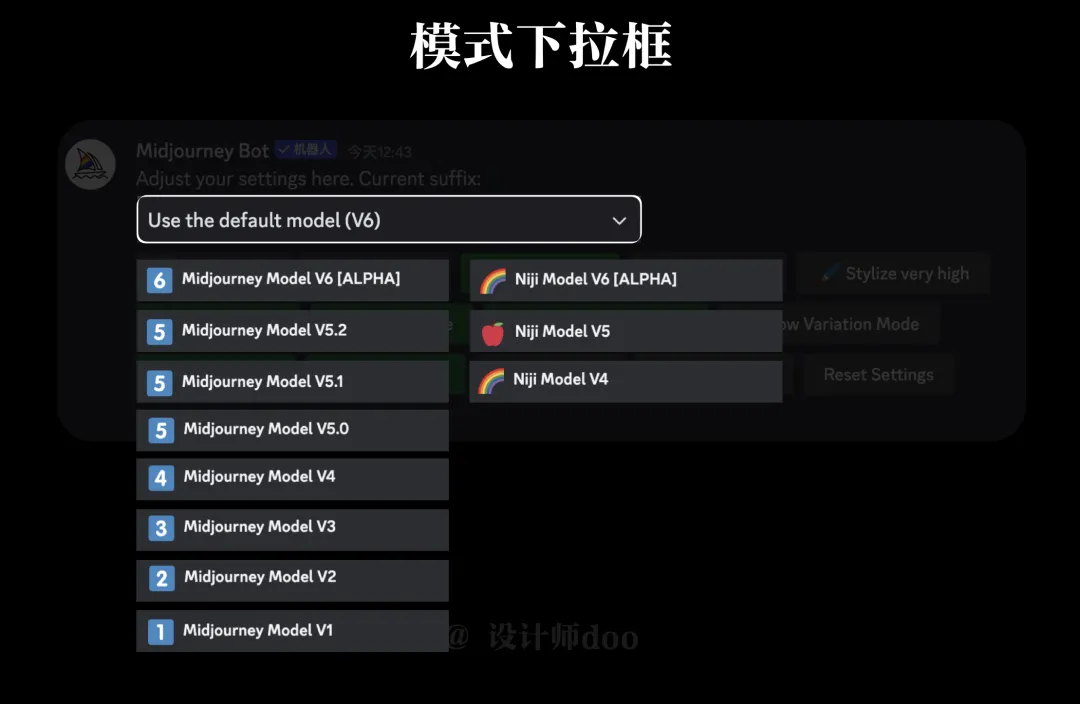
The output modes can be divided into two categories: the realistic-style V series and the anime-style niji series.
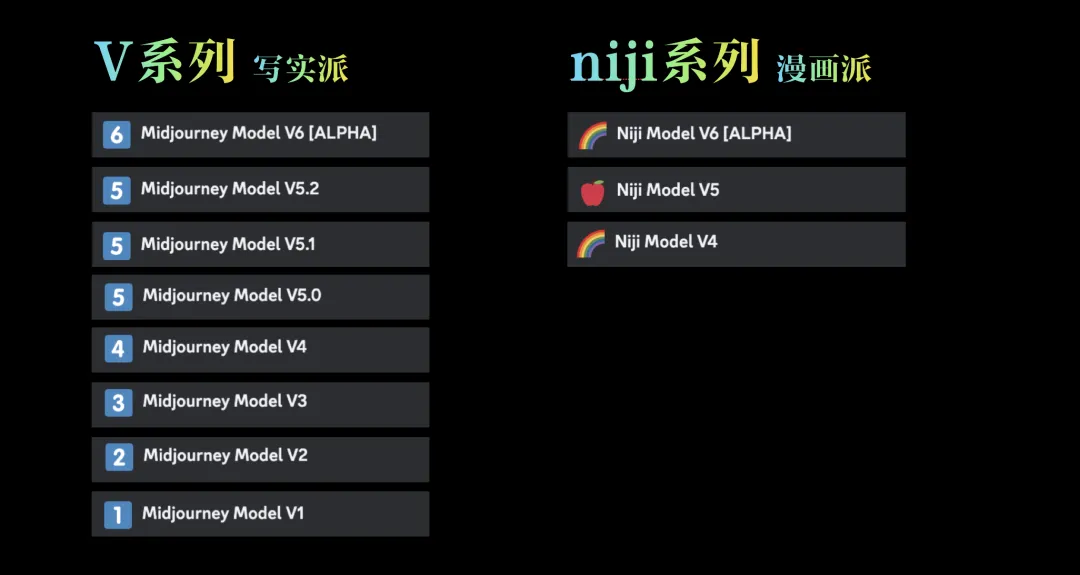
V Series
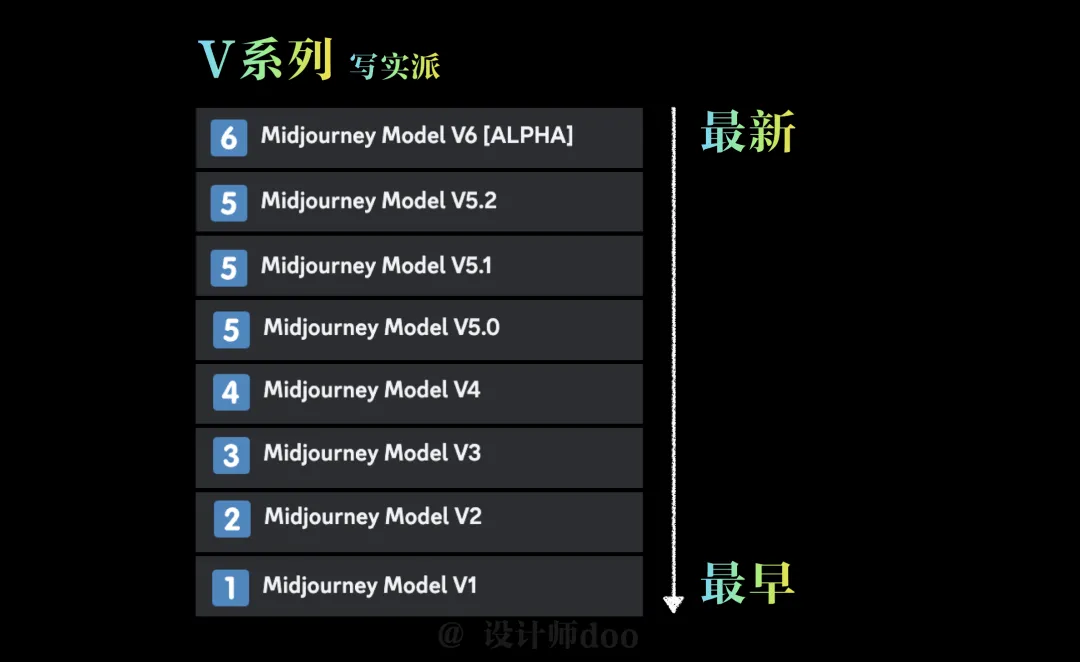
Let's first look at the output modes under the V series. The latest mode is V6. The larger the number, the newer the mode.
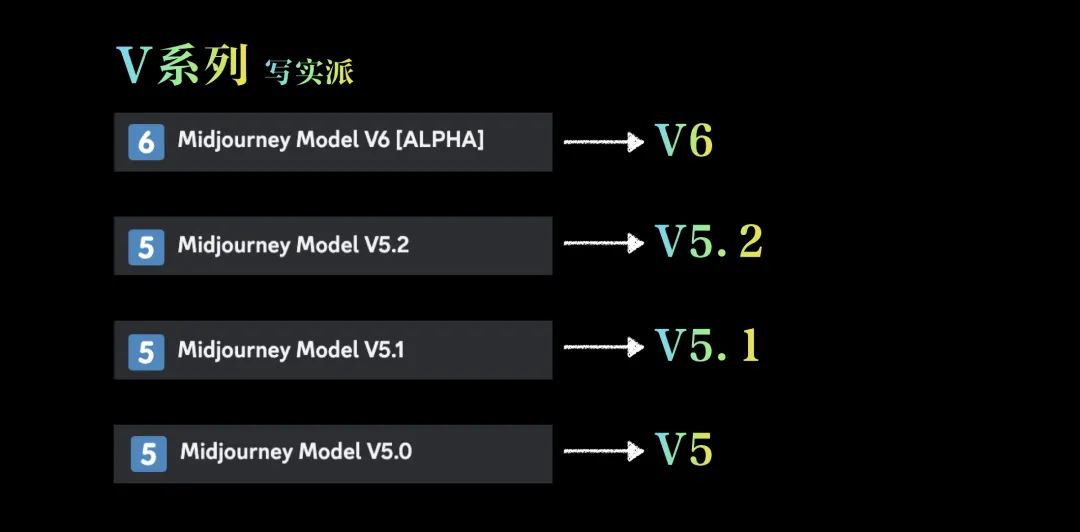
Let’s focus on the latest four V series modes: V6, V5.2, V5.2 and V5.
The texture of the picture is slightly different
Different output modes have different picture textures. In summary, the newer the version, the more realistic and lifelike the picture. The following example is a photo of a pelican (close-up face, Vibrantly surreal avian fashion photography, pelican). As you can see, V6 is theoretically the best in terms of realism. But from the naked eye, starting from V5, the picture's fineness has almost reached the photography level.
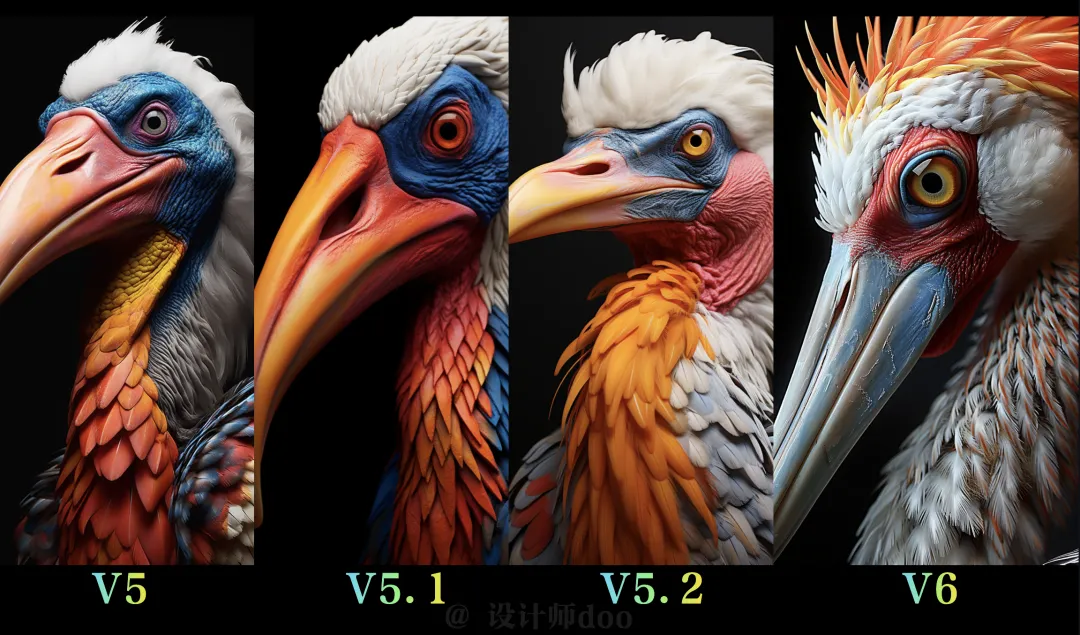
Prompt word understanding, different versions
In addition, different drawing modes have different understandings of the same prompt word. For example, the city illustrations mentioned in my course "Flat Illustrations" have very different results in different drawing modes. For example, the picture below is a description of a flat illustration on the theme of "Beijing". Different modes have different impressions of the concept of "Beijing". Because different modes are created by different training sets. Therefore, after we enter the prompt word, if the result is not to our liking, we can not rush to change the prompt, but try to change a few drawing modes to see the effect.
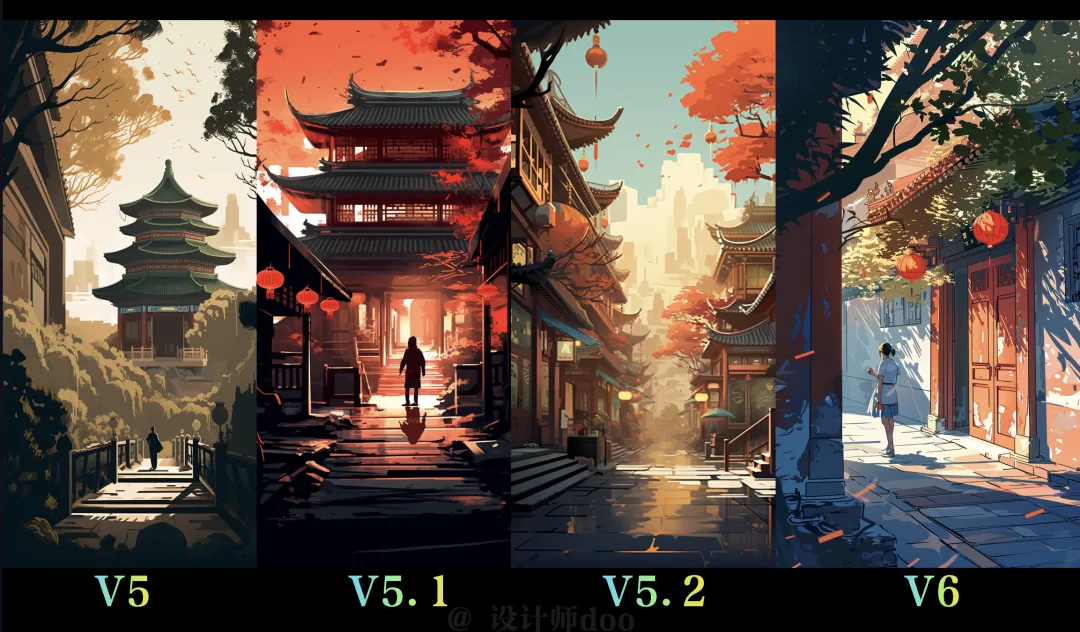
Raw Mode
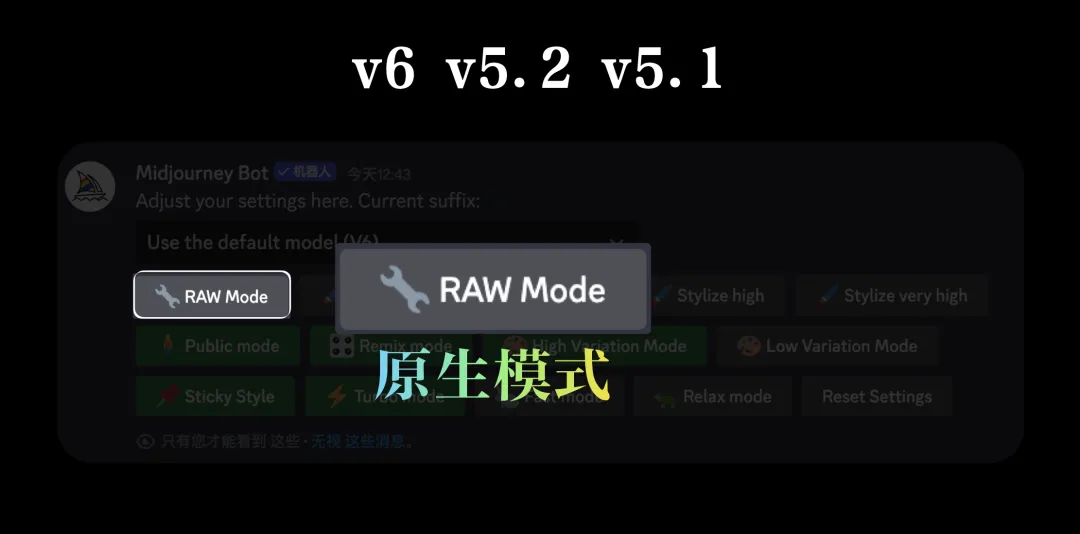
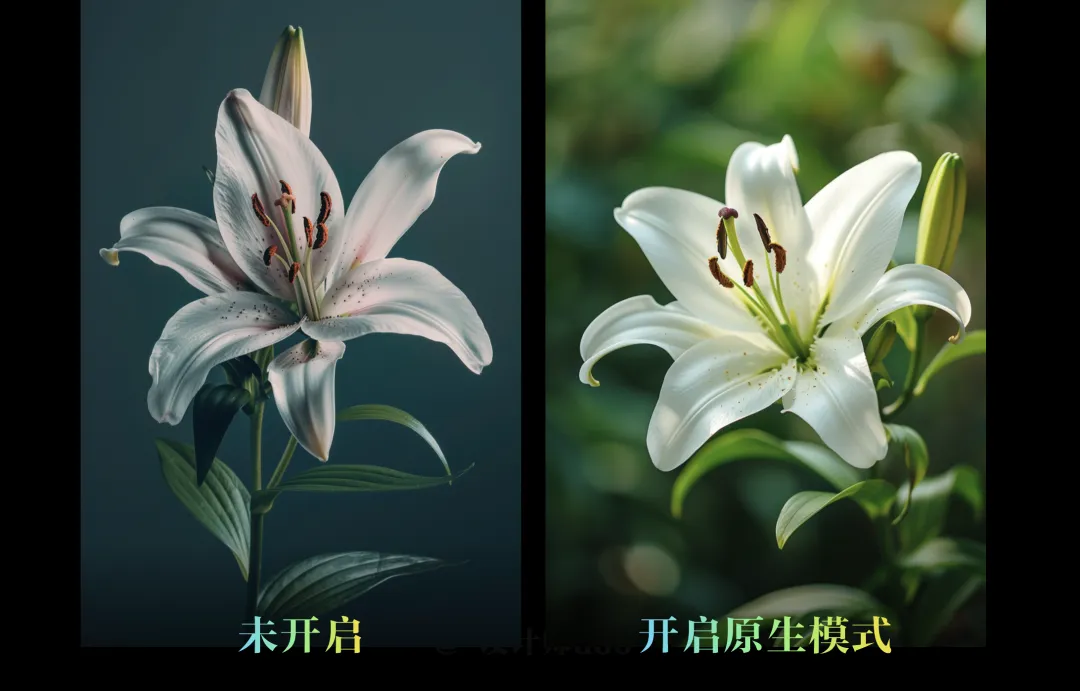
When we select v6, v5.2 or v5.1, the option "Raw Mode" will appear below. The so-called native mode refers to the realism of the picture, just like "camera Raw" in PS, similar to the effect of "original film straight out".
In the same V6 output mode, the left side shows the output result without "Raw Mode" turned on, and there is still some "filter feeling". The right side shows the effect after "Raw Mode" is turned on, and the picture is more realistic and natural.
Niji Mode
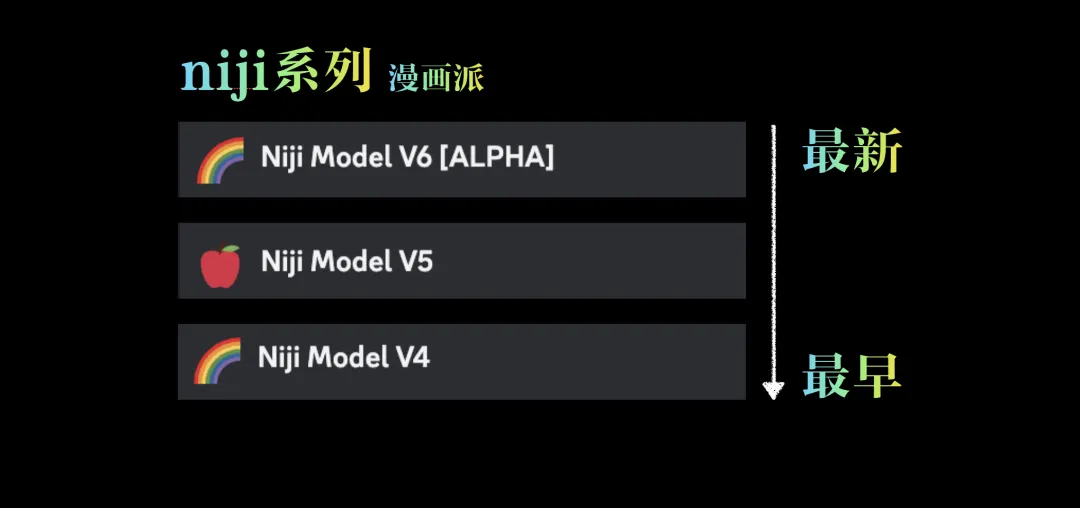
After reading the introduction of the V series, let's take a look at the Niji series, which is more suitable for anime style. The larger the number, the newer the version.
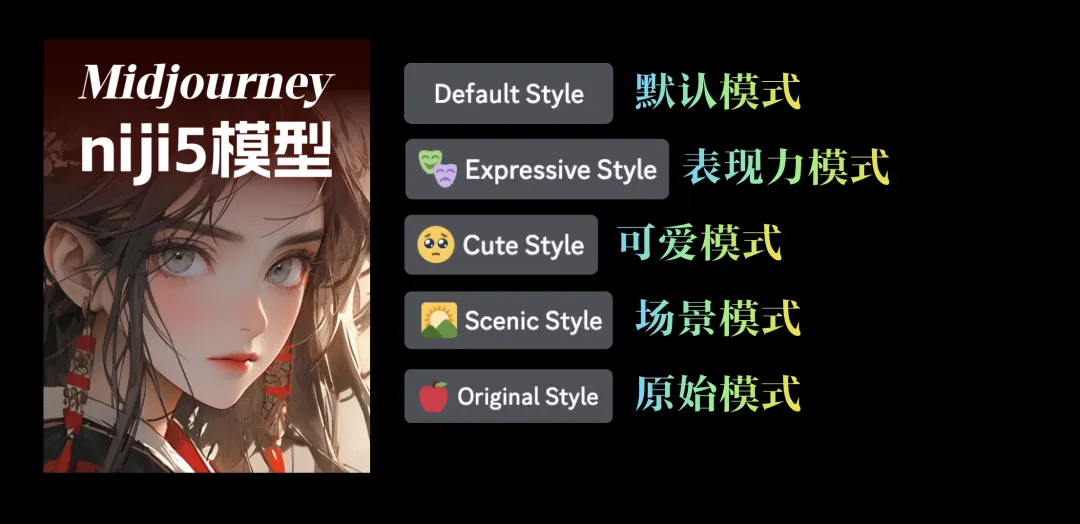
Niji5's 5 sub-modes
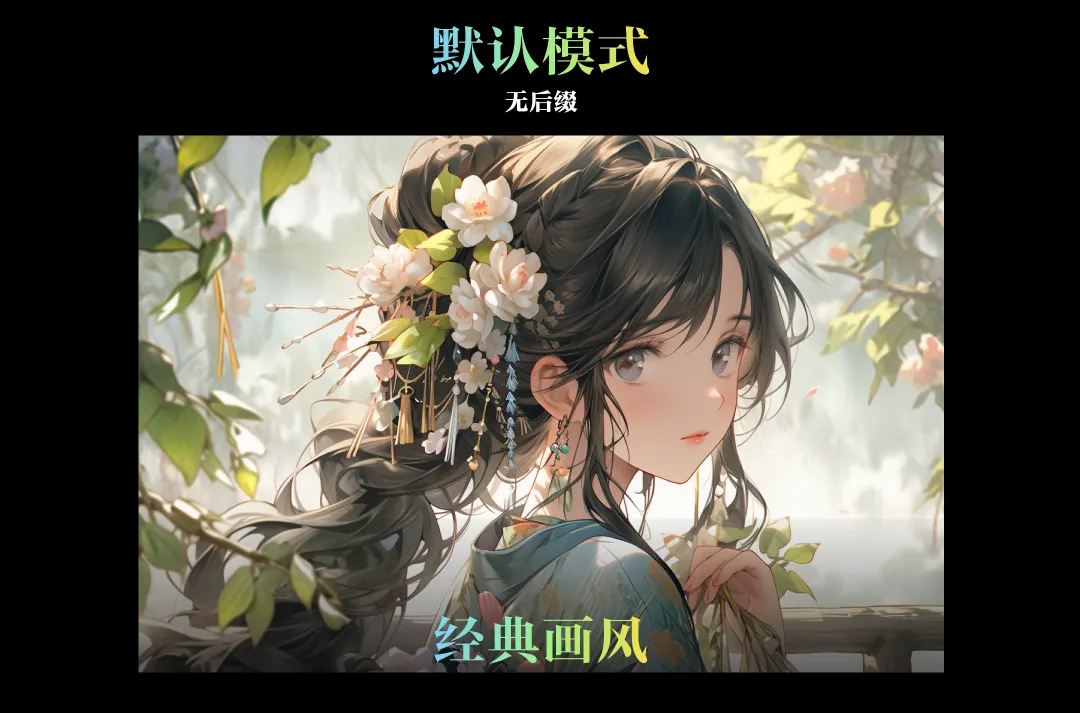
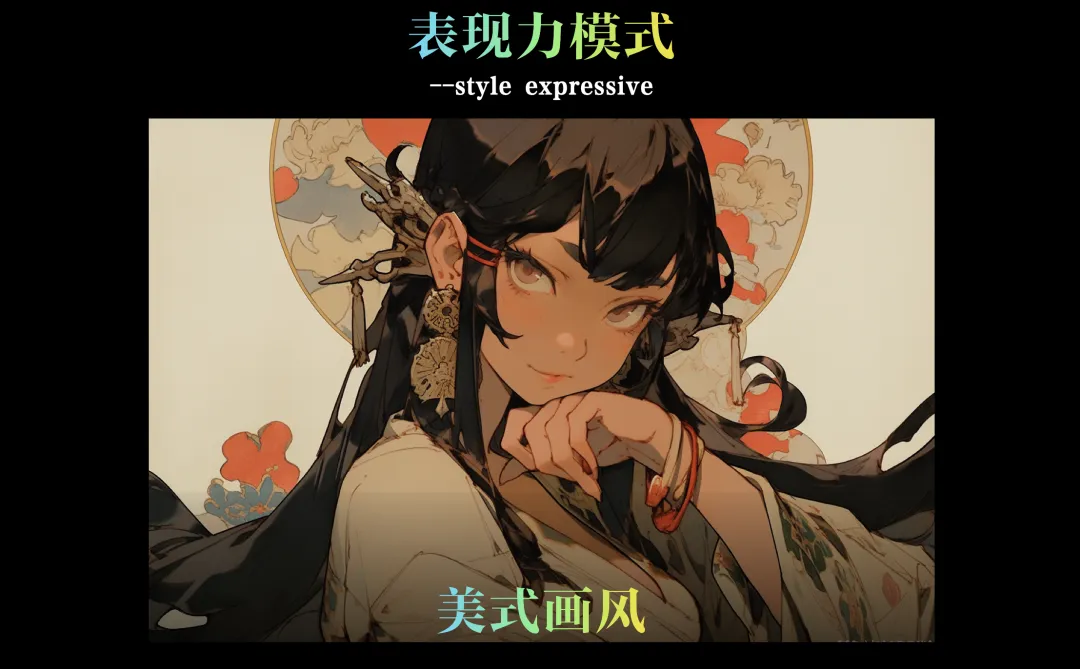
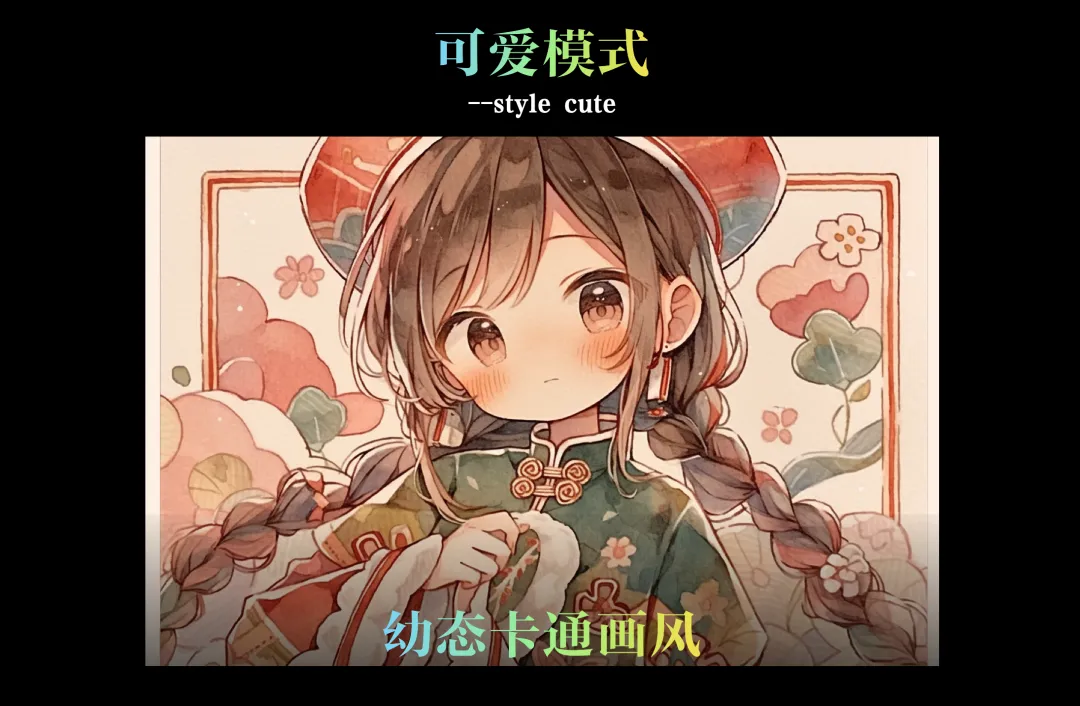
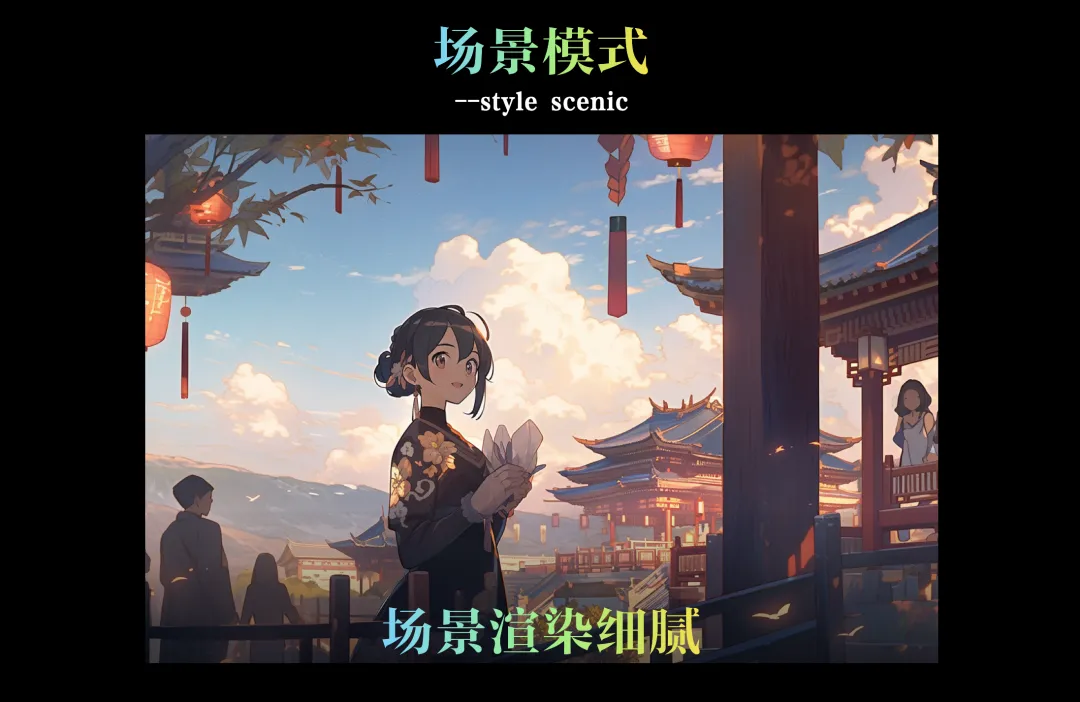
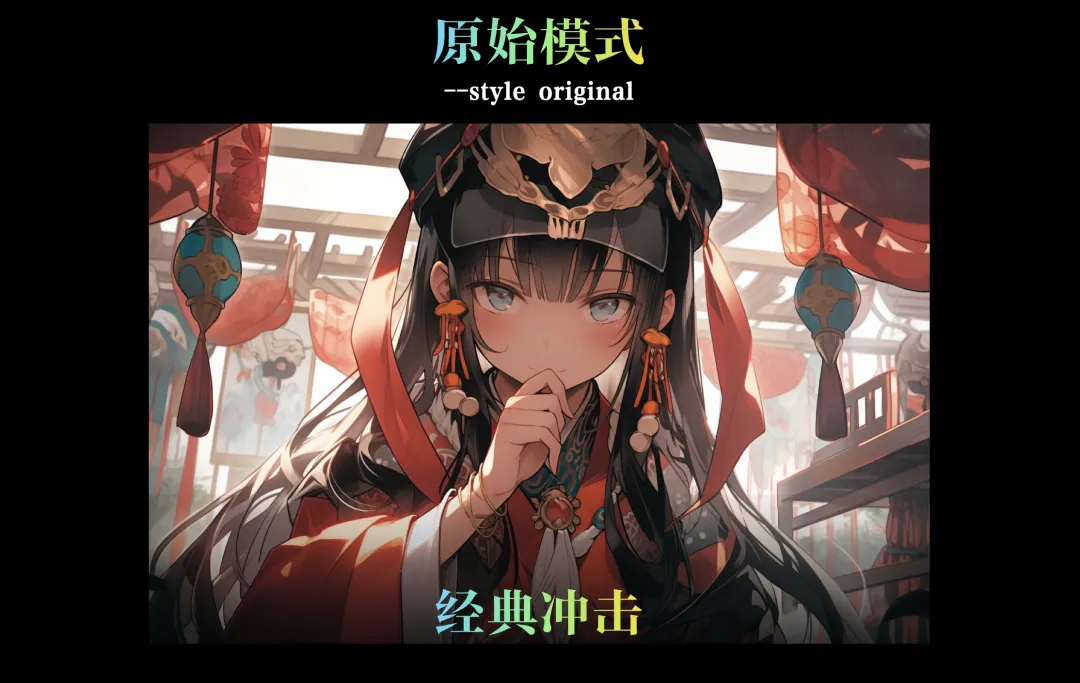
Different from other modes, Niji5 also has 5 sub-modes, namely classic mode, expressive mode, cute mode, scene mode and original mode.
Classic Mode: A comprehensive painting style based on the integration of countless anime picture data.
Expressive mode: The corresponding painting style is more American-style and has a stronger impact.
Cute mode: As the name suggests, the picture is more childish and cartoony.
Scene mode: more suitable for pictures with a high proportion of scenes, and is particularly delicate in rendering scene details.
Original Mode: The effect is similar to the first default mode, but with a stronger impact.
Next, let’s go through the remaining fixed parts of the settings panel.
Style Group
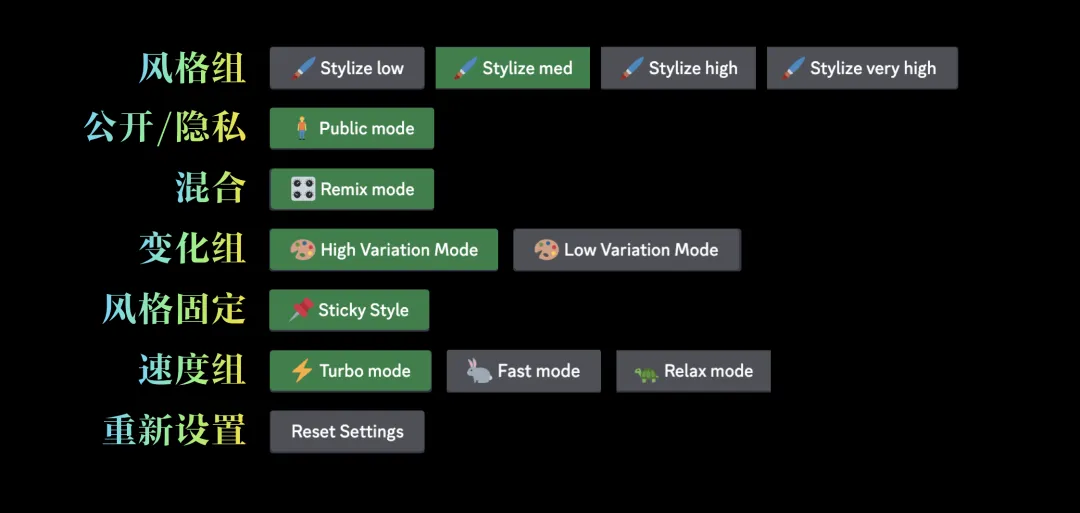
The first is the style group. This parameter is related to the inherent style or the degree of application of the filter. There are four options in the settings: low style, medium style, high style and ultra-high style. The greater the stylization, the heavier the filter feeling.
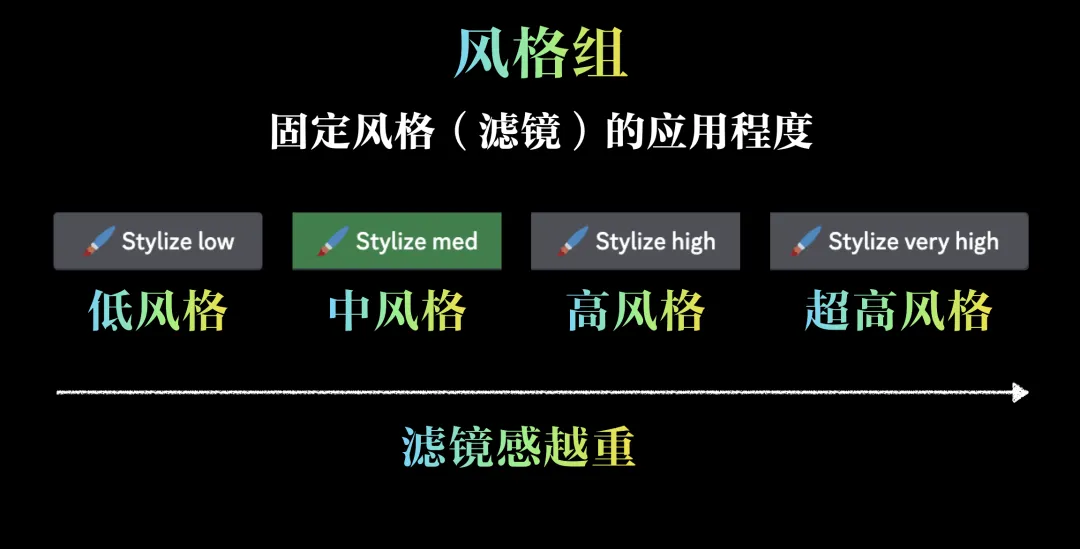
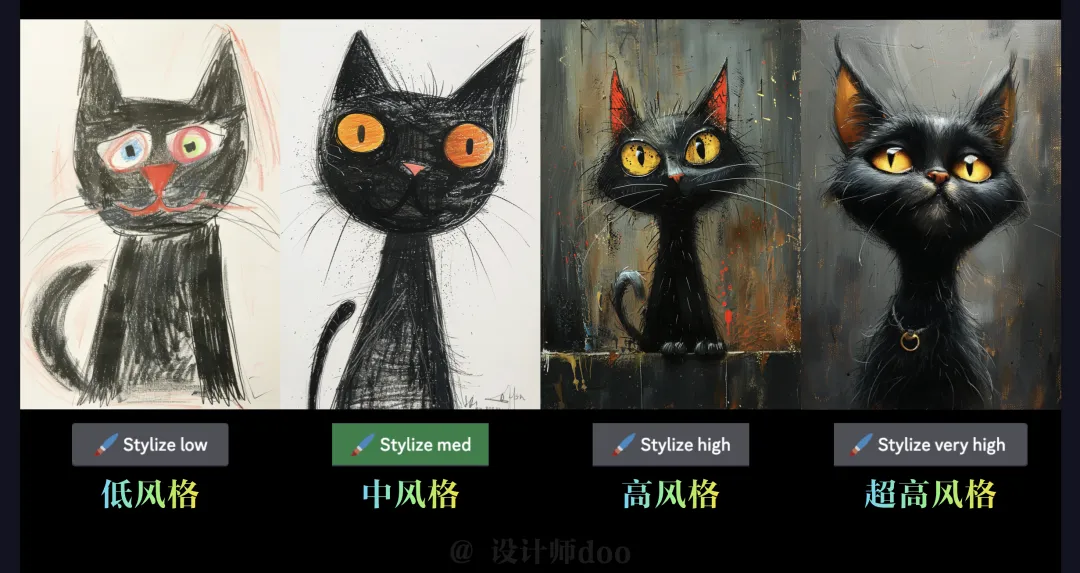
Let’s take “children’s drawings of cats” as an example. The higher the degree of stylization is set, the more the software intervenes, and the lower the relevance to the original prompt word. As the stylization continues to improve, the “aesthetic style” of the picture becomes heavier, and gradually deviates from the original prompt word “children’s drawings of cats”. Therefore, when we have a high requirement for the restoration of the prompt word, we can appropriately reduce the degree of stylization to avoid “over-beautification” of the picture.
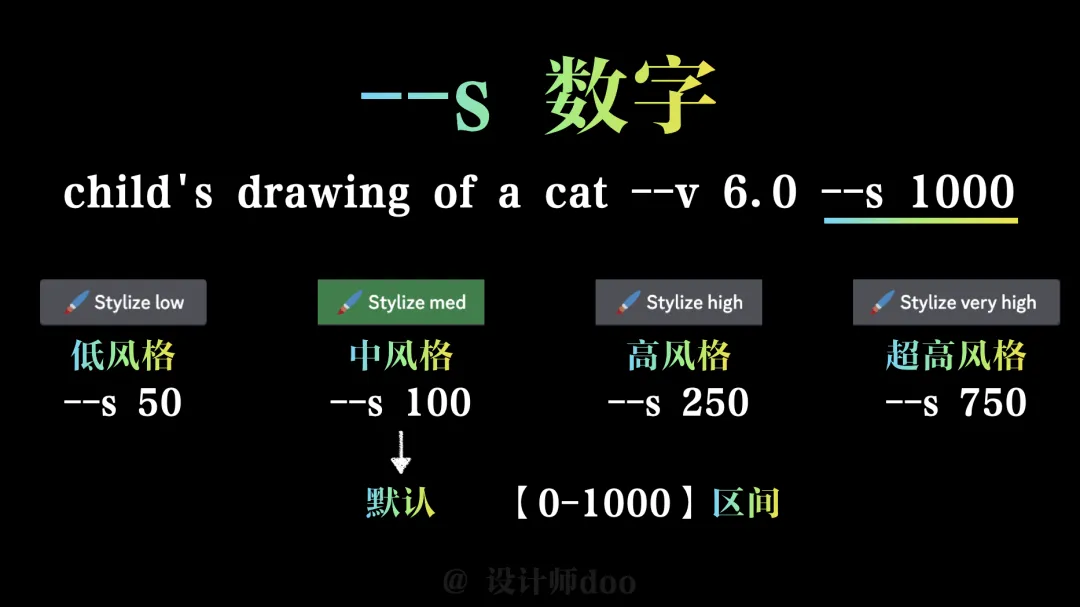
In addition to selecting in the settings, we can also manually enter the suffix (--s number) to control the degree of stylization. The stylized suffixes corresponding to the four options are:
Low style: --s 50; Medium style: --s 100; High style: --s 250; Ultra high style: --s 750
Among them, the medium style is the default option. The overall adjustable range is between [0-1000]. The larger the number, the higher the degree of stylization, and the smaller the number, the lower the degree of stylization.
Public and private modes
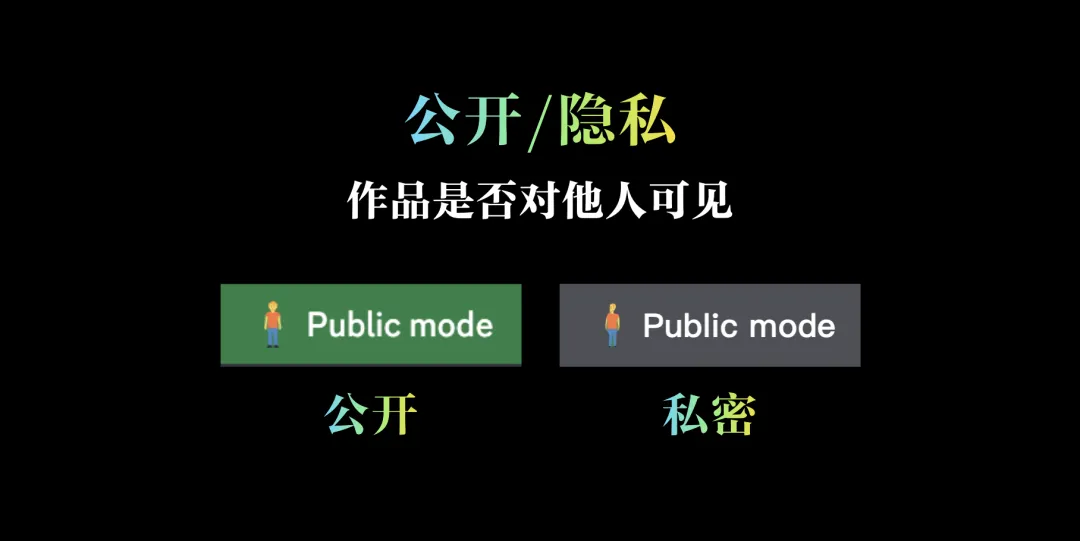
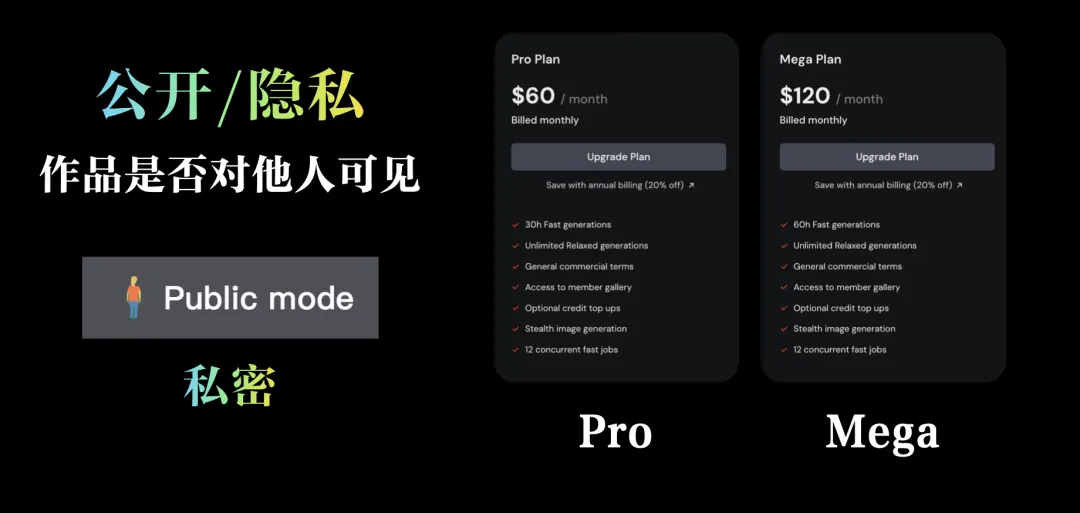
All images in Midjourney are publicly visible by default. The private mode is a feature only available to members who pay $60 or $120. When the button turns gray, the public mode is turned off and the private mode is entered. At this time, all paintings can only be seen by the artist himself.
Blending Mode
The mixing mode is related to the V change.
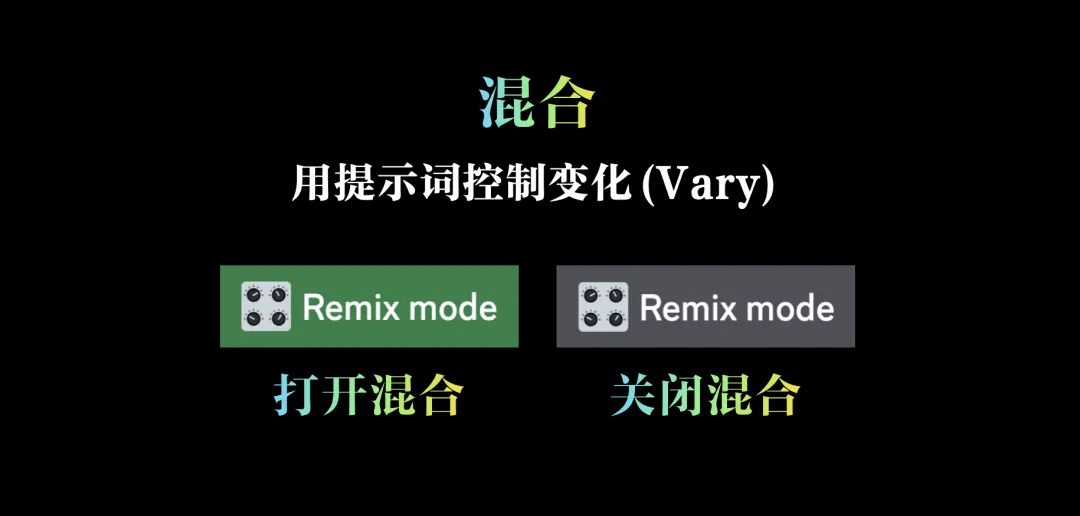
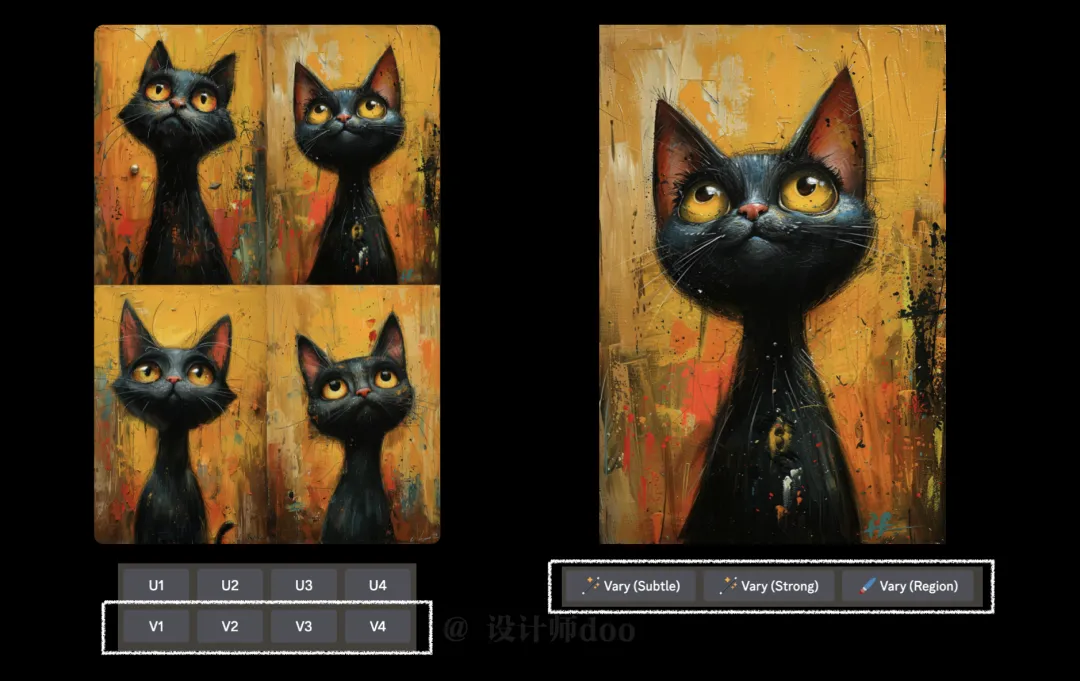
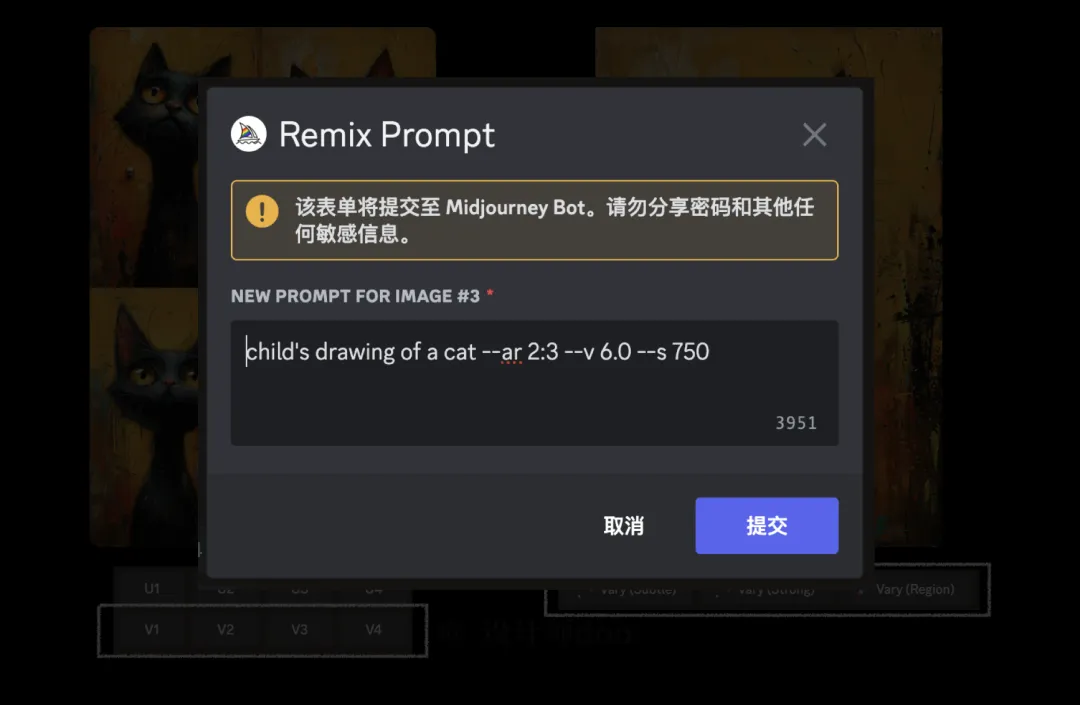
Whether it is the V under the four-square grid or the V under a single large picture, they are all changes. After we turn on the remix mode, when we click any V button, a pop-up window will appear. We can modify the prompt word in this pop-up window. It is recommended that you turn on this remix button.
Variation Group
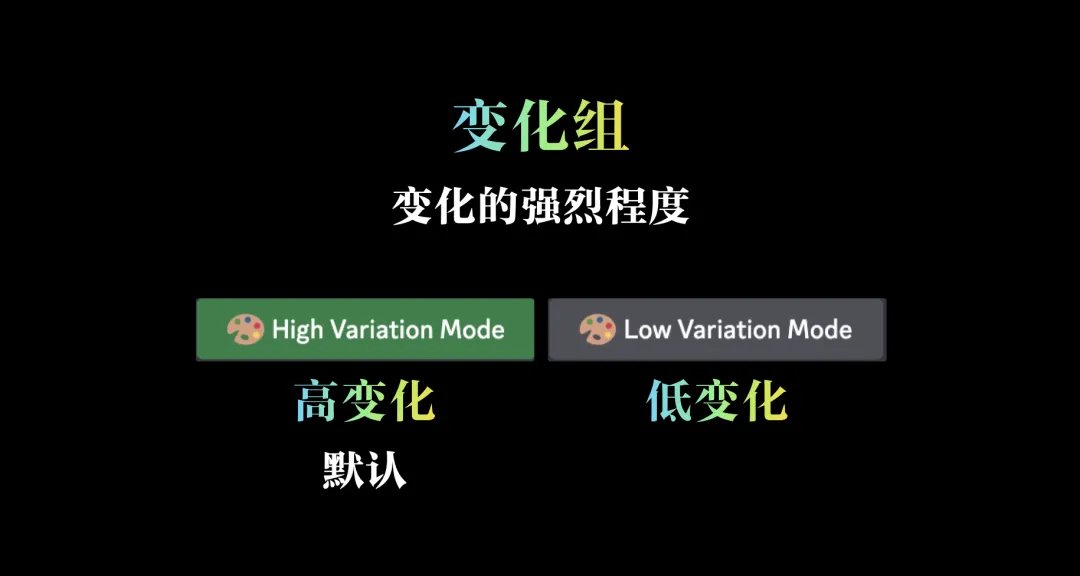
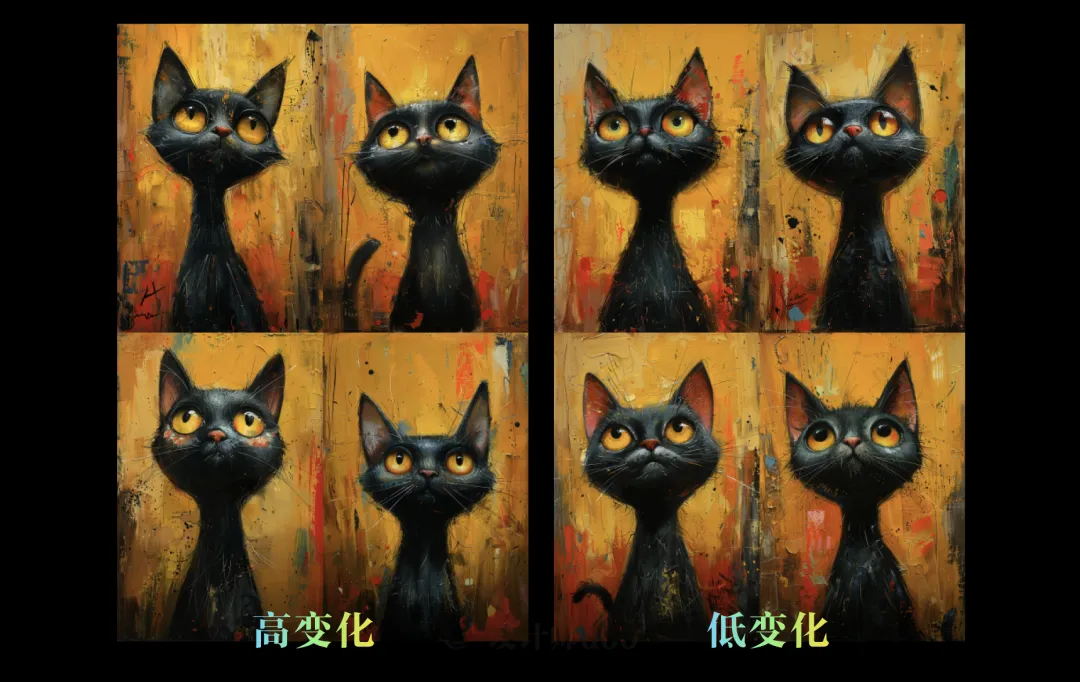
The change group refers to the intensity of the change. There are two modes: high change and low change, of which high change is the default mode.
When we turn on the high variation mode, the corresponding result will have a larger variation, that is, the difference from the original image will be larger. Similarly, if the low variation mode is selected, the result will be closer to the original image.
Fixed style
The sticky style parameter needs to be used with the "/tune" style controller command.
I have previously published a tutorial on the style controller. This feature allows us to produce images with a fixed style, making the overall result more unified and cohesive.
Speed Group
This group of buttons is related to the speed of drawing. From fast to slow, there are 3 modes: turbo, fast, and casual.
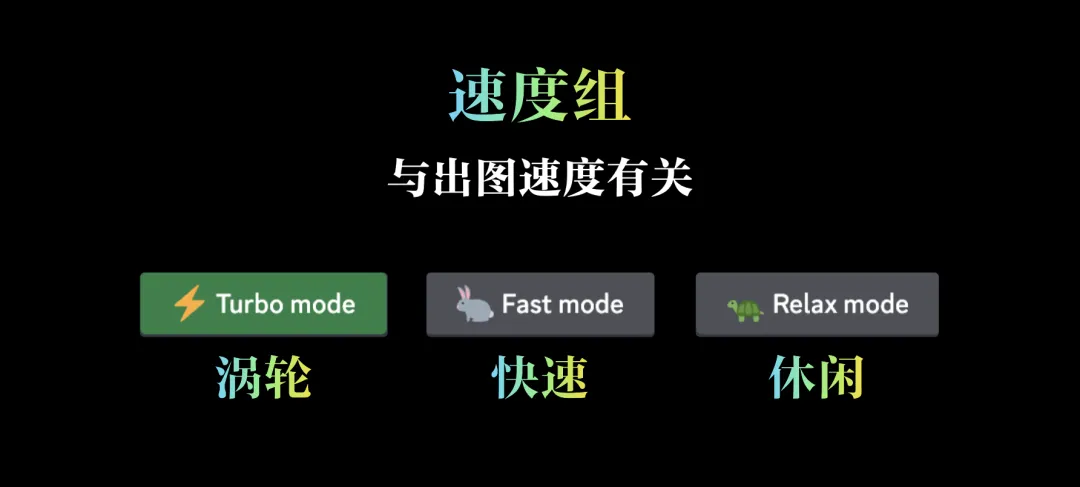
The different membership packages we purchased are essentially the time for fast drawing. Except for the cheapest package of $10, which can only produce 200 pictures a month, it will be gone after it is used up. For the other three packages, you can still use the leisure mode (that is, slow speed) to produce pictures after the fast time is used up.
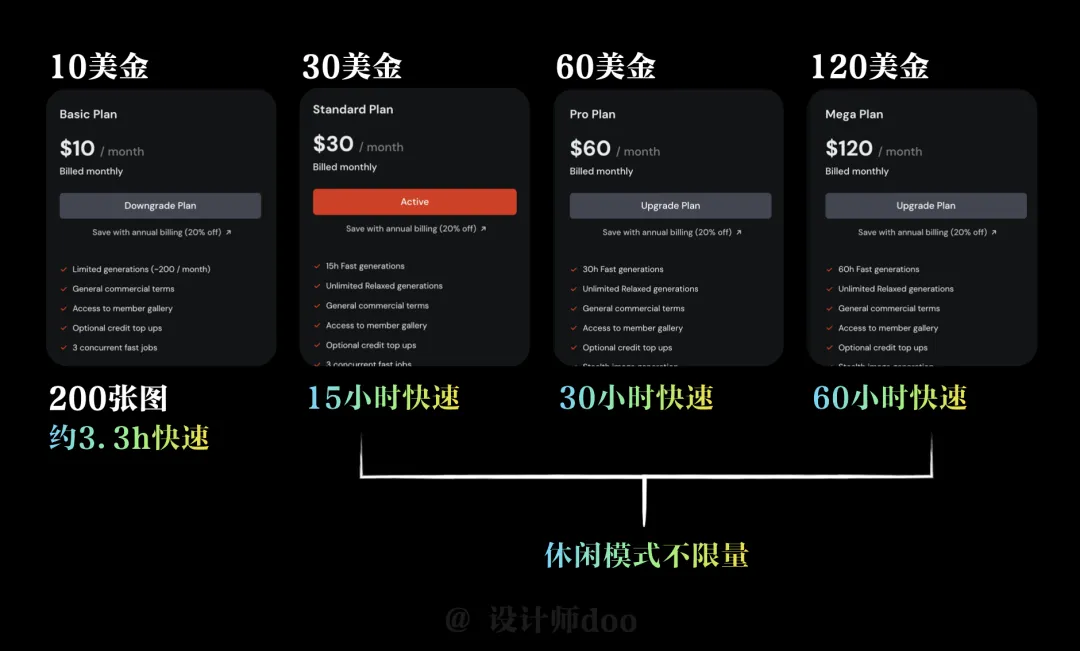
Among them, the turbo mode is the fastest. The speed is 4 times that of the fast mode, but it will also consume a lot of member time, which is twice that of the fast mode. So if you are not in a hurry, it is recommended that you use the fast mode.
Reset
Click the final reset settings button to restore all settings to their original state with one click.
Summarize
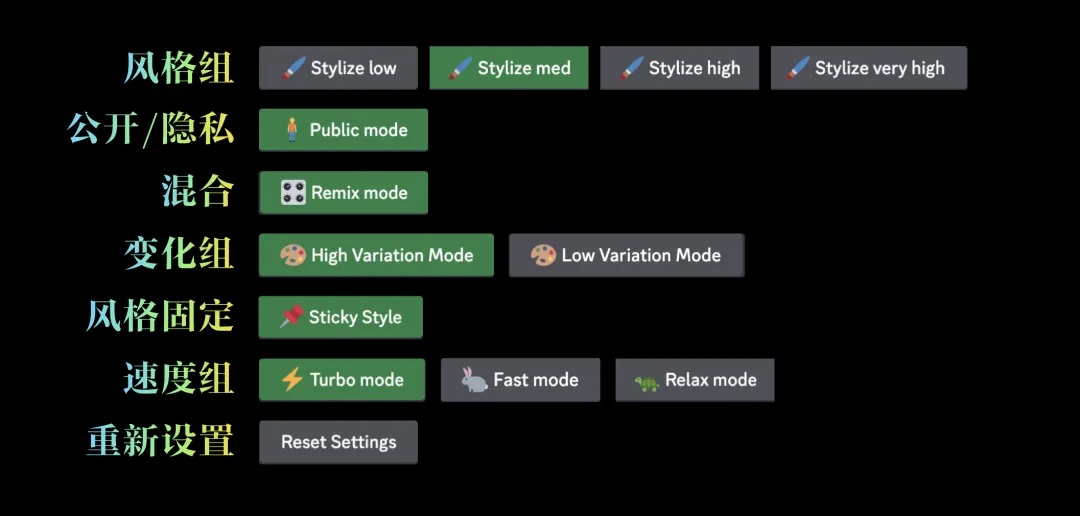
Finally, I have finished talking about all the contents in the settings panel. I wonder if you remember them? Let's review them as a whole. In the settings panel, you can choose different output modes. In addition, there are some fixed setting parameters, including: style settings, privacy settings, mixed settings, variation settings, style fixed, speed settings and reset.
