When watching videos, you should often see that the actors in the video are replaced with other people, your own, or a more suitable person imagined by you, or for experience, or entertainment. So how is this AI face-changing achieved? If we also want to make such a video ourselves, how should we operate it?
Now there are many tools that have been added with AI technology that can use the face-changing function. You can even find this section in commonly used photo beauty software. This article will introduce you to several AI face-changing video tools for entertainment purposes only!

You can find relevant information on the official website and download the precompiled Windows version provided by the original author. This version already has dependent libraries, so you only need to install the nVidia driver yourself. There are also GPU and CPU versions available, which can be downloaded from MEGA:
https://mega.nz/#F!b9MzCK4B!zEAG9txu7uaRUjXz9PtBqg
Note: Because it is a Python program, after downloading the precompiled Windows version, please check whether the author has updated it. You can also directly git pull the author's latest version of the program:
% The directory where you installed DeepFaceLab
%\_internal\DeepFaceLab\
After downloading and unzipping, you can see the directory structure:
- _internal
- Workspace
- 1) clear workspace.bat
- 2) extract images from video data_src.bat
- 3.1) cut video (drop video on me).bat
- 3.2) extract images from video data_dst FULL FPS.bat
- 3.other) denoise extracted data_dst.bat
- 4) data_src extract faces MANUAL.bat
- 4) data_src extract faces MT all GPU debug.bat
- 4) data_src extract faces MT all GPU.bat
- 4) data_src extract faces MT best GPU.bat
- 4) data_src extract faces S3FD all GPU debug.bat
- 4) data_src extract faces S3FD all GPU.bat
- 4) data_src extract faces S3FD best GPU.bat
- 4.1) data_src check result.bat
- 4.2.1) data_src sort by blur.bat
- 4.2.2) data_src sort by similar histogram.bat
- 4.2.4) data_src sort by dissimilar face.bat
…
After the download is complete, how to use it? You need to place the material file first, and its name is fixed.
1. Place the material files
- % The directory where you installed DeepFaceLab %\workspace\data_src.mp4
# source video, with its face)
- % The directory where you installed DeepFaceLab %\workspace\data_dst.mp4
# target video, replace it
- 2) extract images from video data_src.bat
# generates static frame images from the source video, and you can choose the frame rate (number of images).
- 3.2) extract images from video data_dst FULL FPS.bat
# generates all frame images from the target video, and you can first use 3.1 to capture small segments.
- % The directory where you installed DeepFaceLab %\workspaceldata_dst\
- % The directory where you installed DeepFaceLab %\workspace\data_srcl
- 4) data_src extract faces S3FD all GPU.bat
- # generates source faces from source static frame images.
- 5) data_dst extract faces S3FD all GPU.bat
- # generates the target face from the target static frame image.
- % The directory where you installed DeepFaceLab %\workspace \data_dst\aligned\
- % The directory where you installed DeepFaceLab %\workspace \data_src\laligned\
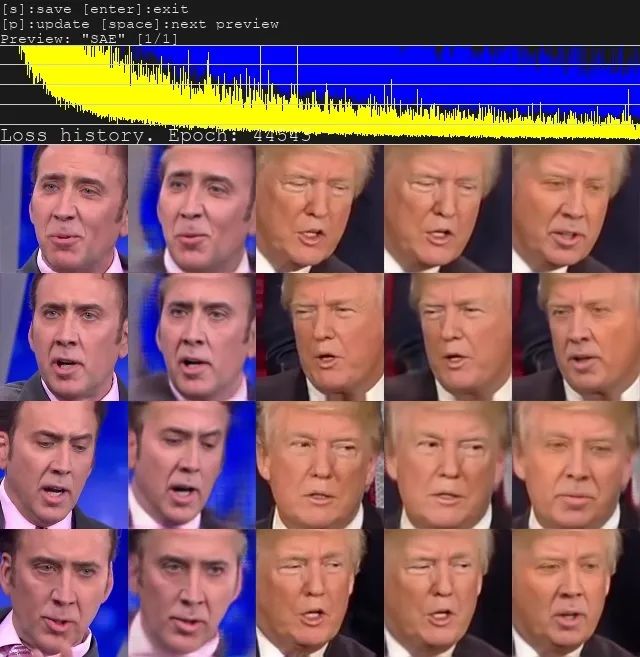
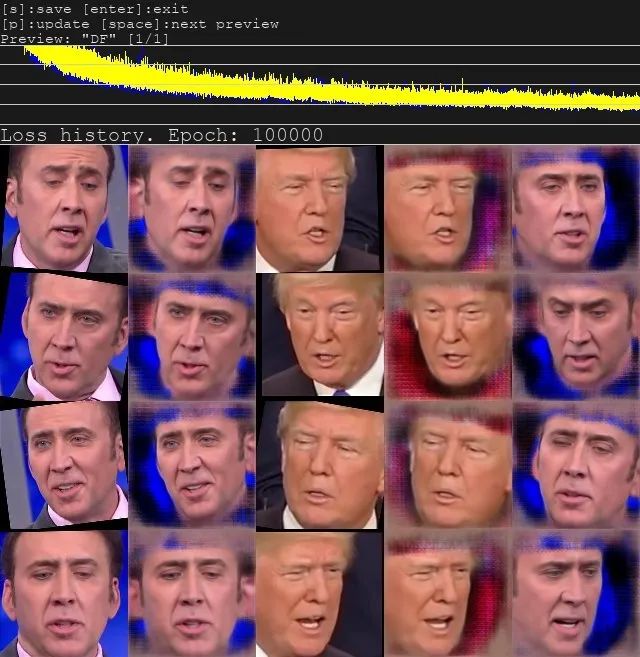
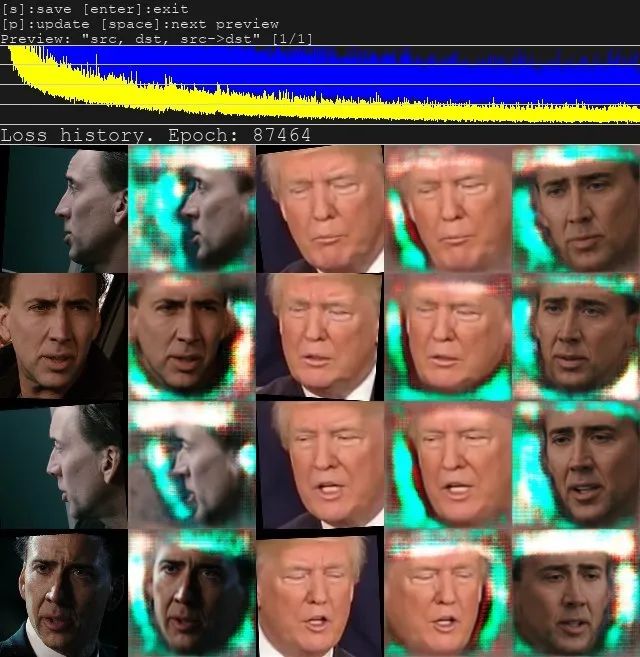
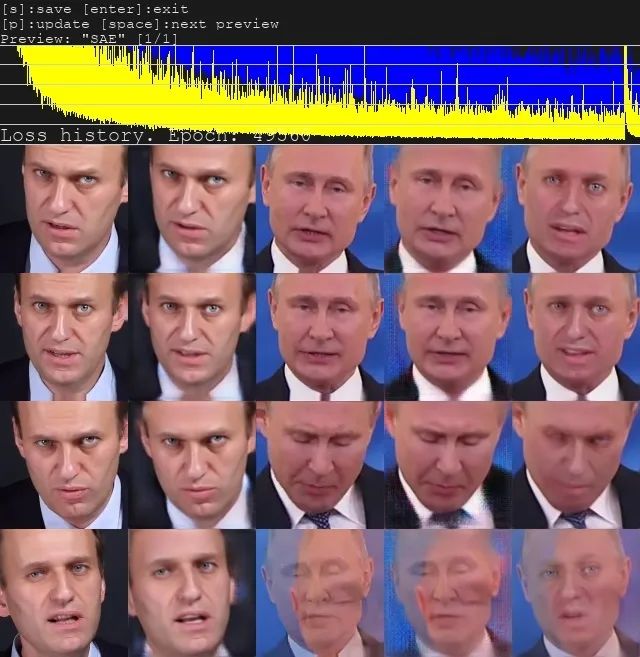
After completing the material preparation, you can start training.
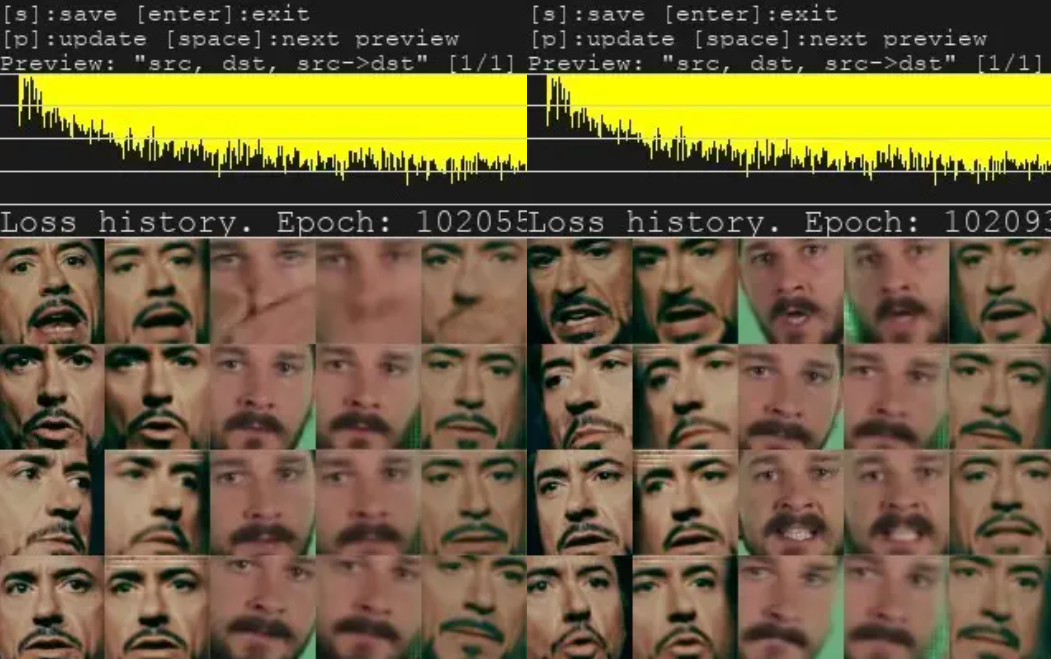
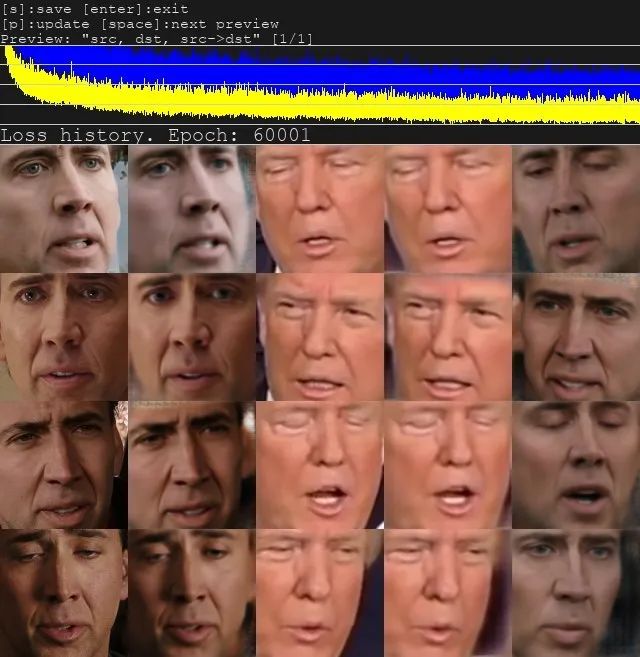
Note that a preview window will be displayed for the training, and you can see that the deviation of the image is getting lower and lower. You can press Enter to stop the training.
Just choose how to train and choose the corresponding synthesis method.
7.1 Directory of synthesized target frame images:
- % The directory where you installed DeepFaceLab %\workspace\data_dst\merged\
7.2 Generated target video position:
- % The directory where you installed DeepFaceLab %\workspace\result.mp4
- 64 pixel model, and fakeapp,FaceSwapSimilar to , but with some improvements, using low configuration parameters can run in low video memory conditions.
- H128 (3GB+), 128-pixel model, similar to h64, but with higher pixel count and richer detail. Suitable for 3~4G video memory. More suitable for flat Asian faces.
- DF (5GB+), full face H128 model, strongly recommends not mixing various lighting conditions on the SRC surface.
- LIAEF128 (5GB+) is an improved 128 full face model that combines DF and IAE. The model attempts to deform the SRC face into DST while maintaining the SRC face features, but the deformation amplitude is small. The model has closed-eye recognition problems.
- SAE (minimum 2GB+, recommended 11GB+), stylized encoder, a new excellent model based on style loss. It can directly complete deformation/stylization through neural network. It can also better reconstruct faces with obstacles.

Open Source:
www.oschina.net/p/deepfacelab
GitHub:
github.com/iperov/DeepFaceLab
Chinese website: deepfakescn.com
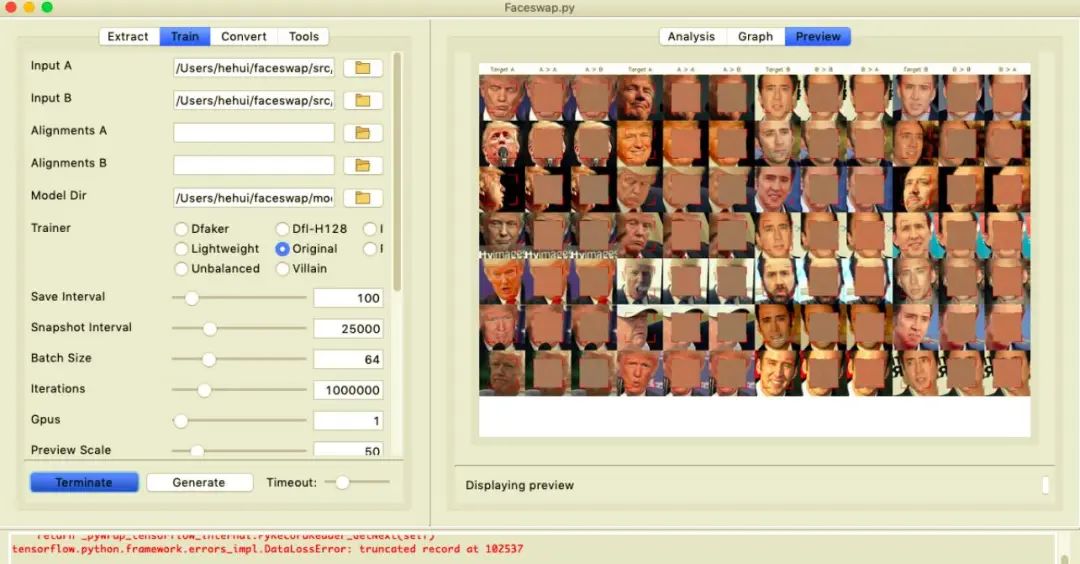
How to operate
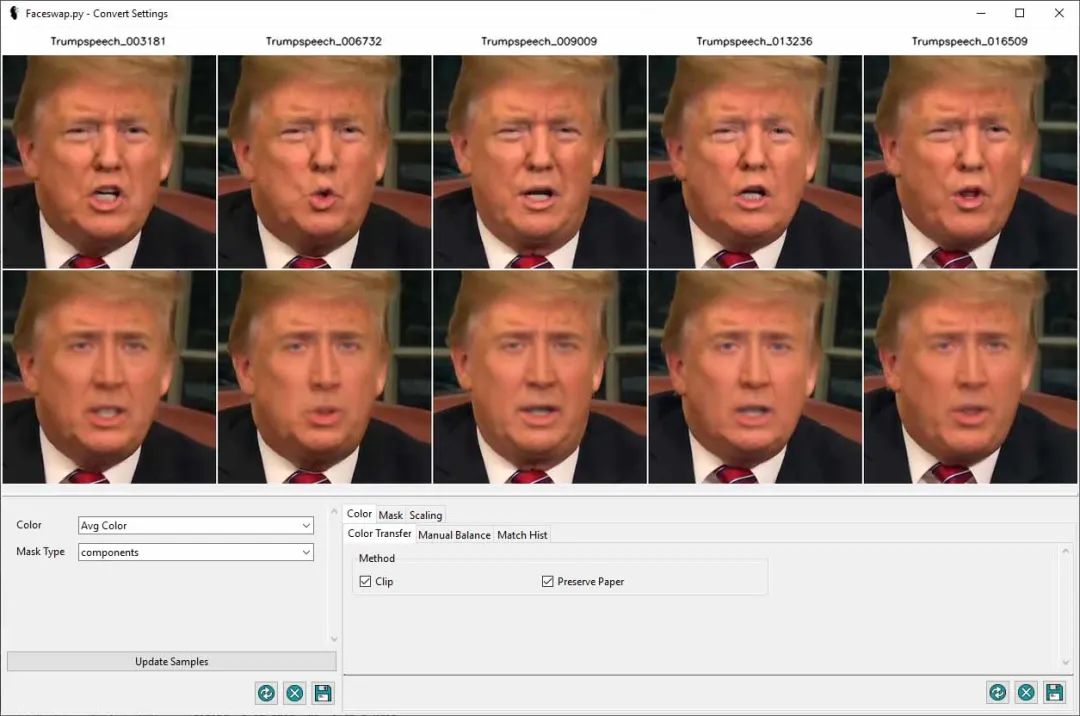
Faceswap provides a preview tool where you can preview the swap result and adjust the settings to better blend your face with the frame.
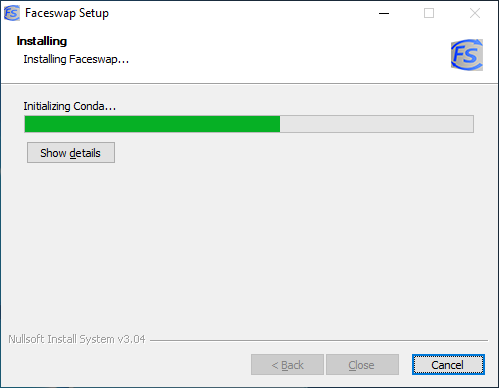
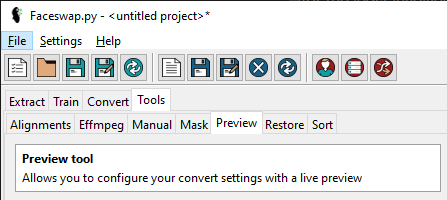
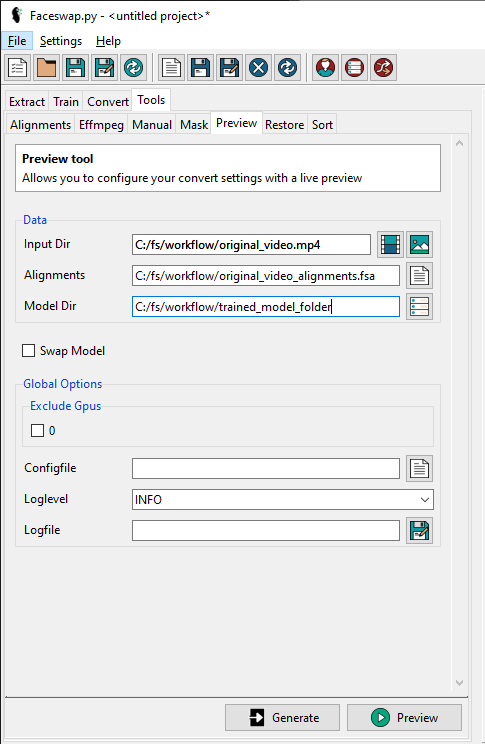


1.1 Preparation
The installation of OpenFaceSwap is the same as that of ordinary software. However, since it does not integrate CUDA and CuDNN like DFL, the dependent environment must be installed manually.
1. Install CUDA 9.02.
2. Install CuDnn 7.0.5 (note not 7.5.0)
3. Install VS20154. Install OpenFaceSwap
1.2 Installation Process
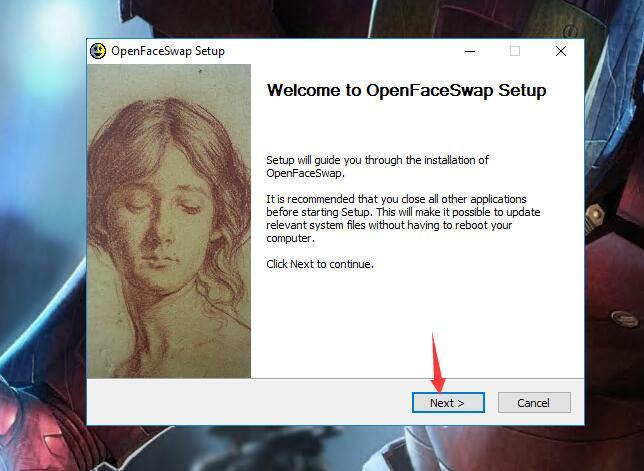
The installation is very simple. All its configurations are default. You can just click "Next" and then click "Finish" at the end.
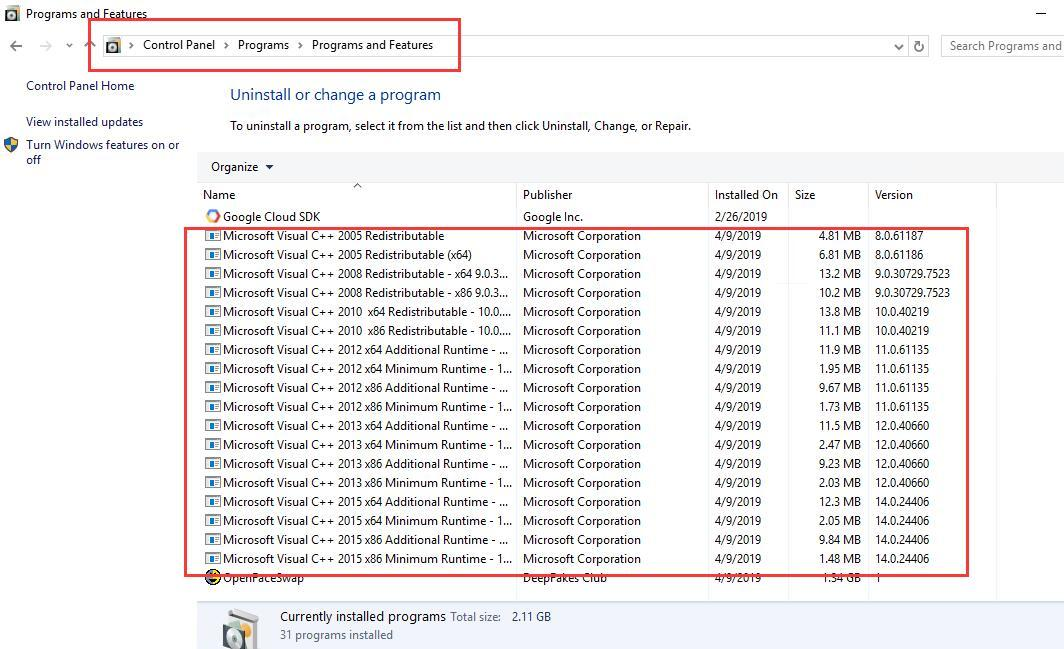
After the installation is complete, open "Control Panel" - "Programs" - "Programs and Features" to view, there will be manyVisual C++Files starting with .
1.3 Install OpenFaceSwap
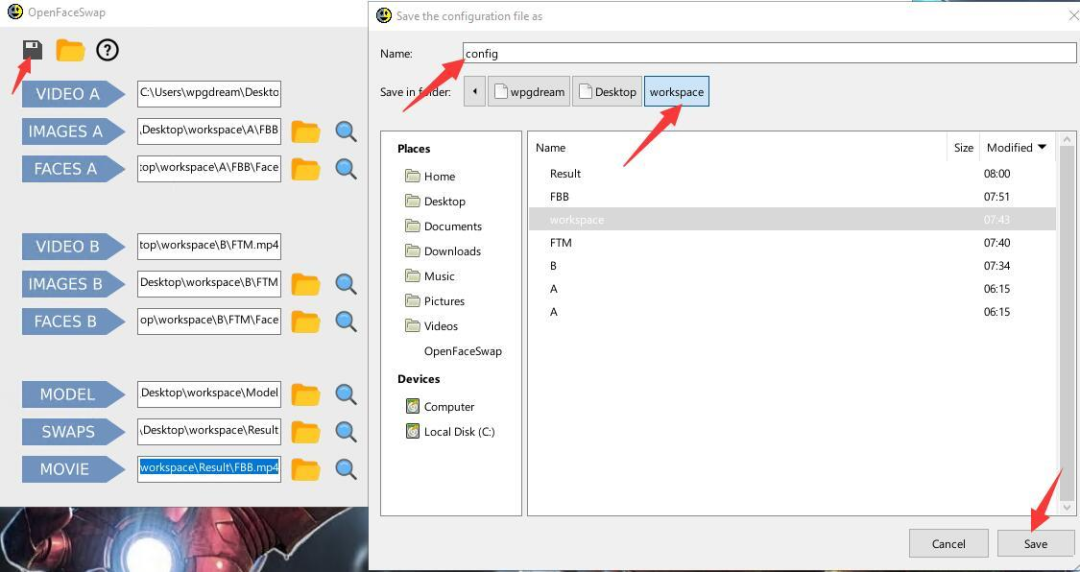
The above is ready. Its installation is very simple and the whole process is visualized without any scripts and commands.
How to use?
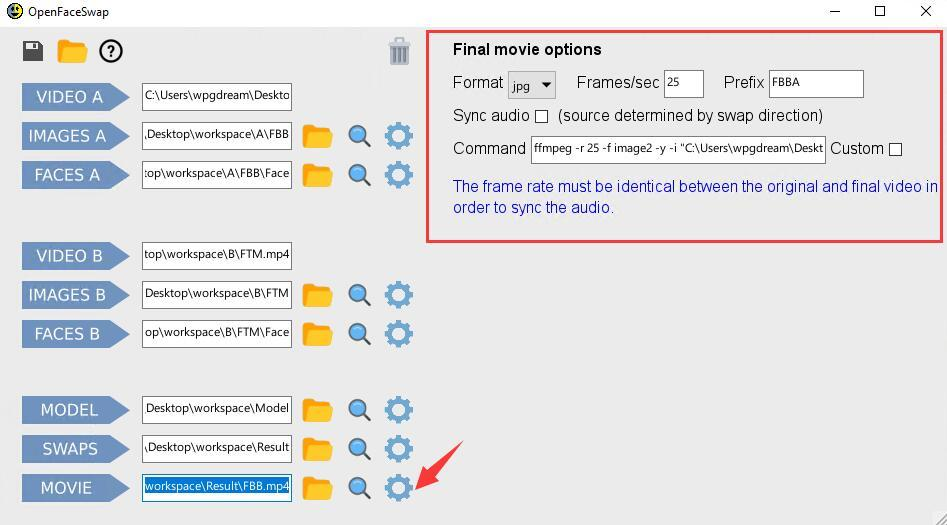
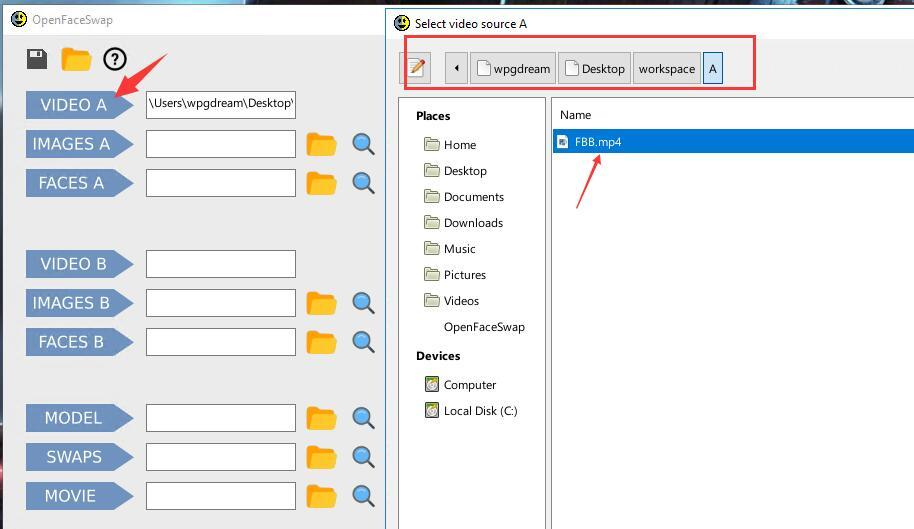
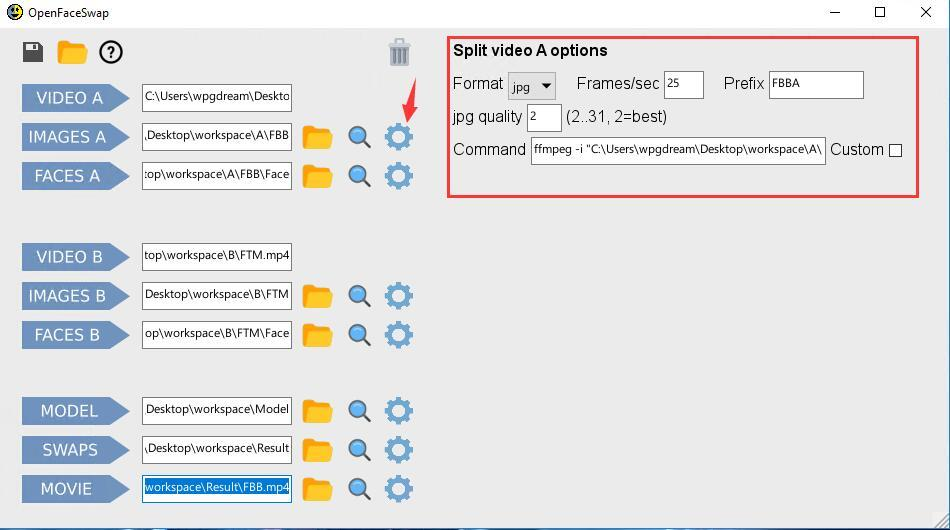
1. Click the setting icon after "IMAGES A" to set customized content, including:
Format: The format of the exported image, the default is jpg.
Frame/Sec: The frame rate of the cut picture. The default is 25. The A video should select the full frame rate (check the video properties, it is generally 24), and if the B video is longer, the frame rate can be reduced, for example, set to 10.
Prefix: file name prefix
jpg quality: Image quality, the number range is 2 to 31, 2 represents the highest quality.
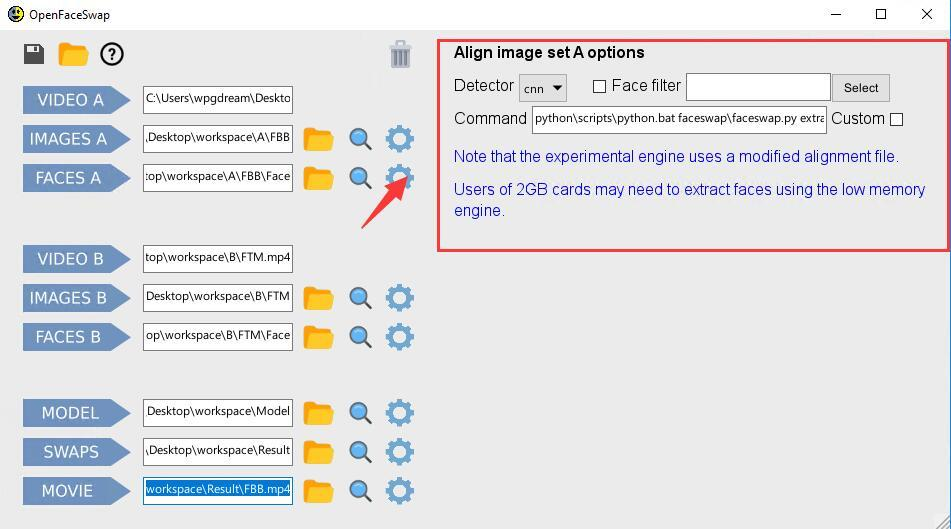
Detector: The default is CNN, which is a picture extractor. You can also select other extractors through the small arrow. The difference between extractors is mainly reflected in the extraction effect, extraction time and memory required for extraction. The blue font description in the software: If the graphics card you are using has a memory of 2GB, then you need to use the low memory engine when extracting faces.
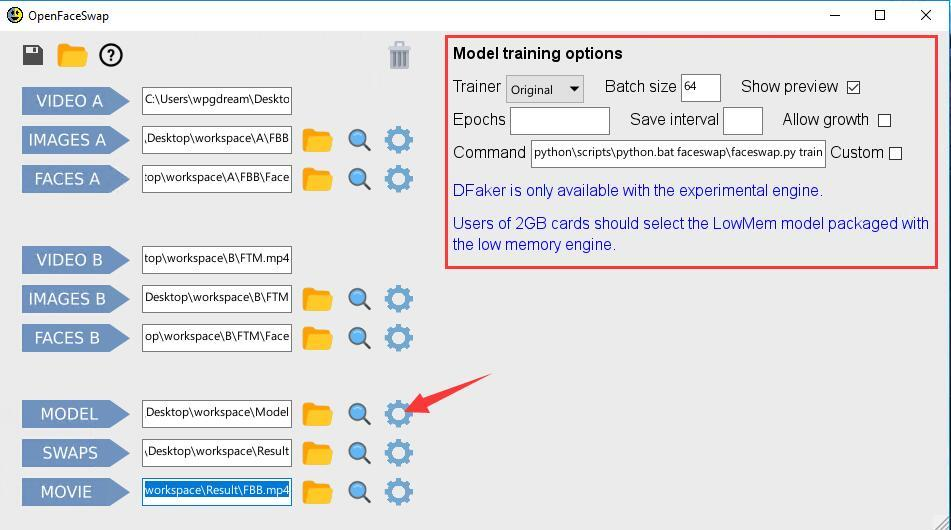
Trainer: The default is Original. That is, the type of model. Different models will have different effects, and Original is the model supported by almost all face-changing software.
Batch size: Batch size. The larger the value, the better, but the more computer resources are required. The default value of this software is 64.
Show preview: Training process. Whether to display the preview window, select "Yes".
Epochs: Set the number of iterations. For example, if you set it to 1000, the model training will automatically stop when the number of times reaches 1000.
Save interval: Model save interval.
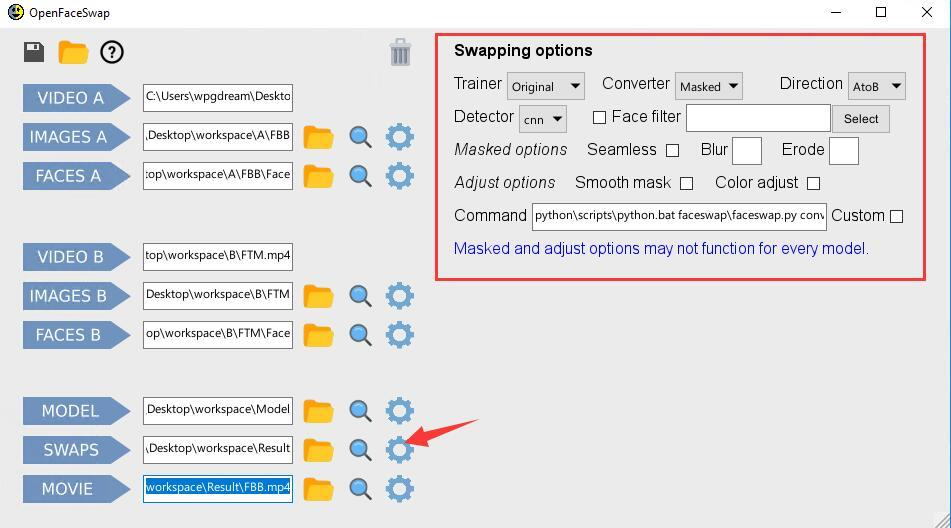
Trainer: Model
Converter:Converter
Direction: decide who replaces whom, A replaces B, or B replaces A
Detector: Extractor.
Mask options and Adjust options are configuration options for the converter.
This parameter operates similarly.
