Recently, the Internet is very popular all kinds of face-swapping interesting pictures, that these pictures are how to make it?PS bit by bit to repair? PS repair little by little? The vast majority of such images are generated using AI. Compared to PSAI face-changingMore realistic and faster. Today, I'm going to explain how to make theStable Diffusionhit the nail on the headRoop PluginPerform a face swap.

The pre-preparation for installing the Roop plug-in is actually quite tedious. First of all, you need to download and install Microsoft VisualStudio in your computer, which can be downloaded from Microsoft's official website: https://visualstudio.microsoft.com/zh-hans/downloads/
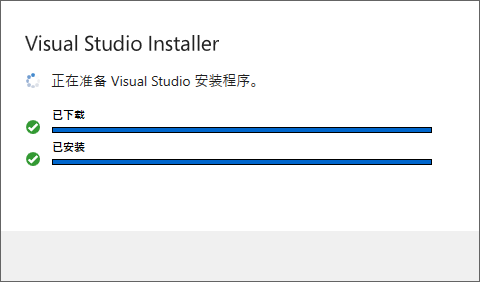
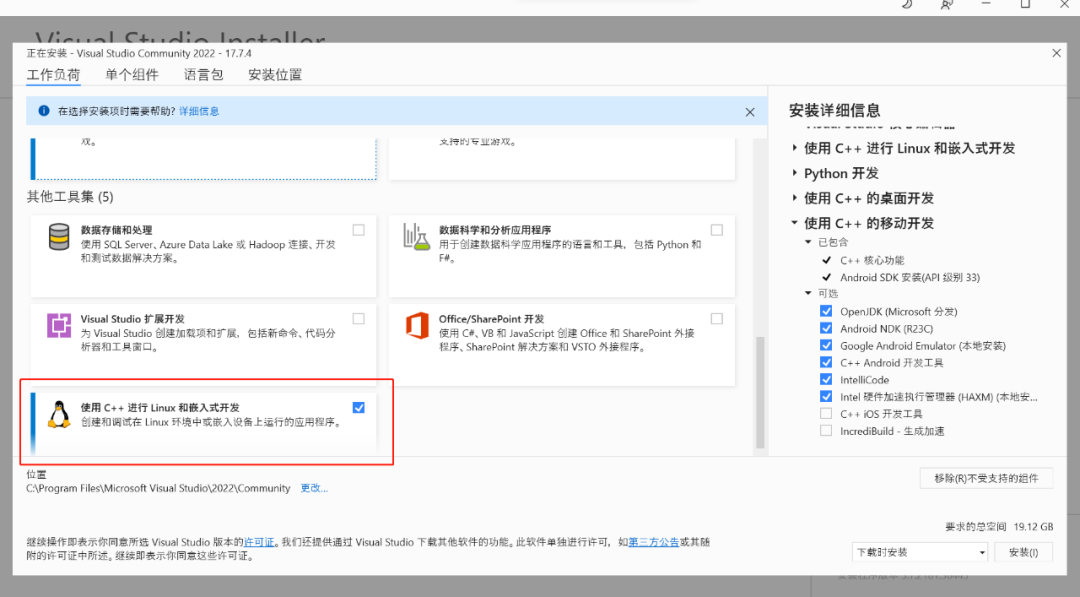
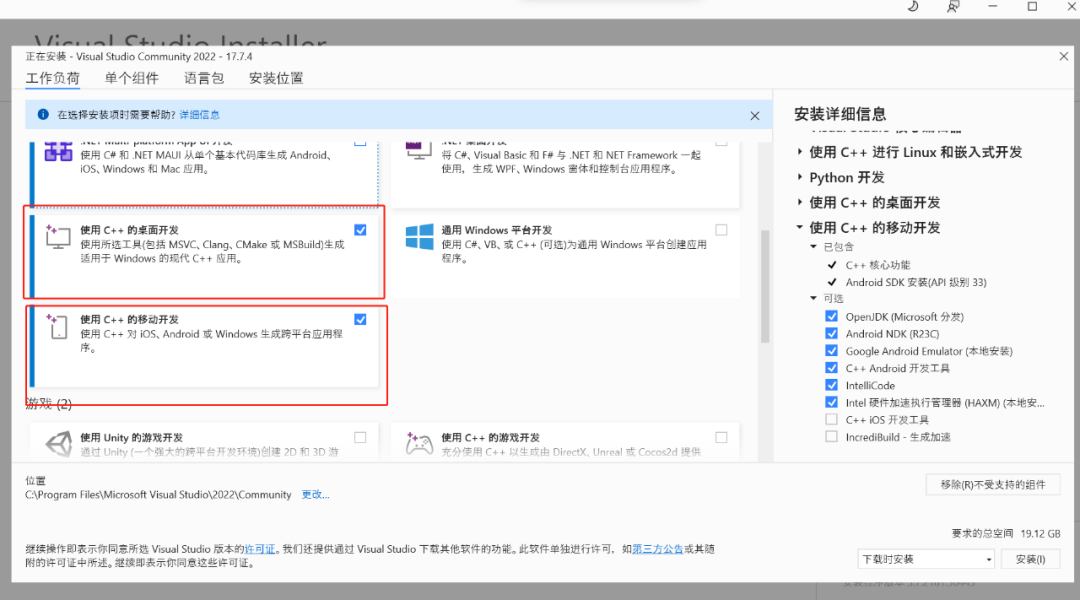

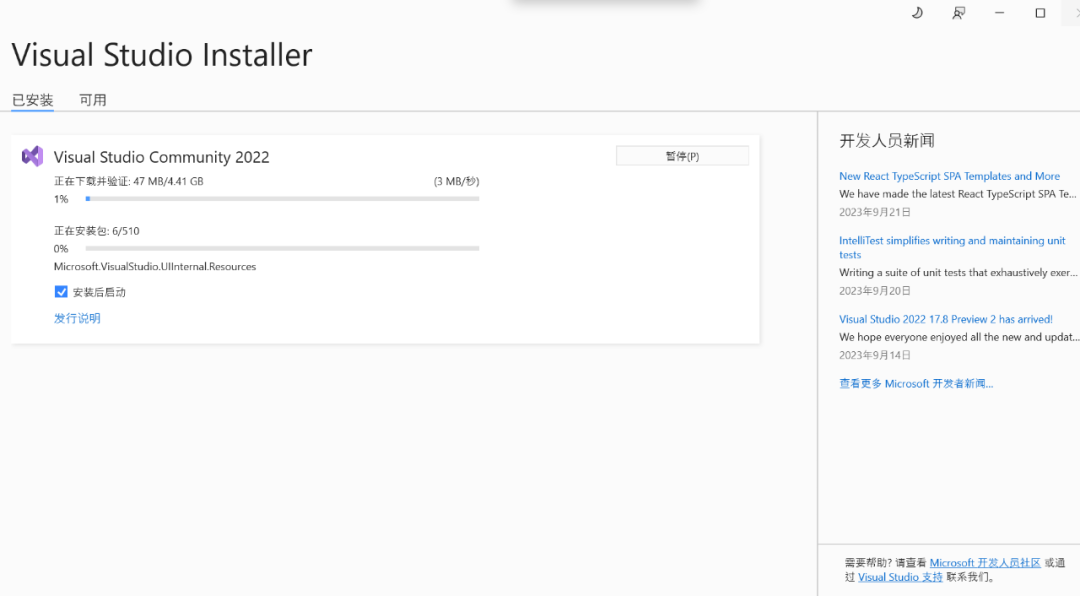

The program will run automatically after installation, just click Skip Login.

Clicking on the Launch Visual Studio button will automatically configure it.
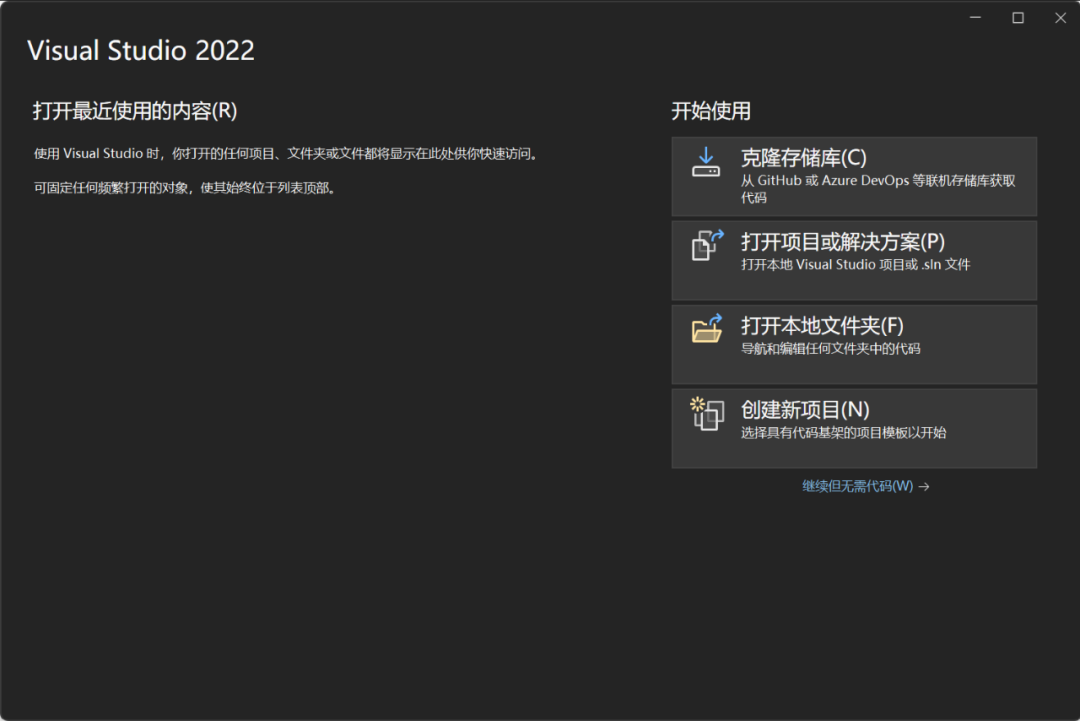
When everything is done click the fork in the upper right corner to close Visual Studio.
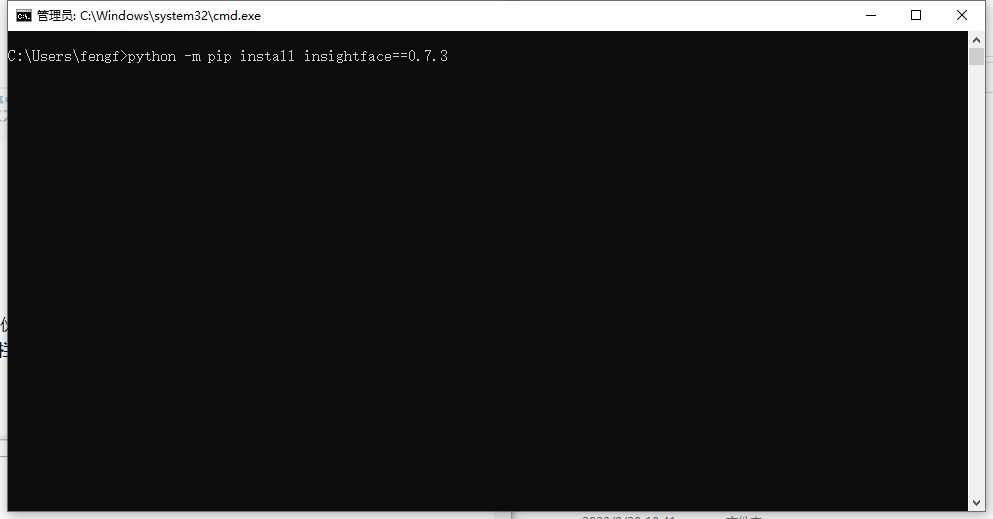
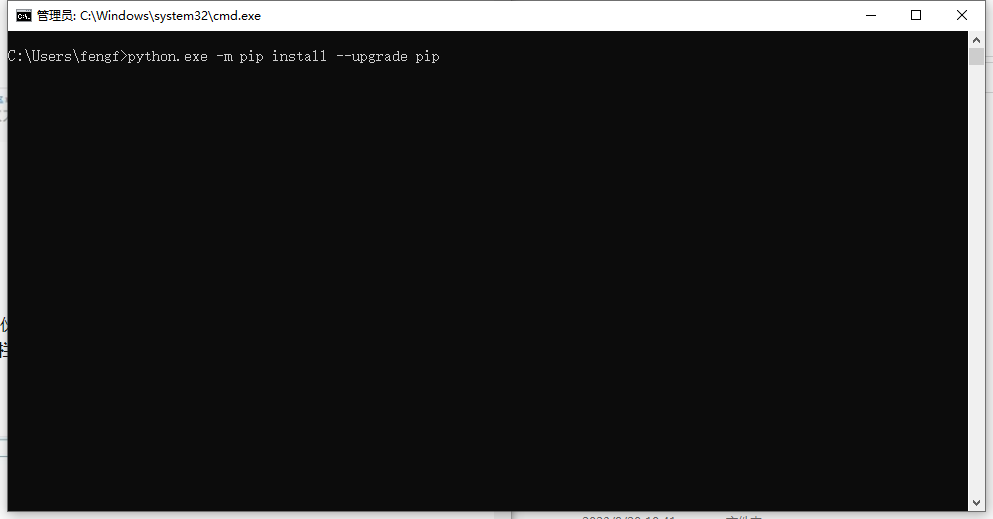
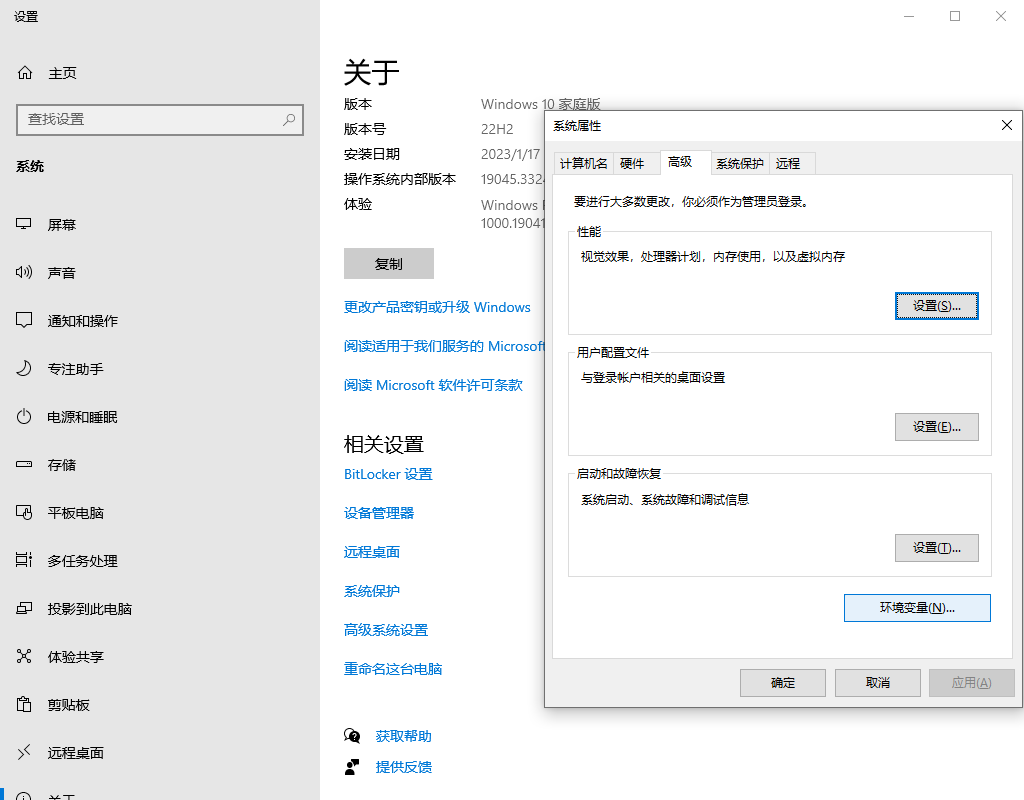
On the System Settings page go to System Properties in Advanced Settings and click on the Environment Variables button.
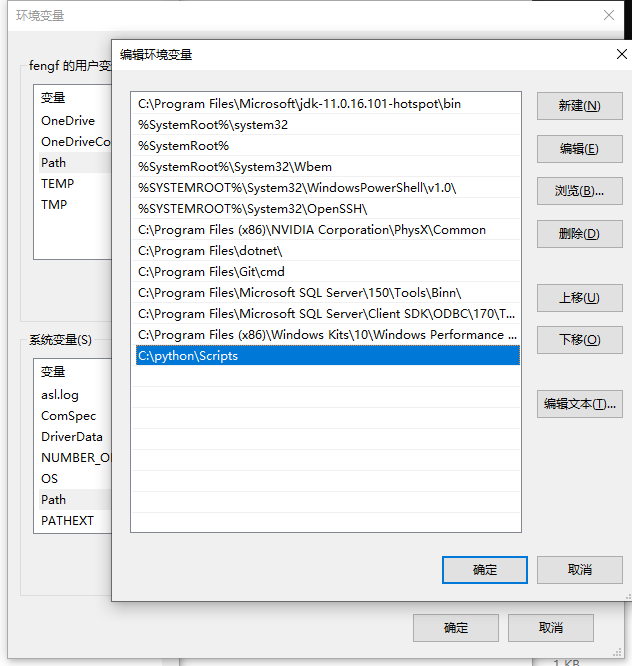
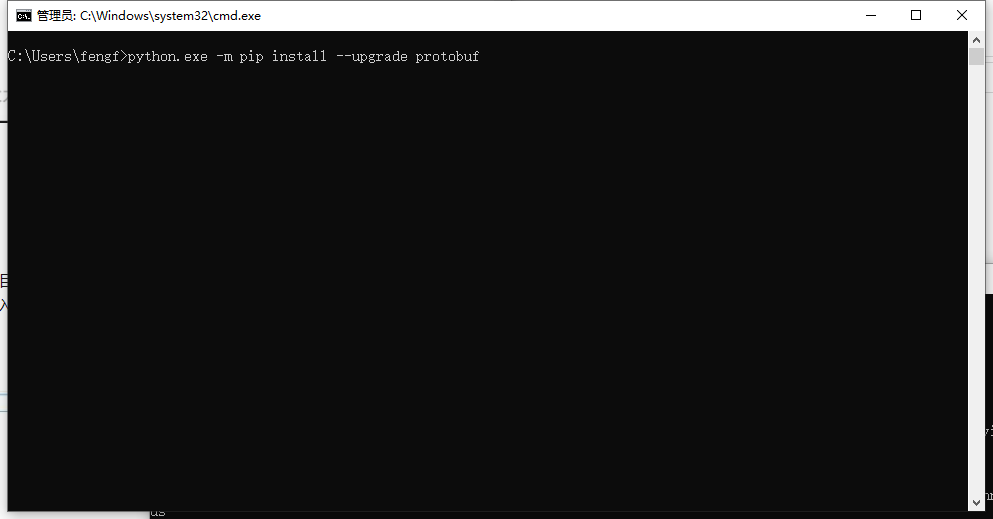
Type python.exe -m pip install --upgrade protobuf enter in the CMD command.
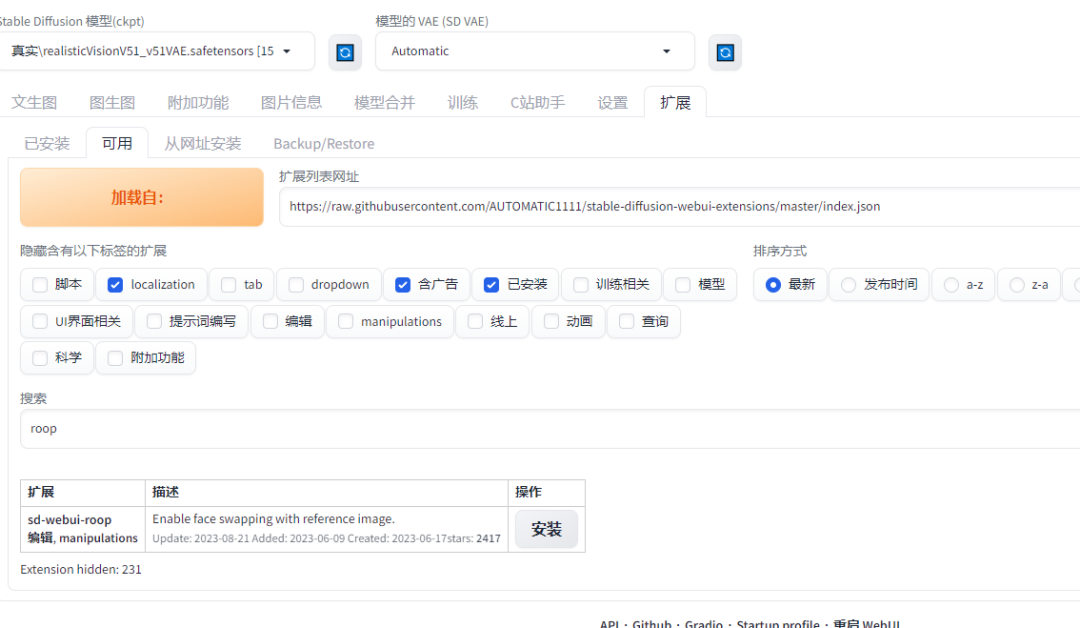
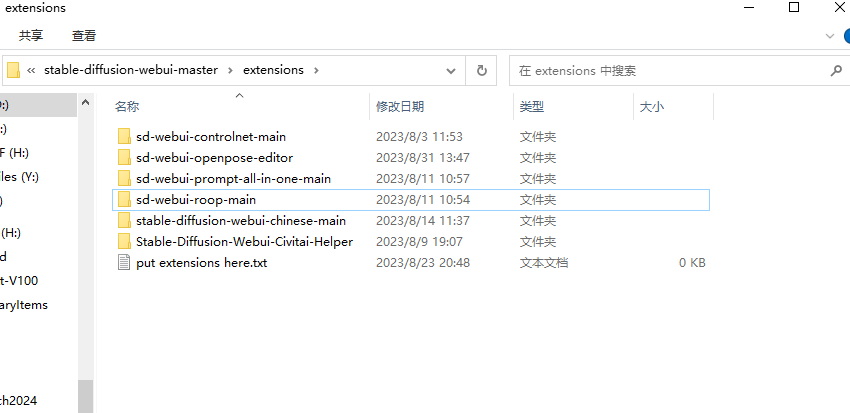
Launch Stable Diffusion WebUI, click Load in Extensions, search for Roop keyword and the Roop plugin will appear, click Install. For those with bad network, you can download it manually from Github to install it. URL: https://github.com/s0md3v/sd-webui-roop
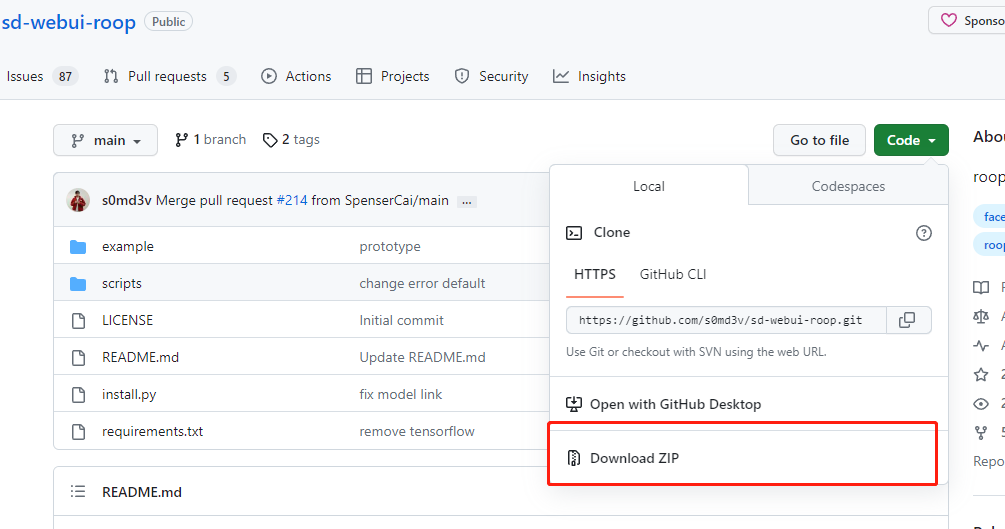
Click on Code in the upper right and select the Download ZIP button and the download will take place automatically.

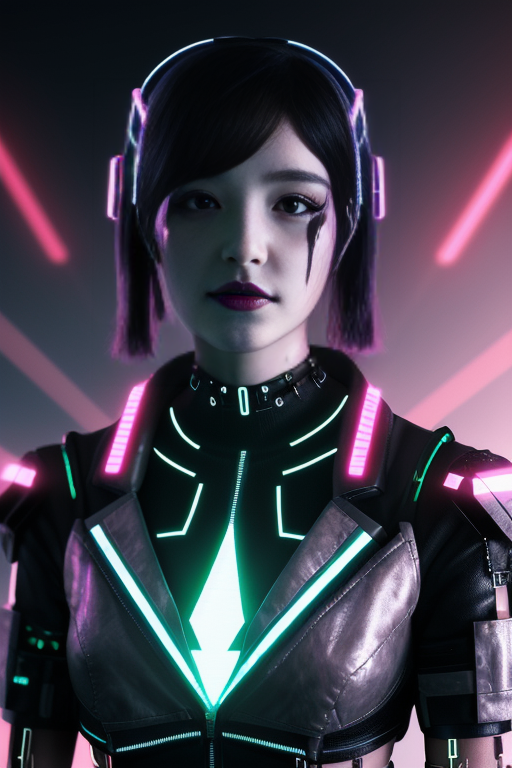
I think the young girl in this picture is very classy the background, the outfit, the pose and the costume are all great, but the only thing I don't like is the face.
The face in the picture above is great, but the style and costume poses are underwhelming, and it's time for the Roop plugin to shine.
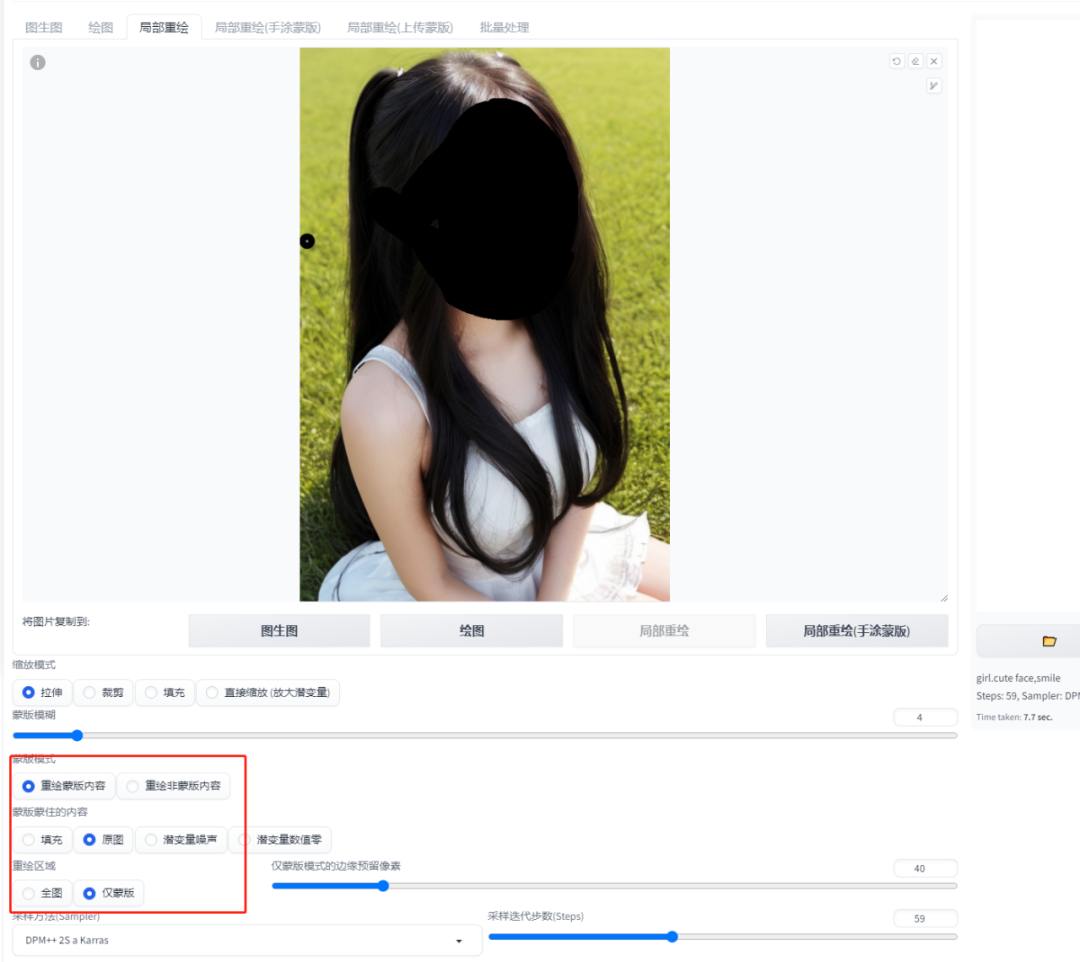
In the WebUI go to the Tupelo Graphics tab, select Localized Redraw drag the template into it and select the face that needs to be redrawn.
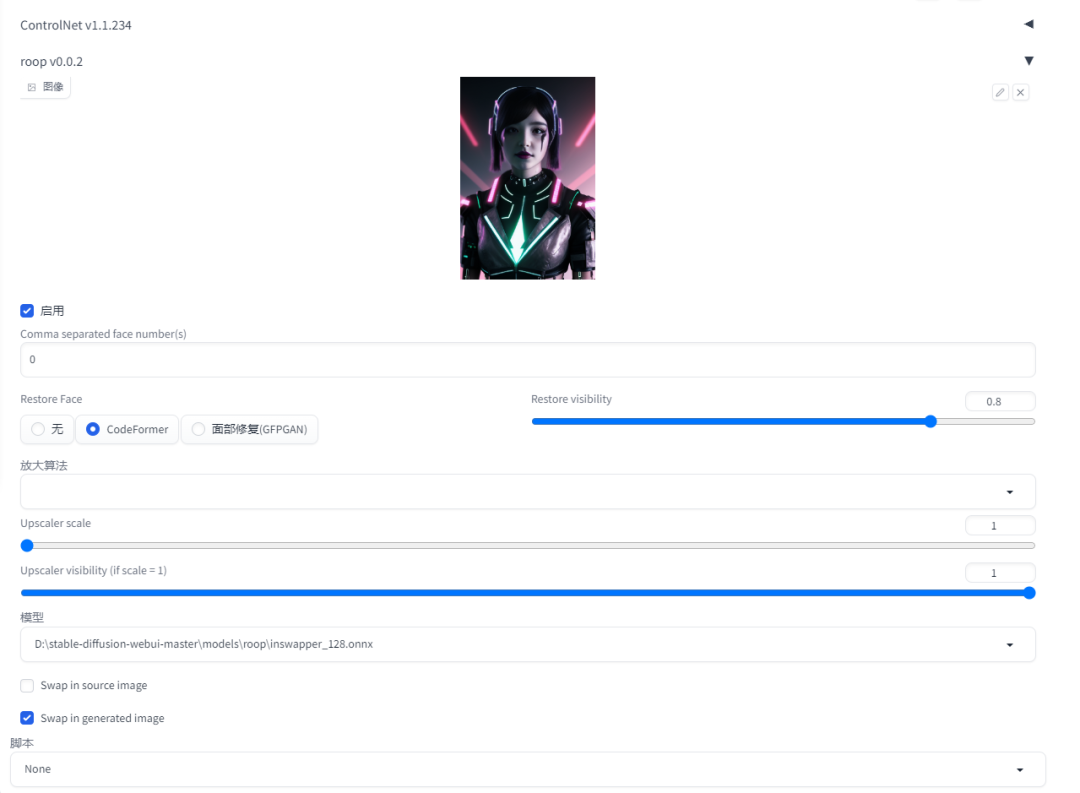
Click on the Roop option below, first pass the face that needs to be replaced and tick the startup option. Click Generate and wait for a few moments for the unexpected effect.

The above picture is the finished product of the face swap, for the Roop plug-in, I think we should already know how to install and how to use. On the content of AI, I will also bring you more interesting articles please look forward to.