Requires magic:
- New users can create 25 pictures for free, more than that need to become a member
- Copyright issues: The copyright of images generated by members belongs to the creators
Warm reminder: There are multiple pictures below for warning
Register and create a server
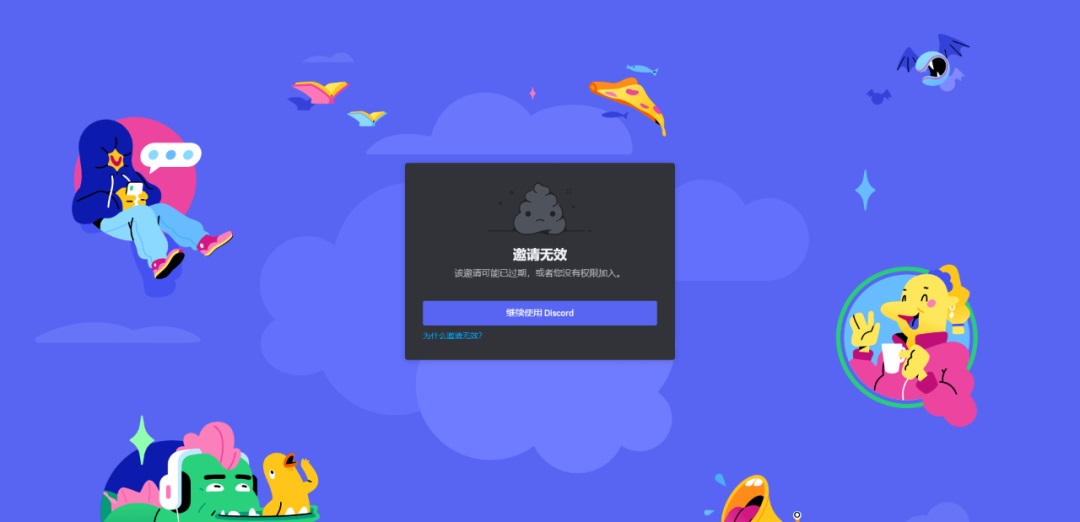
① OpenMidjourneyOfficial website, select the "Join the Beta" button in the lower right corner, the page will jump to the "Discord" server
If the page shows that the invitation is invalid, just ignore it and click the "Continue using Discord" button.
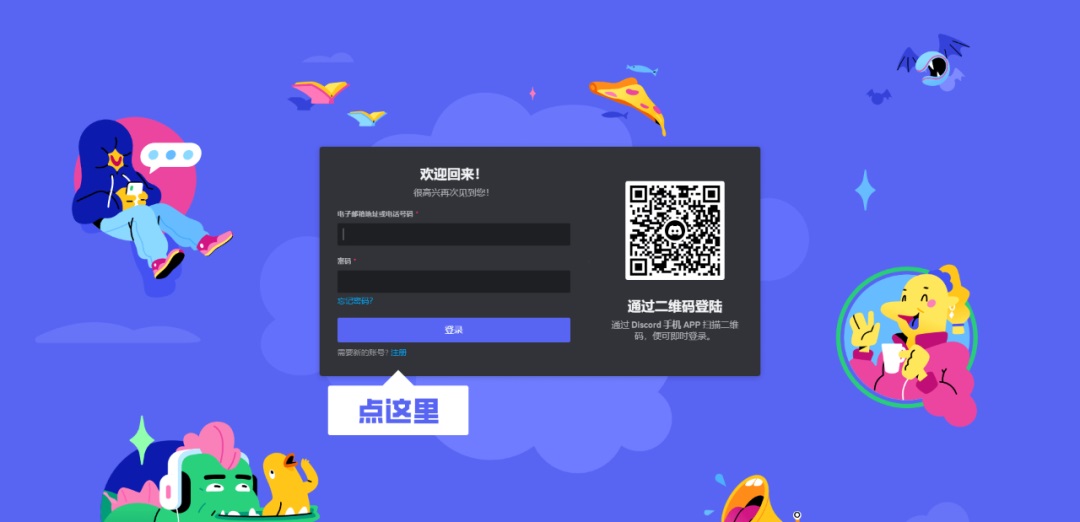
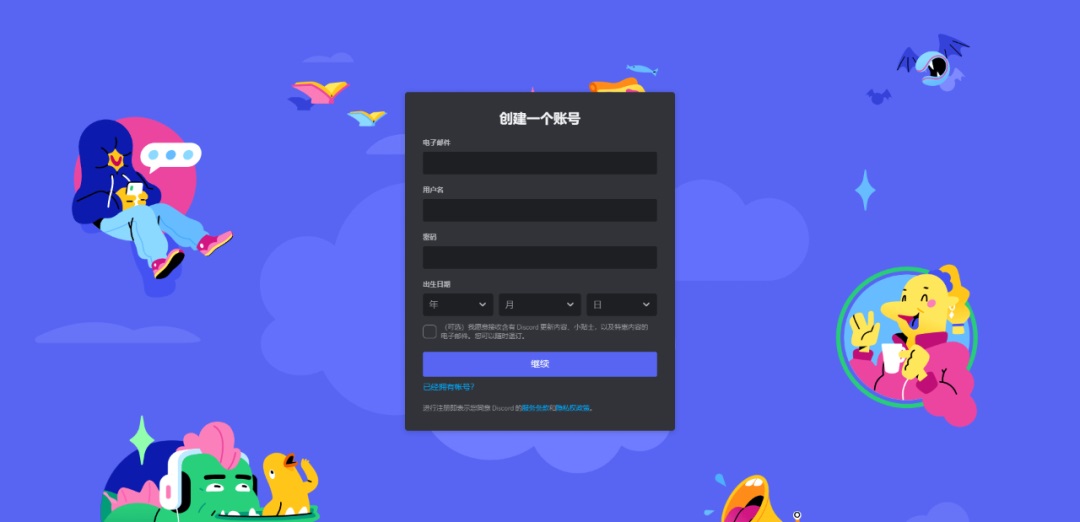
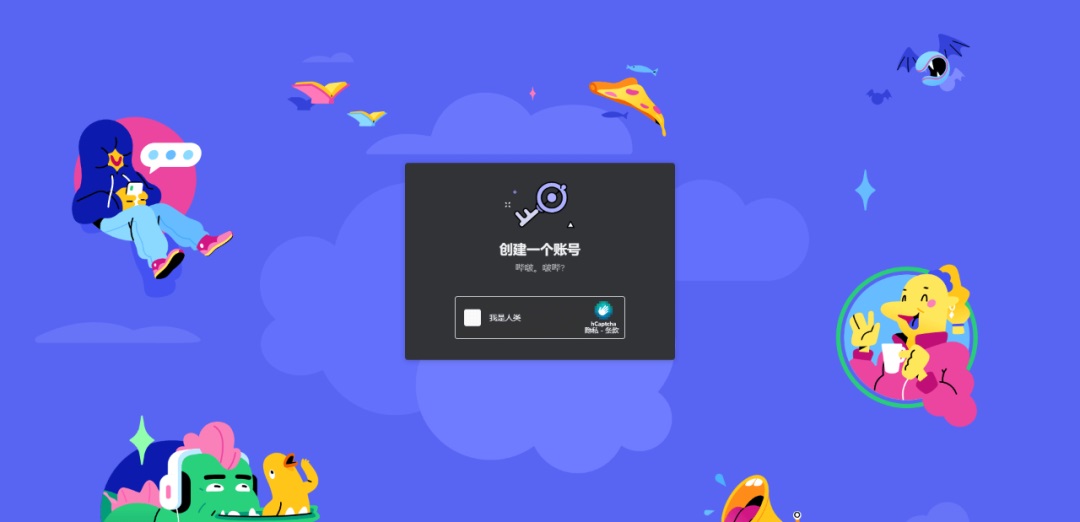
② Jump to the login page, click the registration button in the lower left corner, and complete the registration and verification in turn


Domestic mailboxes are also available

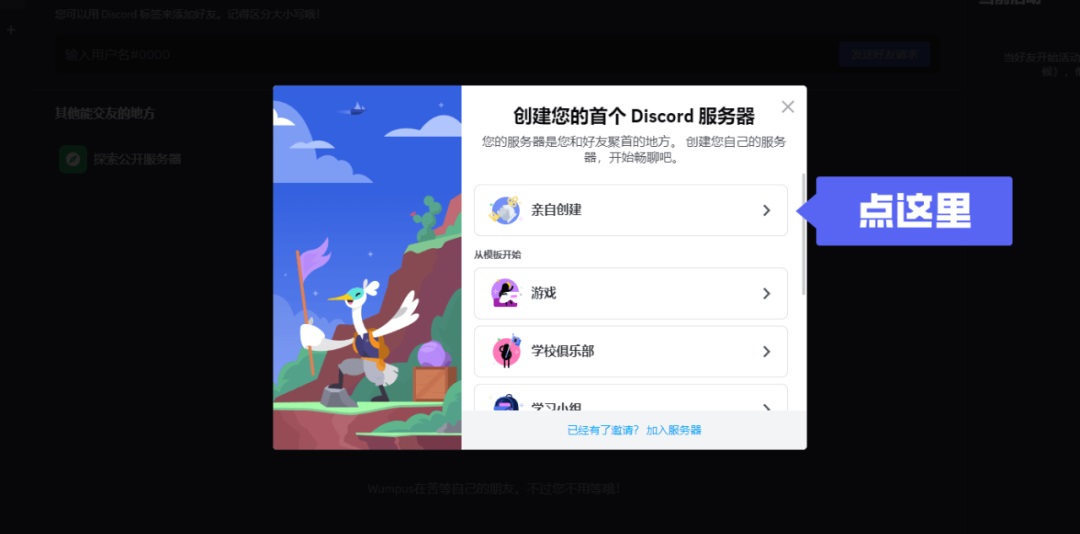
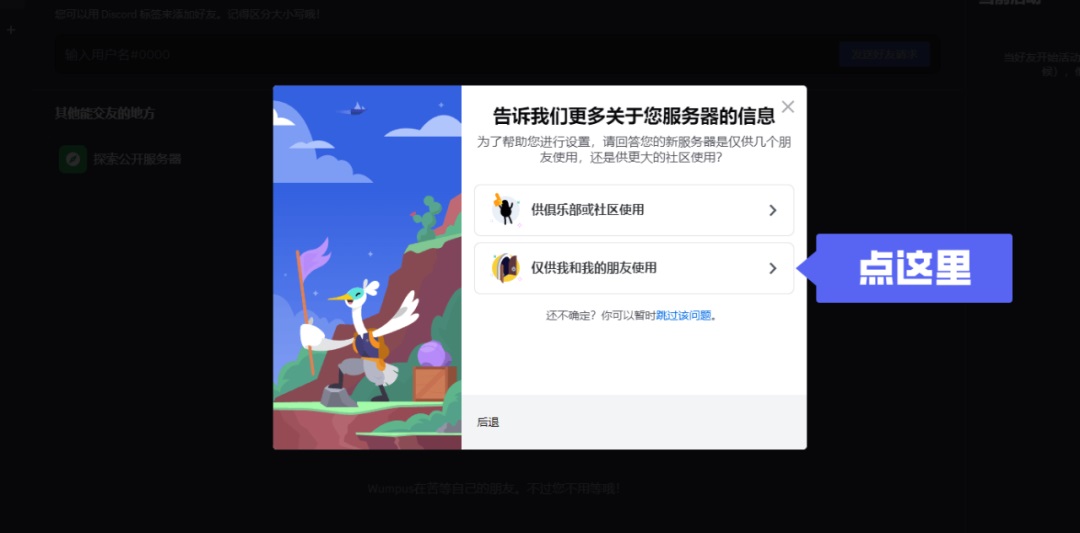
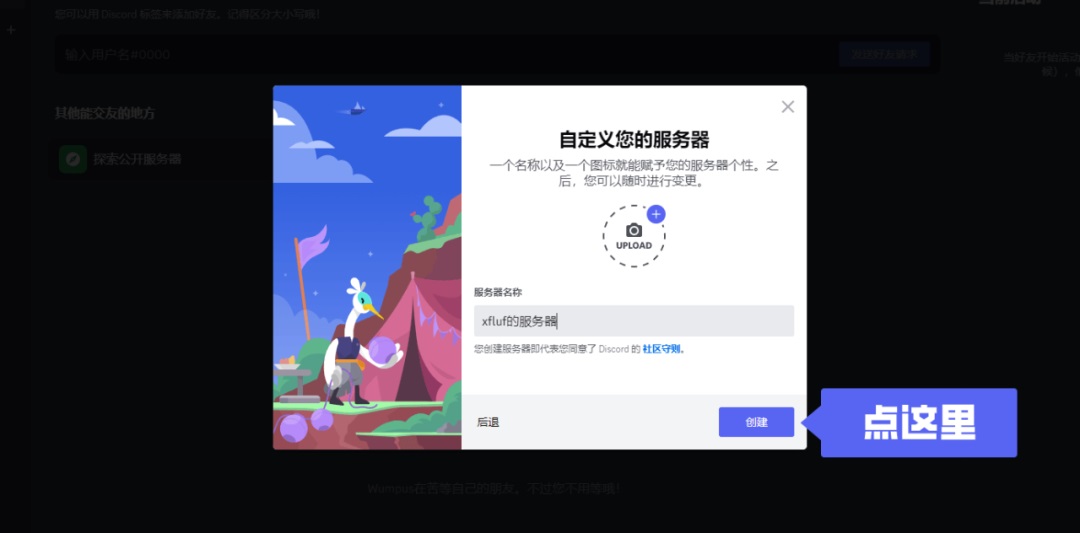
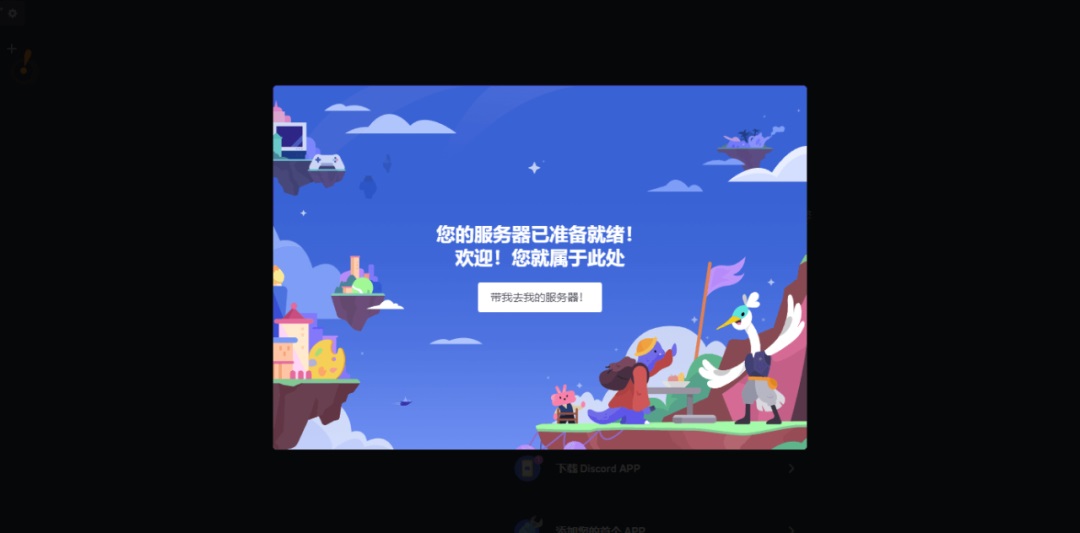
③ After verification, you will be redirected to the Discord homepage and asked to create your own Discord server. Select: Create for yourself - Only for me and my friends - Enter the server name - Click Create


If you skip the creation, you can click the plus sign in the sidebar to create a personal server later.
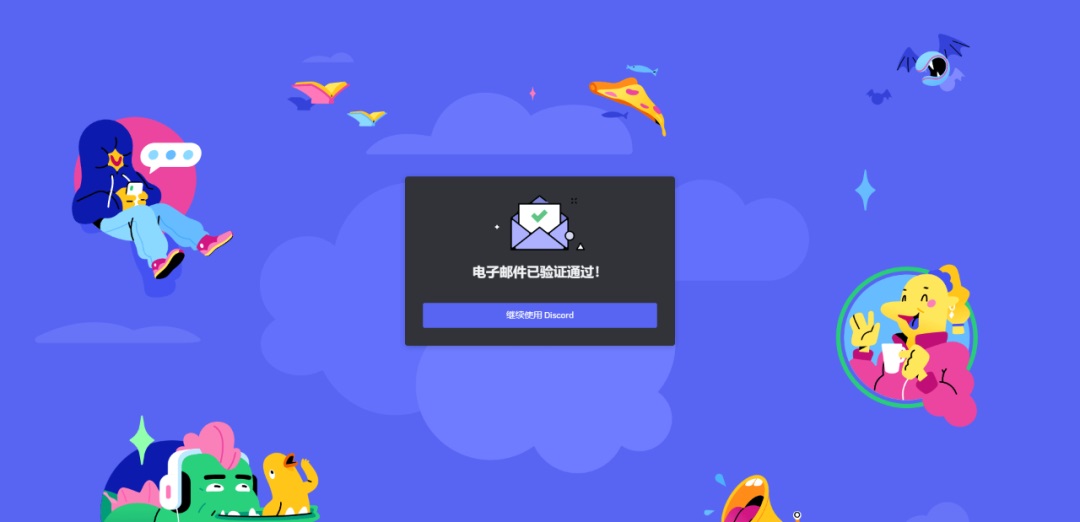
④ After creating your personal server, you need to verify it in the email address you left before. After the verification is completed, you will be redirected to the success page. Click the "Continue to use Discord" button.

Download the client
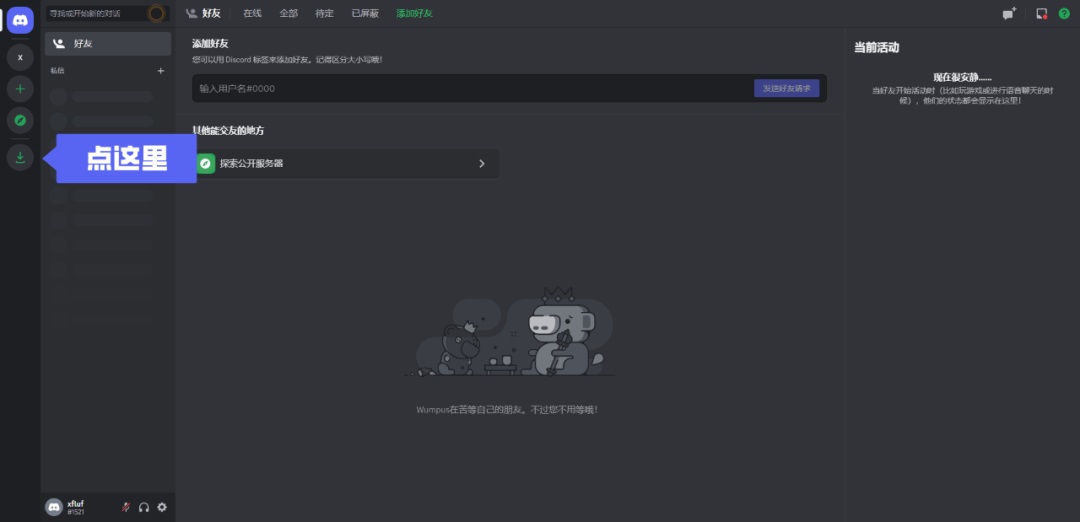
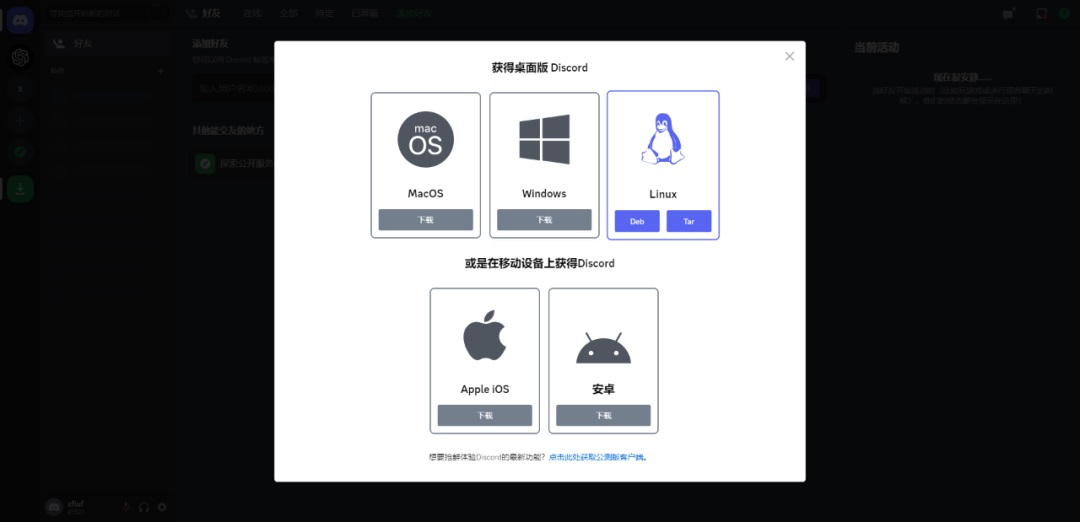
Enter the Discord default conversation page and click the download button in the left navigation bar to download the client


Linked Servers
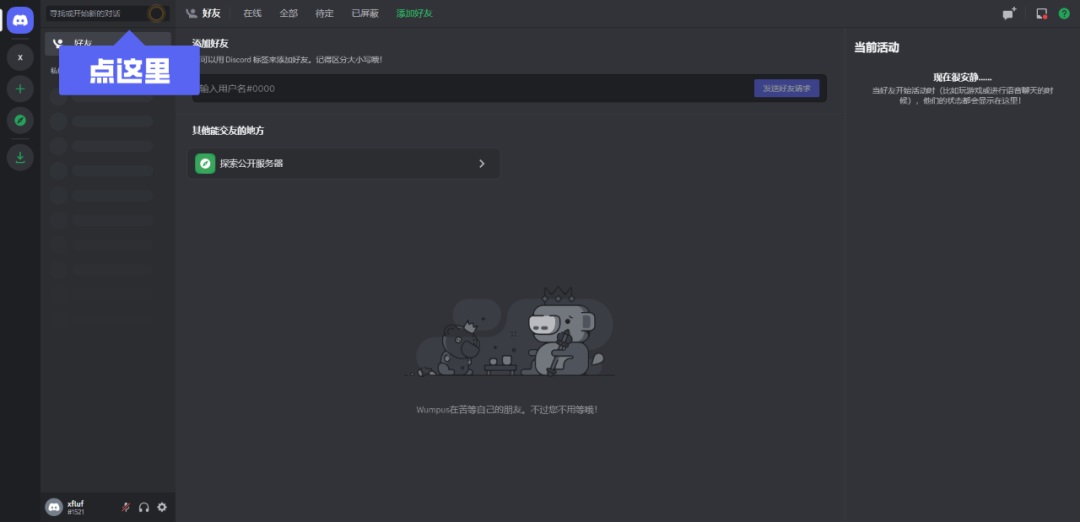
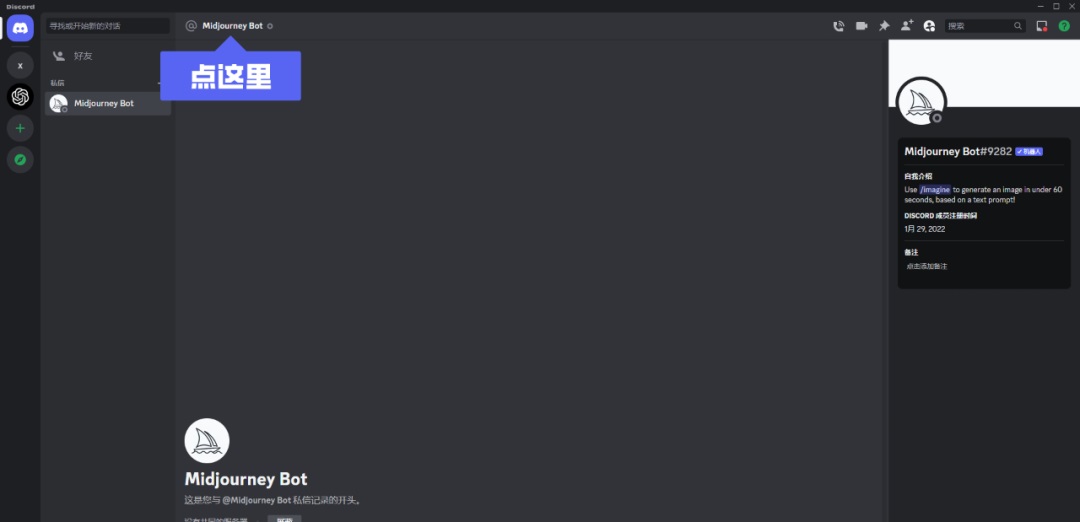
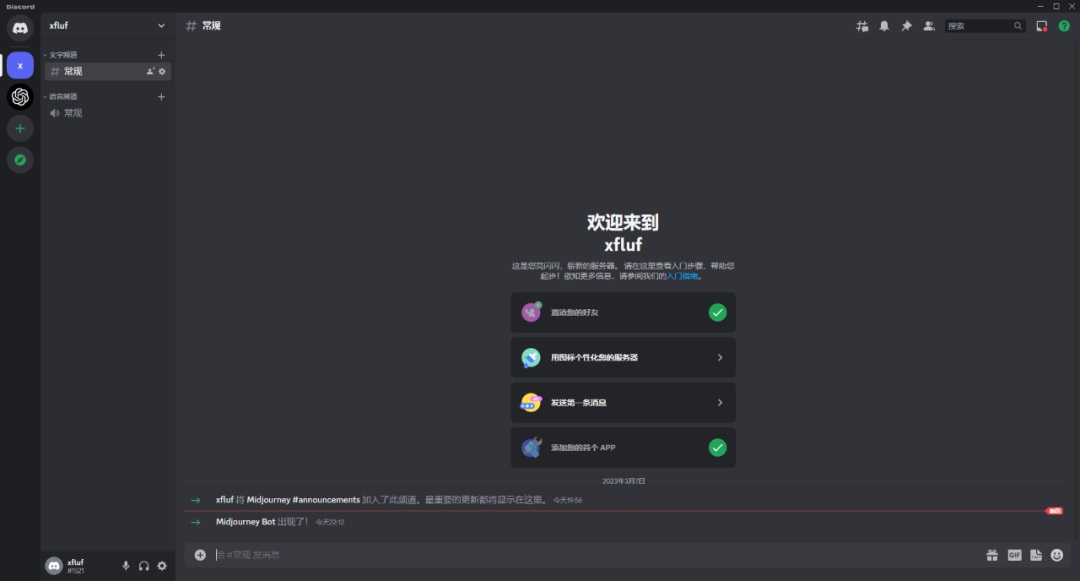
① Open the software and log in. On the default conversation page, click the "Find or start a new conversation" input box at the top and search for "Midjourney Bot"


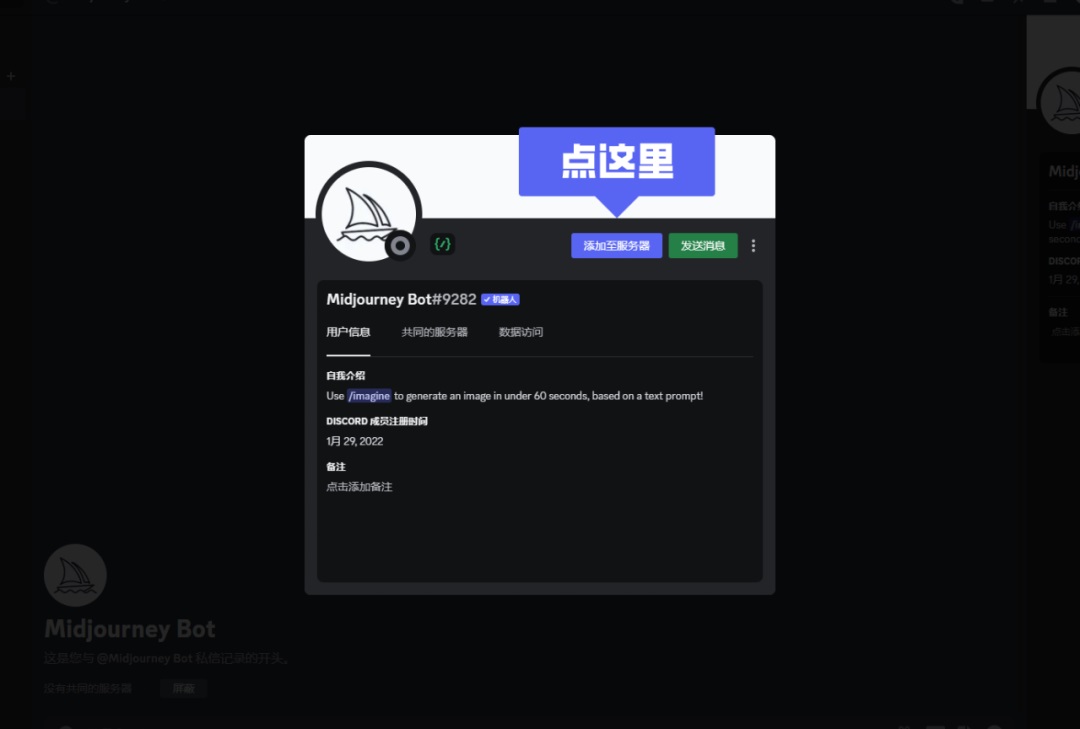
② Open the chat with Midjourney Bot: click the name at the top and select "Add to Server" in the pop-up window;


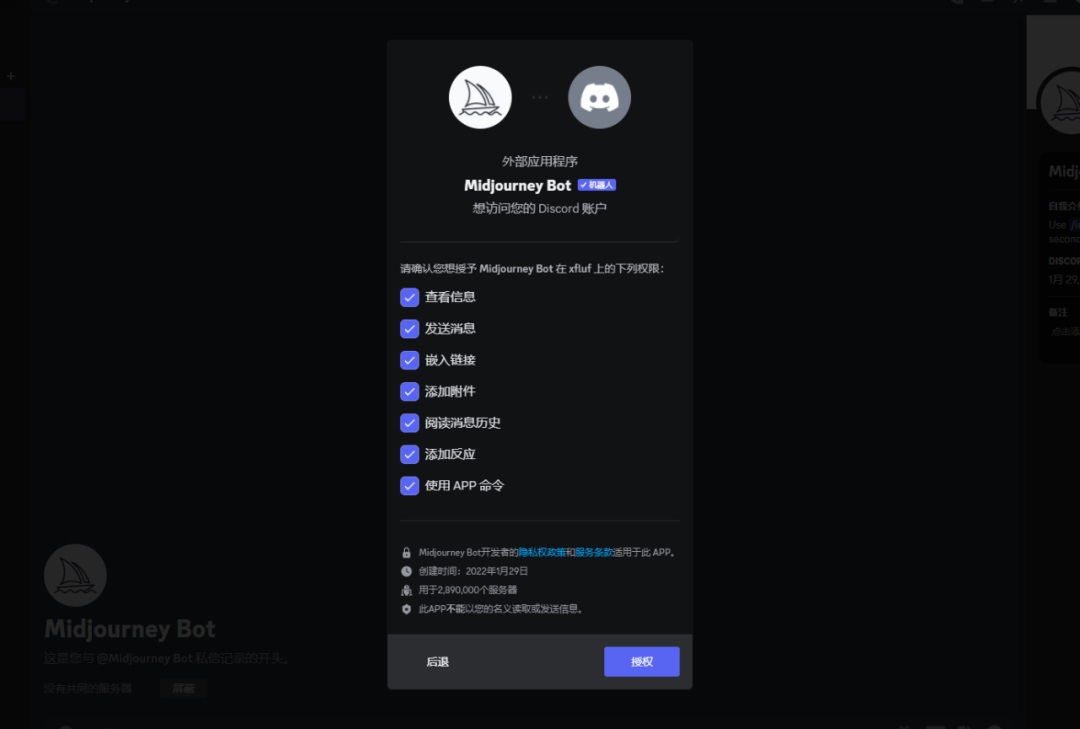
③ Select your personal server and click Continue;

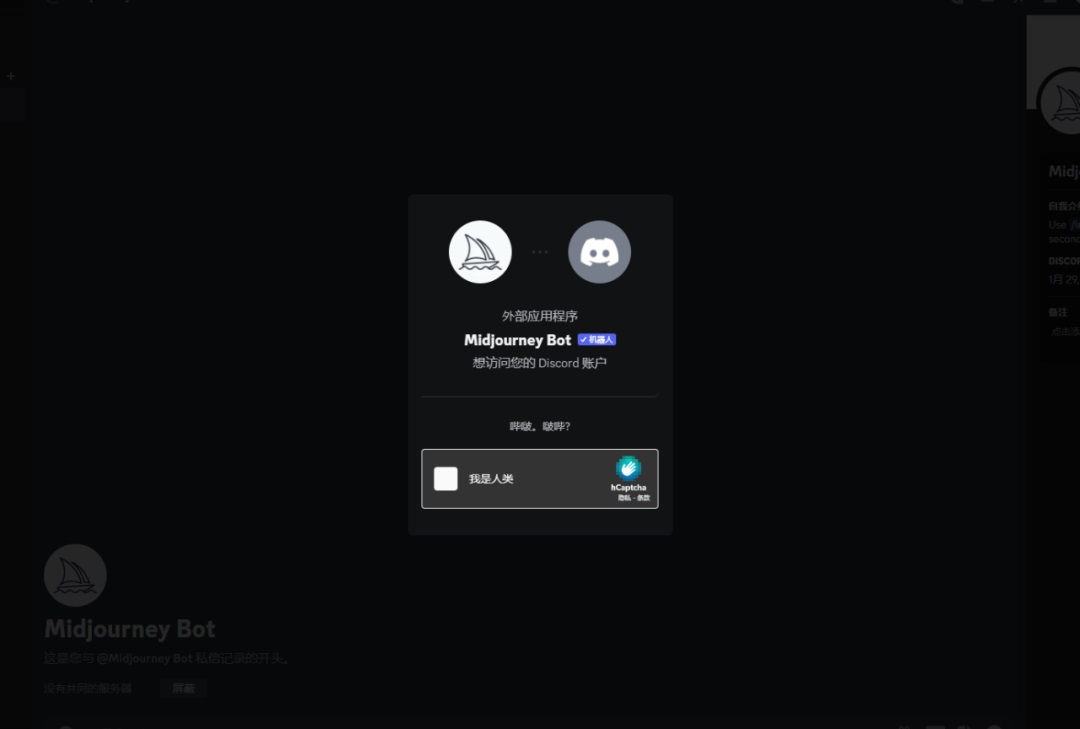
④ Finally, click Authorize and Verify. This way, your personal server is connected to Midjourney. You can then enter commands to create.


Command keywords
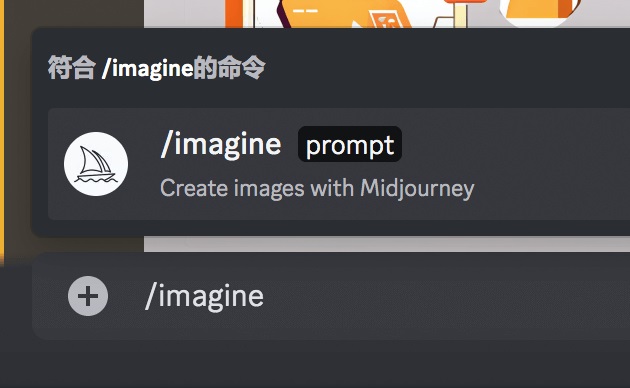
The commonly used command is "/imagine". Enter this command plus a space in the dialog box, enter a keyword (such as: a cat) after the prompt, and press Enter. The system will generate the corresponding illustration.


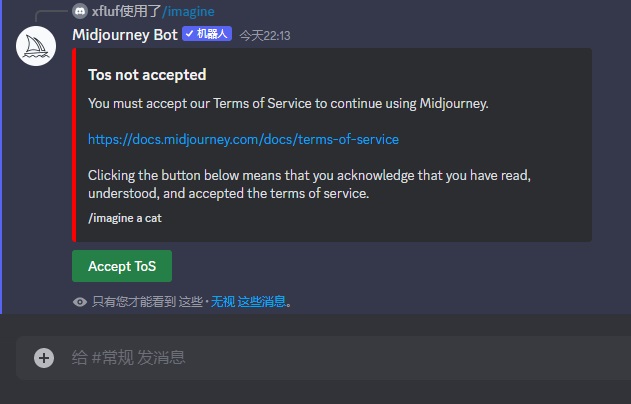
This message will appear when you use it for the first time. Just click the "Accept ToS" button.

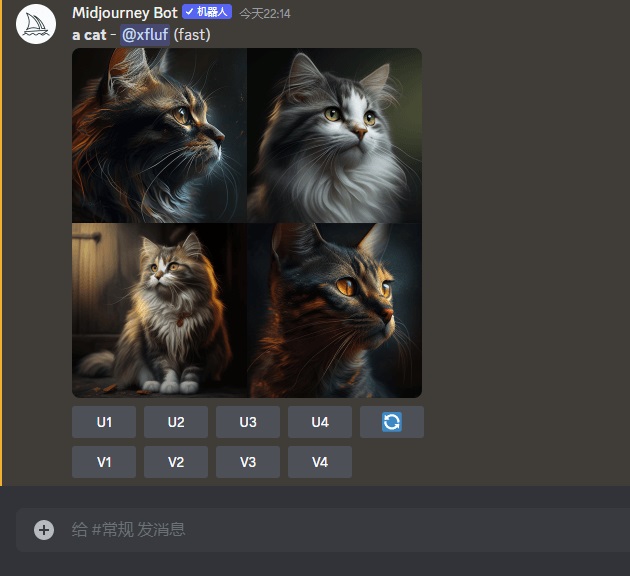
Illustrations generated based on the keywords we entered
Image push
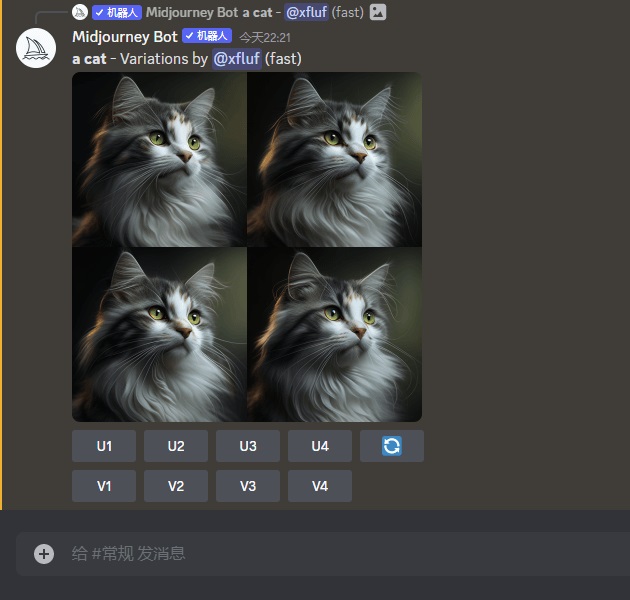
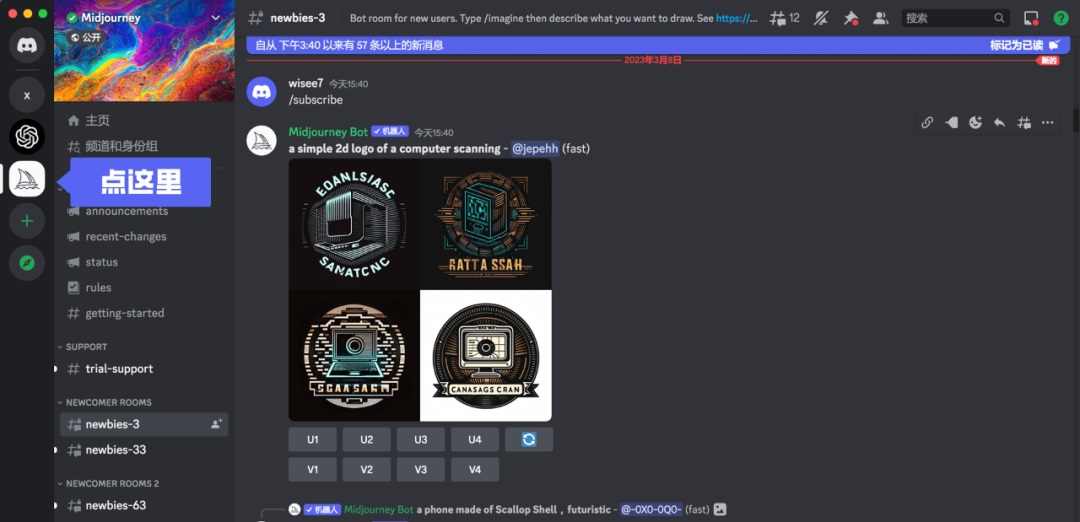
The system will generate four pictures. U1, U2, U3, and U4 below represent the four pictures displayed. Click one of the buttons and the system will send the corresponding picture to the user.

Quality upgrade
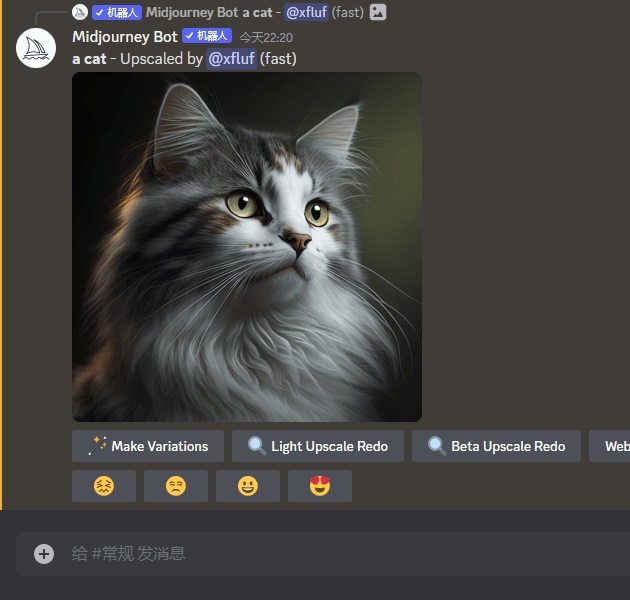
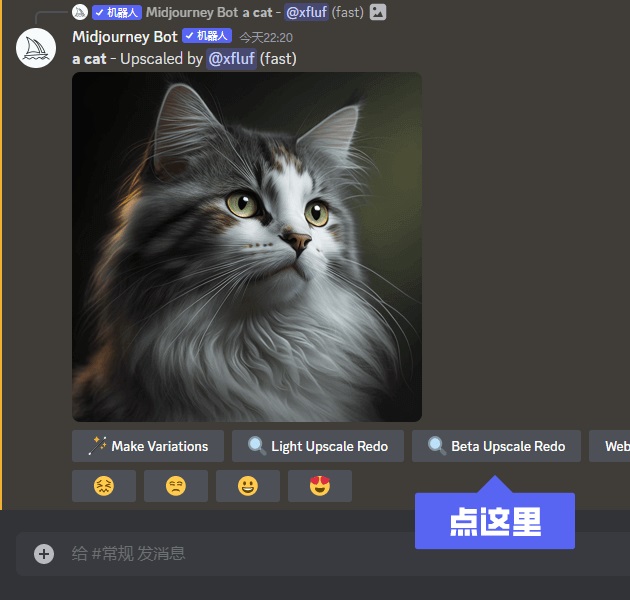
Clicking the "Light Upscale Redo" or "Beta Upscale Redo" buttons below the image will push a larger, more detailed version of the image.

Style Changes
V1, V2, V3, and V4 also correspond to four pictures. Clicking one of the buttons will push the detailed adjustment version of the four corresponding pictures to us.

Suffix support
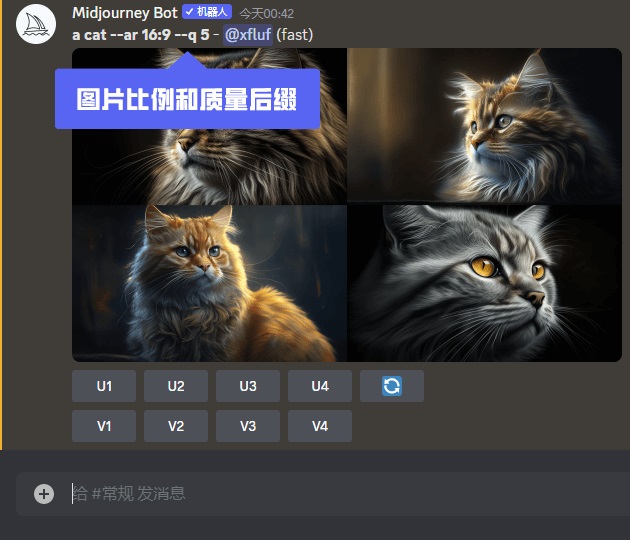
In the dialog box, you can not only enter keywords, but also enter suffixes to adjust the image quality; for example, –ar 16:9 means generating 16:9 size images; –q 5 means outputting high-quality images (image quality ranges from q 1 to q 5)

Additional description
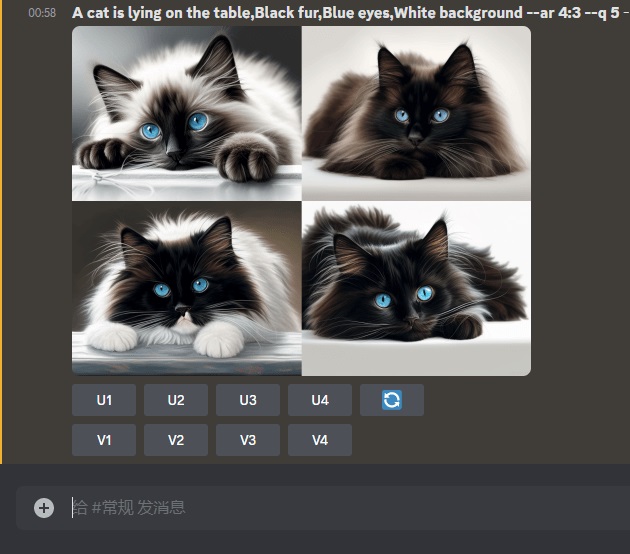
Optimize images with more descriptive statements; you can optimize by entering keywords in the order of subject content, environmental background, composition lens, reference direction, and image settings.
For example: A cat is lying on the table, Black fur, Blue eyes, White background –ar 4:3 –q 5 (A cat lying on the table, black fur, blue eyes, white background, 4:3 ratio picture, picture quality 5)

Mixed Instructions
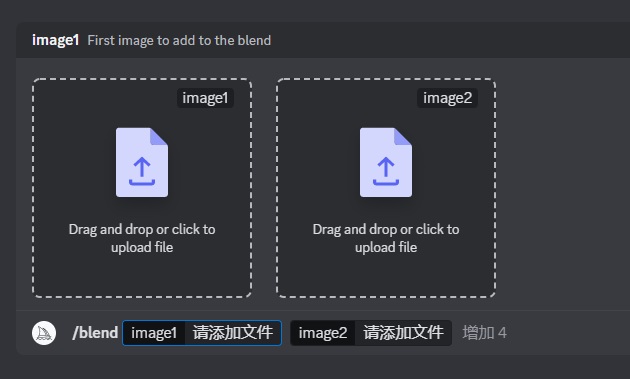
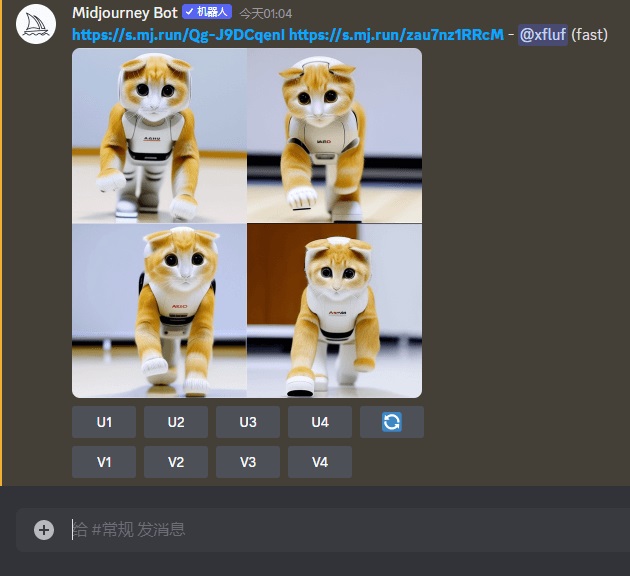
Enter the /blend command in the dialog box to upload two images at the same time and merge them into one; the following image is a fusion of a robot and an orange cat


Drawing with pictures
Draw new pictures by adding keywords to the mat;
① Click the + sign on the left side of the dialog box to upload a reference picture, and then press Enter to send it.
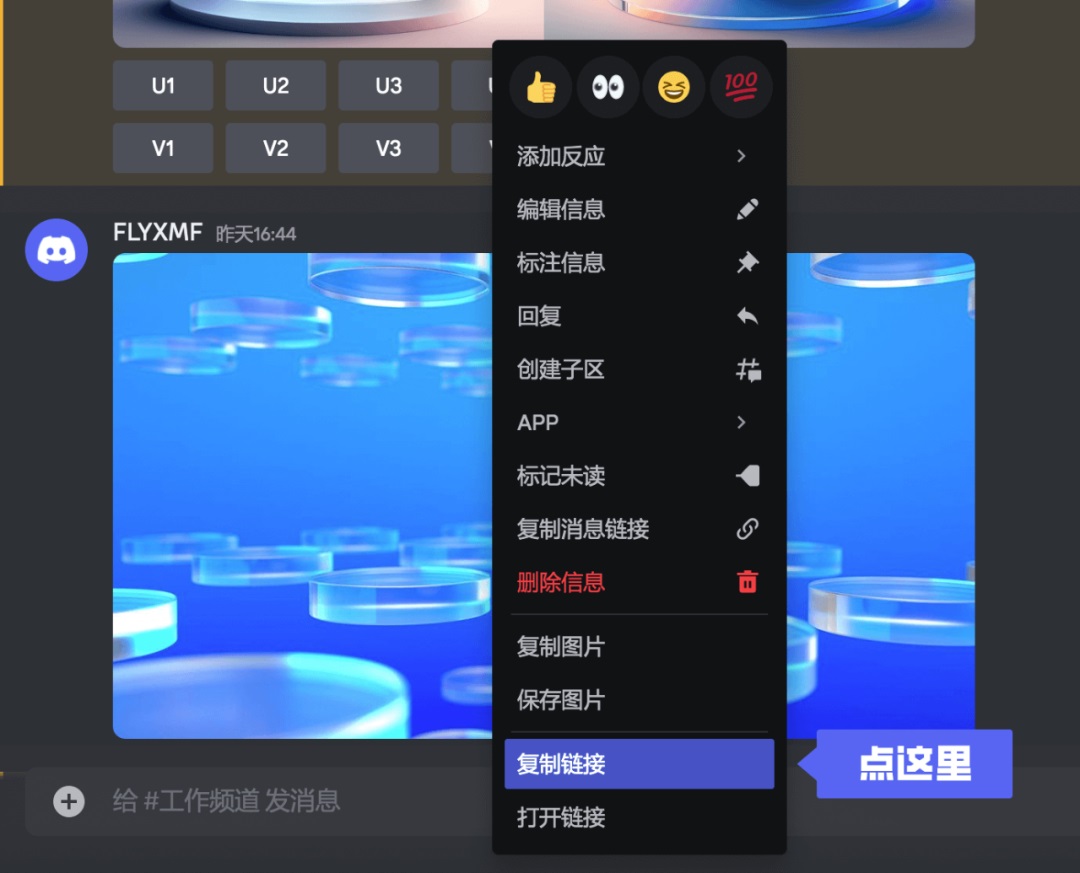
② Right click the image and select Copy Link

③ Enter the /imagine command, paste the image link, add the description keyword, and send it.
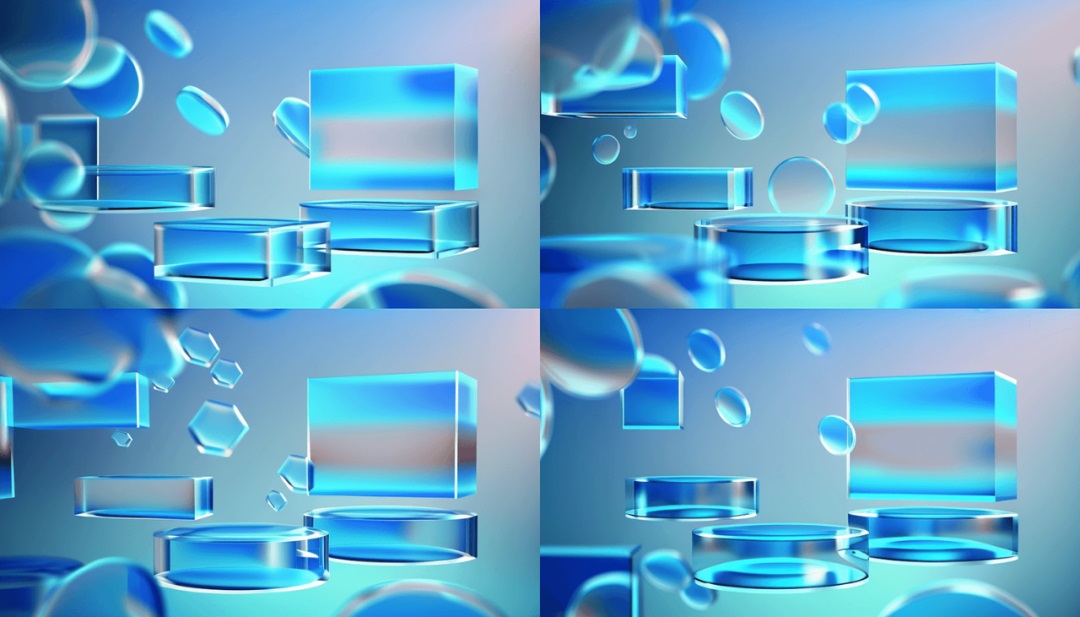
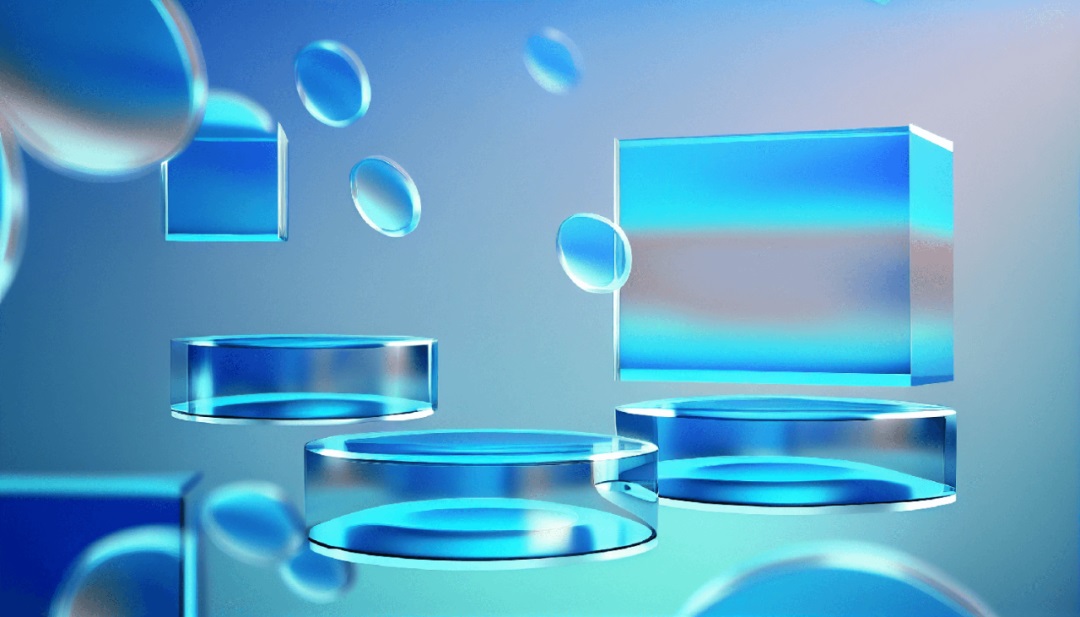
Example: A background image with glass texture elements, translucent, light blue background, Center the composition, Ultrawide shot, 3d rendering, very clean –ar 16:9 –q 5
(A background image with glass texture elements, light blue background, centered composition, ultra-wide-angle lens, 3D rendering, clean, 16:9 size, image quality 5)

④ Select an image and get more variations of it through "Style Change". Here, V4 is selected.

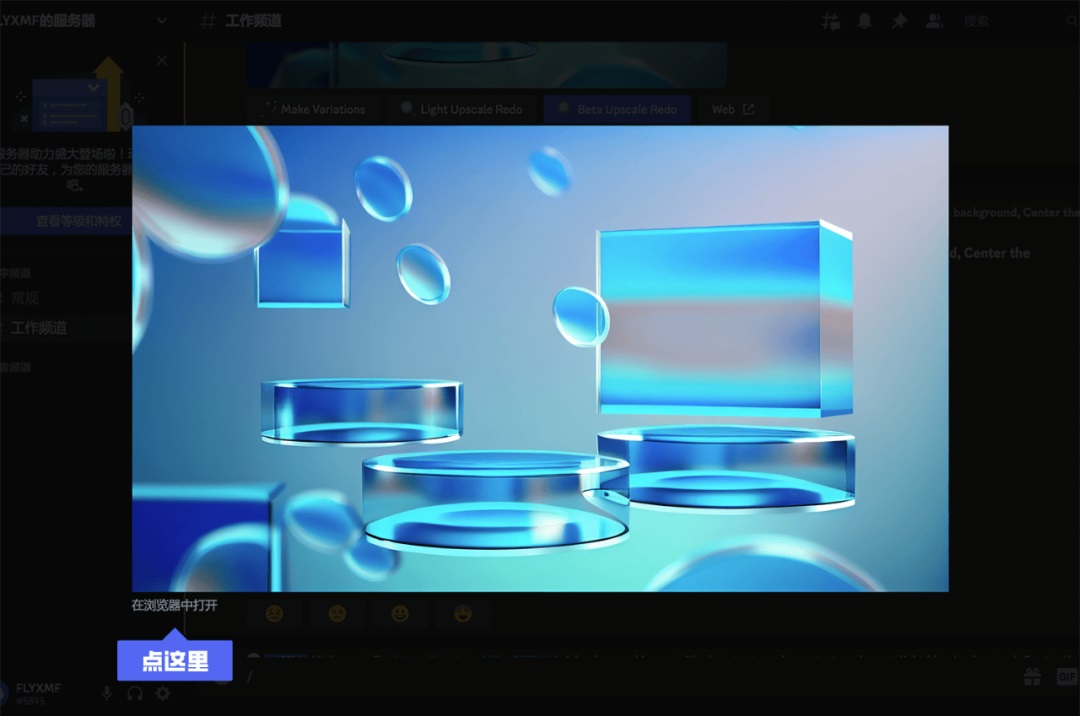
⑤ Select U4 and choose high quality output; click the image and select "Open in browser" and save as


View/Store Works
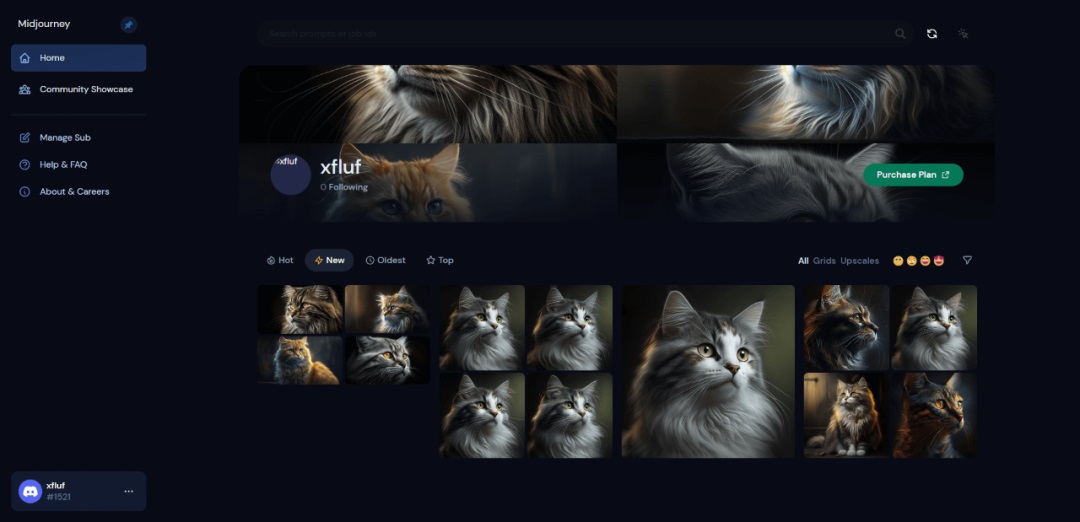
Click on the Midjourney server to find other people's works in the room; you can enter your own works on the Midjourney official website and click "Sign in" to view them.


Upgrade Membership
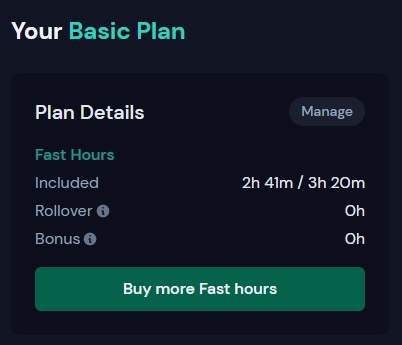
Click Manage Sub on the personal page to view the membership package. There are two modes: annual and monthly. There are different packages at different price points. Purchasing the lowest level can meet daily use. Credit card payment is required.

After you activate your membership, the default is monthly deduction; if you want to cancel:
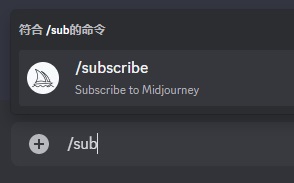
① You can enter /subscribe in the dialog box and press Enter;

② Click the "open subscription page" button in the pop-up information to jump to the payment page;

③ Select “manager”;

④ Select “cancel plan” and click confirm.
After a series of tests, Midjourney can now assist us in quickly producing drawings. It can be very competent in some positions with strong repetitiveness and low importance, greatly solving our efficiency problems. However, it is too early to say that it can completely replace designers or painters.
By repeatedly exploring and testing keywords, we can use them to build a series of image libraries, which will be very helpful in our daily work; at the same time, the generated images can also provide us with inspiration and complement each other.
