In this section, we will learn how to utilize theMidjourneyPerform product photography. We'll look at a real-world example of how to incorporate products into the background and how AI technology can enhance product photography.
I. Challenges of product photography
studyingAI PaintingDuring the course of the project, we realized that Midjourney can generate beautiful images, but these images are often randomly generated and don't exactly match the needs of our products. To solve this problem, we needed to learn how to combine our products with Midjourney-generated background images to create product photography images that were both beautiful and functional.
II. Overall process
We will go through the following five steps to accomplish product photography:
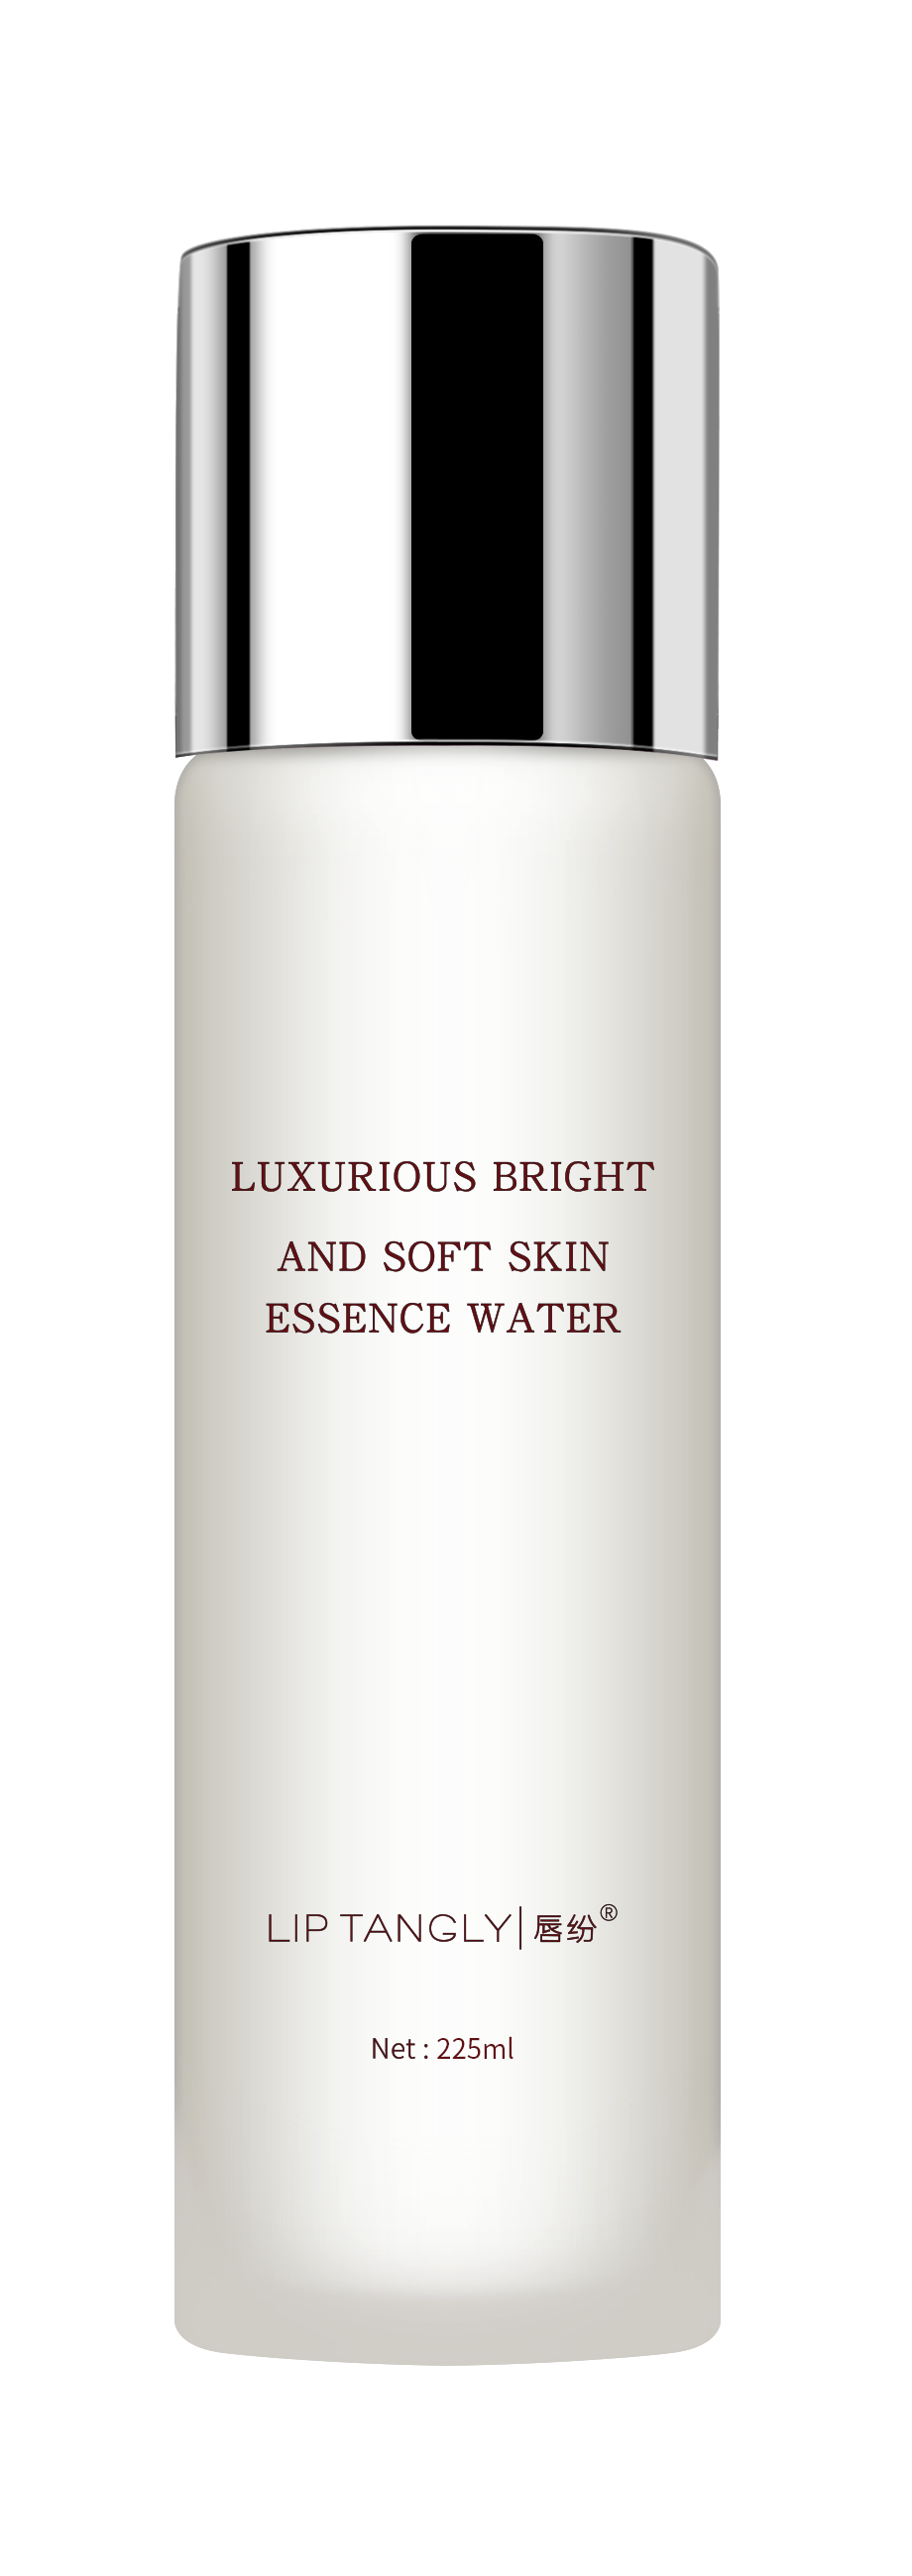
- Product Picture Shooting: Prepare clear product images to ensure even light and shadow for post-processing.
- Background image creation: Find or generate a suitable background image, either generated by Midjourney or found on a stock footage site.
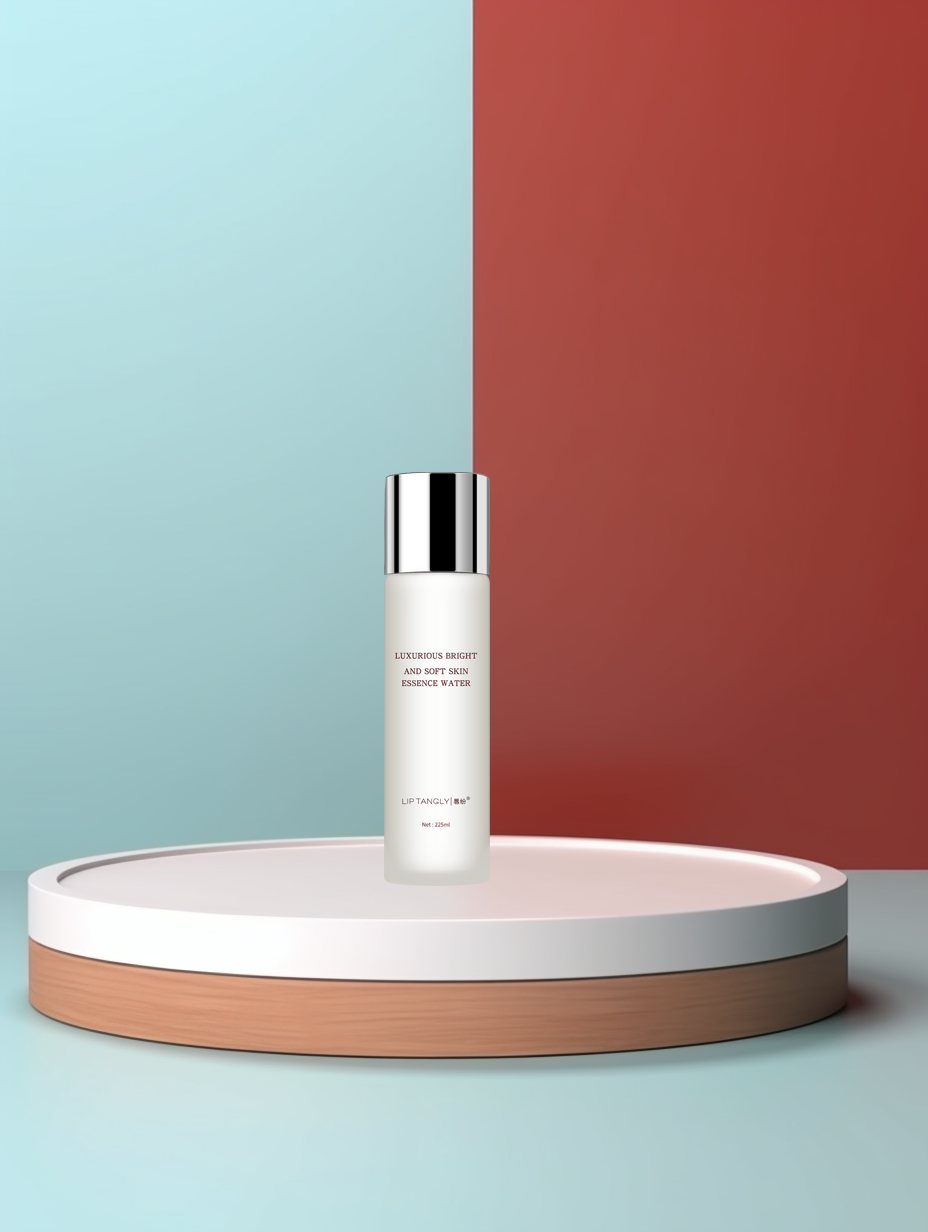
- P the product into the background with PS: Combine the product image with the background image to initially place the product.
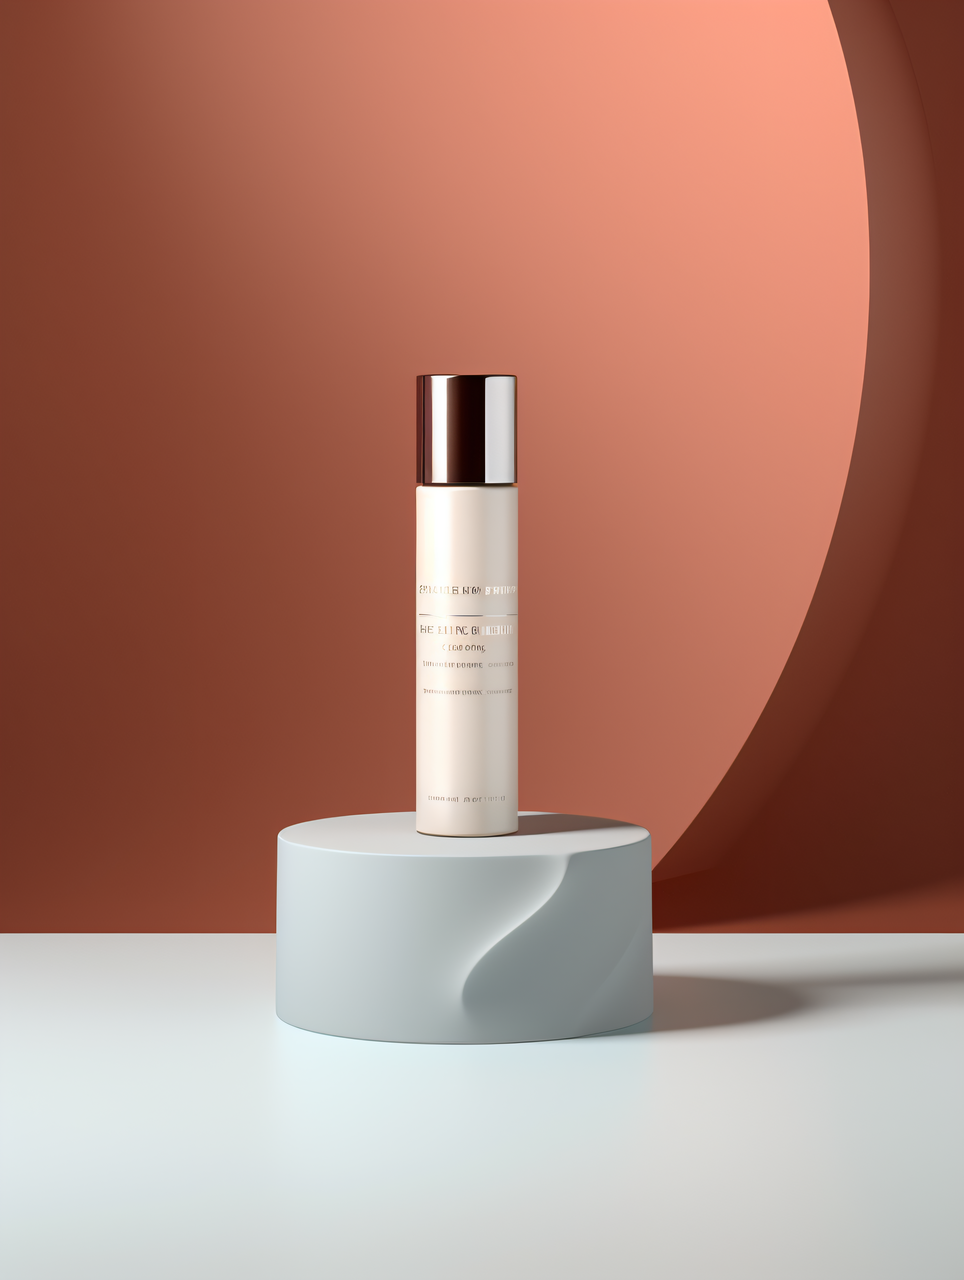
- Regenerate with Midjourney: Let Midjourney generate light and shadow effects based on placed product images to improve integration.
- Re-insert the product in PS and modify the light and shadow of the product.: Adjust the product light and shadow to blend better with the background image.
Third, the product picture shooting
First, we need to prepare a clear picture of the product. This drawing will serve as the basis for our subsequent operations. Make sure that the light and shadow of the product picture are even, so that it will be more convenient in post-processing.
IV. Background map production
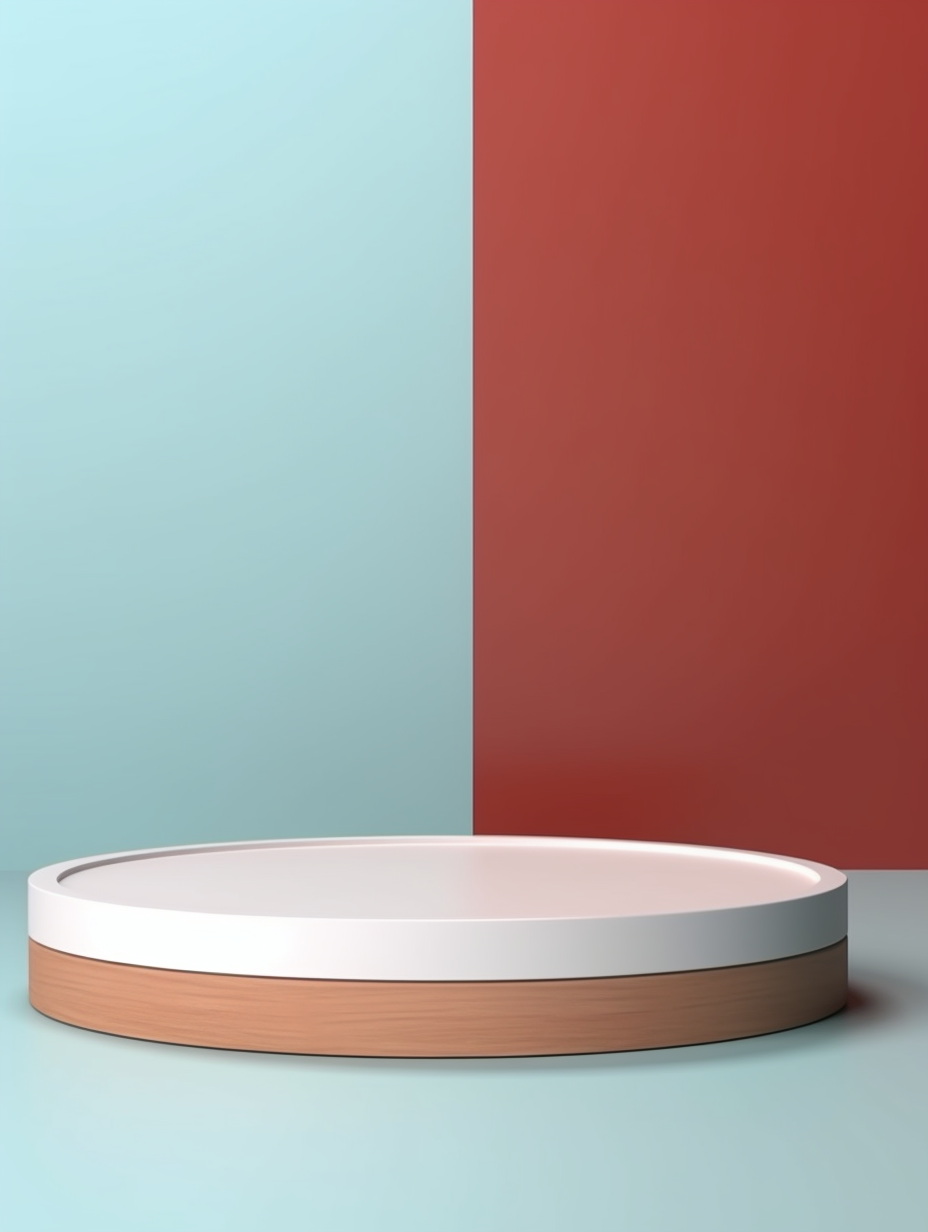
Next, we need to create or find a suitable background image. This background image will be combined with our product image to form the final product photography image. We can use Midjourney to generate a background image or we can look for a suitable background image on a stock footage website.
empty showcase for cosmetic product presentation,promotion,circle white podium on light blue and red brown background --ar 3:4 --v 5.2 ---s 50
Fifth, use PS to P the product into the background
Placing the product image into the background image is a critical step. We need to make sure that the position, angle, and lighting effects of the product in the background match our needs. This may require some PS skills such as resizing, positioning and lighting effects.
VI. Re-generation with Midjourney
After the product image has been placed into the background image, we can use Midjourney to generate the image again to ensure a more natural and blended lighting effect between the product and the background.
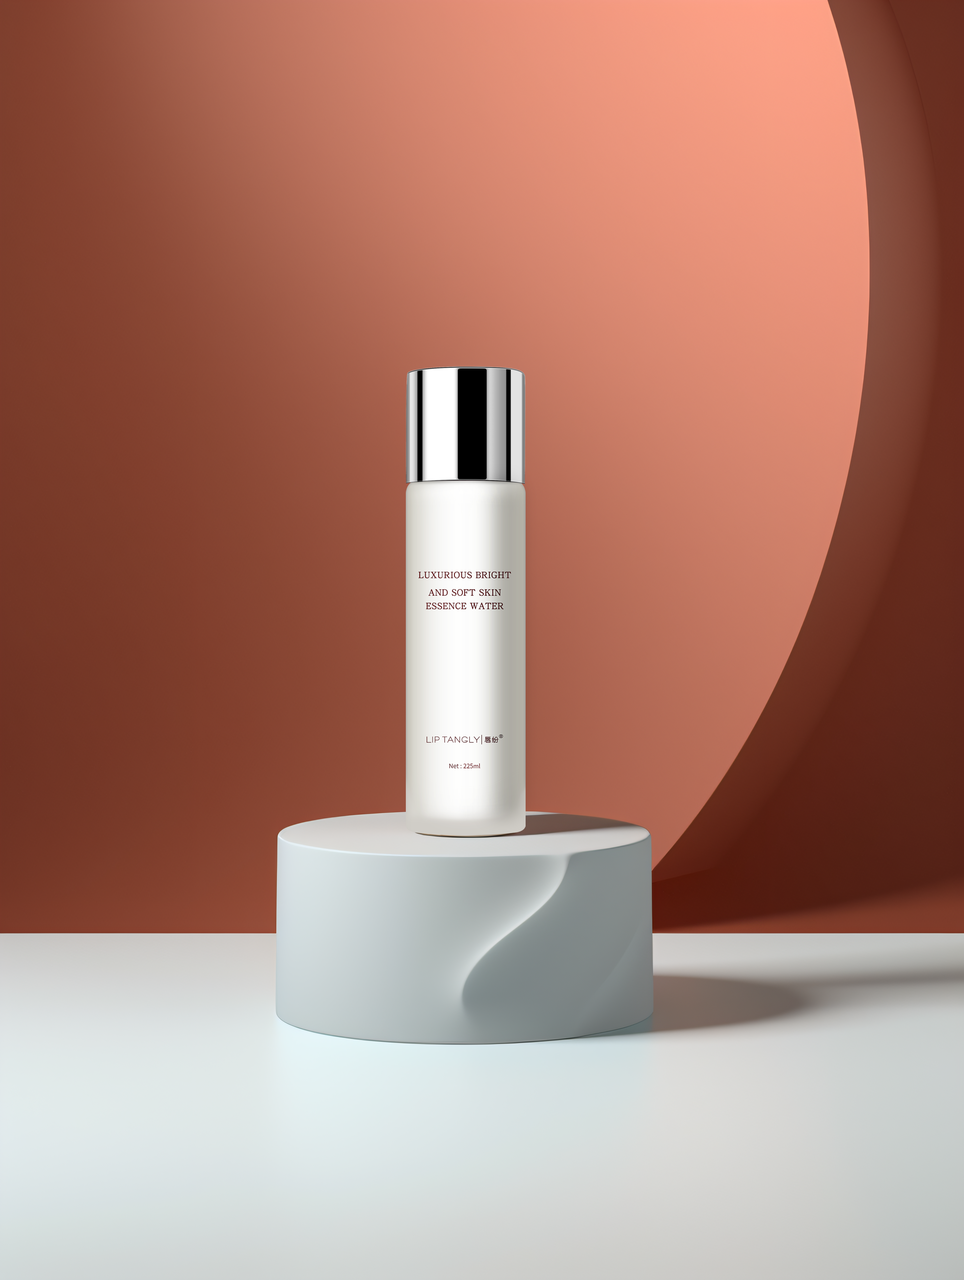
https://s.mj.run/hAu1OV36z9Q product photography,Commercial Photography,a Facial cleanser,in the style of light silver and brown,refined aesthetic sensibility,rendered in unreal engine,high quality photo,graceful balance,soft femininity,contest winner --ar 3:4 --iw 2 --v 5.2 ---s 50
Seven, PS again into the product, modify the product light and shadow
Finally, we need to adjust the lighting effects of the product image in PS to make it blend in better with the background image. This may include adjusting brightness, contrast, shadows, etc.
VIII. Summary
In this section, we have learned how to incorporate products into background images and enhance product photography with Midjourney.
You can practice the whole process on your own, which will help you understand how to generate beautiful background images and how to adjust the product light and shadow.