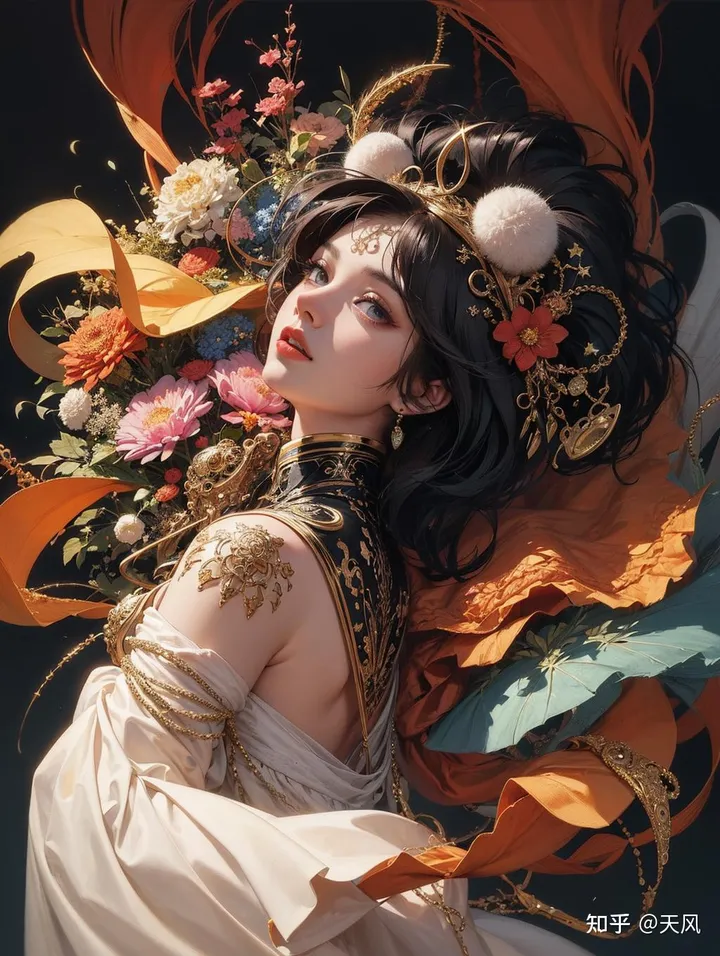
personal website:https://tianfeng.space/ Clearer pictures
Skywind: stable-diffusion use + plugin and model recommendation 2.0
The model recommends the final version:tian-feng: stable diffusion image sharing and model recommendation, what are the good models?
I. Preface
Stable diffusion algorithms (stable diffusion) can be applied to many problems in image processing, such as image denoising, image segmentation, image enhancement and image restoration. In image denoising, stable diffusion algorithm can reduce the noise by smoothing the image and retain the detailed information of the image. In image segmentation, stabilized diffusion algorithm can divide the image into different regions by clustering the image. In image enhancement, the stabilized diffusion algorithm can make the image clearer by increasing the contrast and brightness of the image. In image restoration, the stabilized diffusion algorithm can restore the integrity of the image by reconstructing the missing pixels.
Once again, thanks to the big man of B station Akiba's integration pack, the white man can also eat with confidence, theB Station Akiba Big Brother one-touch triple
Link:https://pan.baidu.com/s/1r8nv5CbYRI4p6QSue5zeoA Extract code: lj33 The following describes the details of using the
II. Installation
1. Unzip the program and click on the launcher to run the dependency, then click on A launcher


2. Update ontologies and extensions
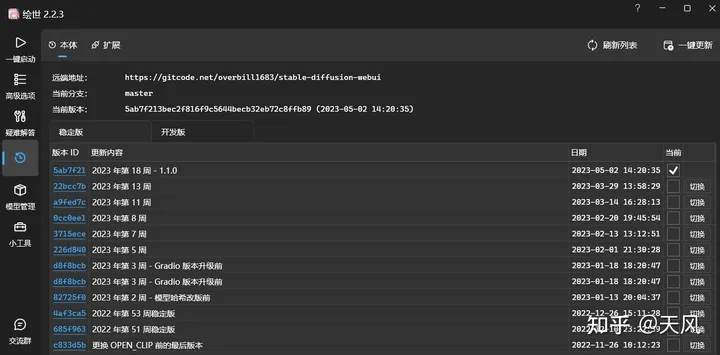
3. Put controlnet 1.1 into stable diffusion.

Copy the files from the model into the

The download in the preprocessor is put into the

III. Use of interface parameters
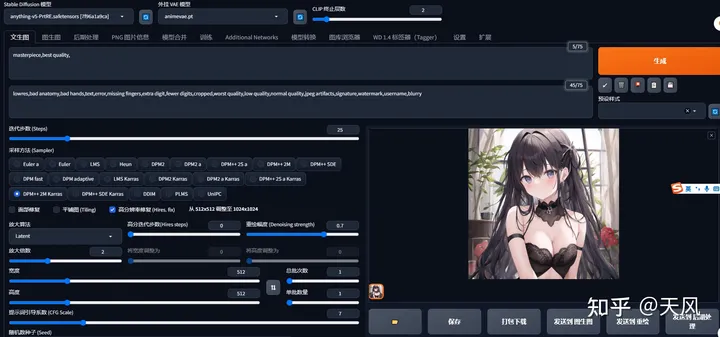
1. Cue word
masterpiece,best quality.
lowres,bad anatomy,bad hands,text,error,missing fingers,extra digit,fewer digits,cropped,worst quality,low quality,normal quality,jpeg artifacts,signature,watermark,username,blurry
Forward and reverse cue words, if you want to increase the weight of the cue word, (word:1.5) - increase the weight by 1.5 times
2. Sampling and Iteration Steps

- Sampler (sampler/sampling method)
Euler a (Eular ancestral) can produce a great deal of diversity in a small number of steps, and different steps may have different results.
DPM-related samplers usually give good results, but are correspondingly more time-consuming.
Euler is the simplest and fastest
Euler a is more versatile and can produce different images with different number of steps. But too many steps (>30) will not give better results.
DDIM is fast convergence, but relatively inefficient, because it needs many steps to get good results, suitable for redrawing.
LMS is a derivative of Euler, they use a related but slightly different method (averaging the last few steps to improve accuracy). It takes about 30 steps to get stable results.
PLMS is a derivation of Euler that better handles singularities in the structure of neural networks.
DPM2 is a fantastic method that aims to improve DDIM by reducing the number of steps to get good results. It requires running denoising twice per step, it's about twice as fast as DDIM, and the raw graph results are very good. But if you are experimenting with debugging cue words, this sampler might be a bit slow.
UniPC is better and very fast, and has better performance on planes and cartoons, so it is recommended.
Recommended Euler a , DPM2++2M Karras, DPM2++SDE Karras- Iteration steps
Stable Diffusion works by starting with random Gaussian noise and approaching the noise reduction step by step towards an image that matches the cue. As the number of steps increases, smaller and more accurate images of the target can be obtained. However, increasing the number of steps also increases the time required to generate the image. Increasing the number of steps has diminishing marginal returns, depending on the sampler. It is usually turned up to 20-30.
3.Repair and picture related settings

- HD restoration By default, Vincennes generates a very chaotic image at high resolution. If you use HD restoration, it will type first generate an image at the specified size, and then expand the image resolution by a scaling algorithm to achieve the HD large image effect. The final size is (Original Resolution * Scaling Factor Upscale by).
- Facial Restoration Repair the faces of the characters in the screen, but turning on face repair for non-realistic style characters may result in chipped faces.
- In the amplification algorithmLatent works well in many cases, but not so well for redraw magnitudes less than 0.5. ESRGAN_4x and SwinR 4x have good support for redraw magnitudes below 0.5.
- Hires step Indicates the number of steps counted while performing this step.
- Denoising strength The literal translation is the noise reduction intensity, expressed as the degree to which the final generated image changes the content of the original input image. The higher the value, the more different the enlarged image is from the pre-enlarged image. Low denoising means correcting the original image, while high denoising has no significant correlation with the original image. Generally speaking, the threshold value is around 0.7, more than 0.7 is basically irrelevant to the original image, and below 0.3 is just a slight modification. In practice, the specific steps are Denoising strength * Sampling Steps.
- CFG Scale (cue word relevance) How well the image matches your cue. Increasing this value will result in an image that is closer to your cue, but it also reduces the image quality somewhat. This can be offset with more sampling steps. A CFG Scale that is too high is reflected in bold lines and an over-sharpened image. Generally turn it on to 7~11. The relationship between CFG Scale and sampler:
- Generating batches The number of groups of images generated per run. The number of images generated in one run is "Batch * Number of batches".
- Quantity per batch How many images are generated simultaneously. Increasing this value improves performance, but also requires more video memory. Large Batch Size consumes a huge amount ofdisplay memoryIf there is no more than 12G of video memory, please leave it at 1. If you do not have more than 12G of video memory, leave it at 1.
- sizes Specify the width and length of the image. When the outgoing size is too wide, multiple subjects may appear in the image. sizes above 1024 may give undesirable results and a small resolution + HD fix (Hires fix) is recommended.
- torrent The seed determines all the randomness involved in the model's production of pictures, and it initializes the initial values of the starting point of the Diffusion algorithm. Theoretically, in the case of applying exactly the same parameters (e.g. Step, CFG, Seed, prompts), the produced pictures should be exactly the same.
IV. Using the interface model
1. Controlnet
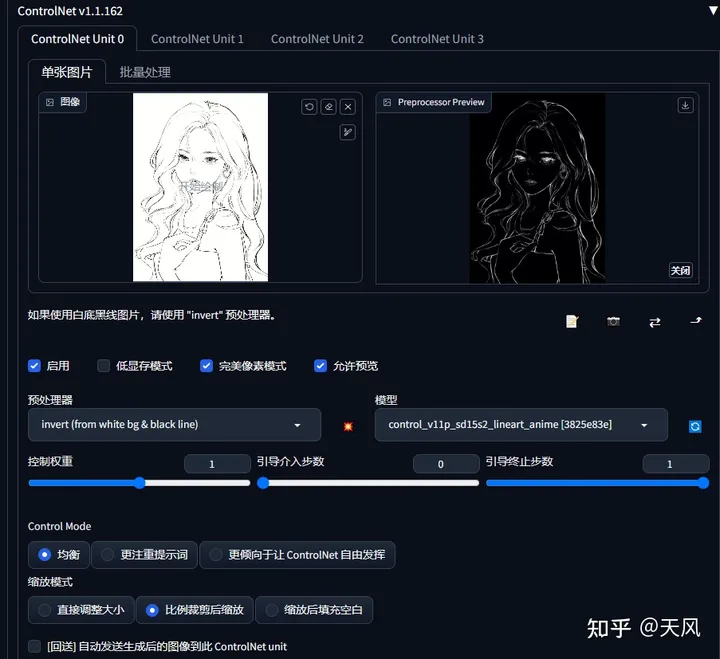
Controlnet allows control of the generated image through line drawings, motion recognition, depth information, and more.
- Click Enable to enable this ControlNet item.
- Preprocessor refers to the preprocessor that will preprocess the imported image. If the image already matches the preprocessed result, select None. e.g., if the imported image in the figure is already the skeleton image needed by OpenPose, select none for preprocessor.
- Under Weight, you can adjust the influence weight of this ControlNet in the compositing, similar to the weight adjusted in prompt. guidance strength is used to control how many percent of the first steps of the image generation are dominated by the Controlnet, similar to the syntax of [:].
Pre-processor (only part of it)
- Invert Input Color Indicates that the inverse color mode is activated, turn it on if the input image has a white background.
- RGB to BGR Indicates that the input color channel information is inverted, i.e., RGB information is parsed as BGR information, just because the BGR format is used in OpenCV. If the input map is a normal map, turn it on.
- Low VRAM Indicates that low memory optimization is enabled, which needs to be combined with the startup parameter "-lowvram".
- Guess Mode Indicates no-prompt word mode, which requires CFG-based guidance to be enabled in the setup.
- Model In the "Parsing Model" section, please select the parsing model you want to use, which should correspond to either the input image or the preprocessor. Note that the preprocessor can be empty, but the model cannot be empty.
- canny Used to recognize the edge information of the input image.
- depth Used to recognize the depth information of the input image.
- hed Used to recognize the edge information of the input image, but with softer edges.
- mlsd A lightweight edge detection for recognizing the edge information of the input image. It is very sensitive to horizontal and vertical lines and is therefore more suitable for the generation of indoor maps.
- normal Used to recognize the normal information of the input image.
- openpose Used to recognize the action information of the input image.
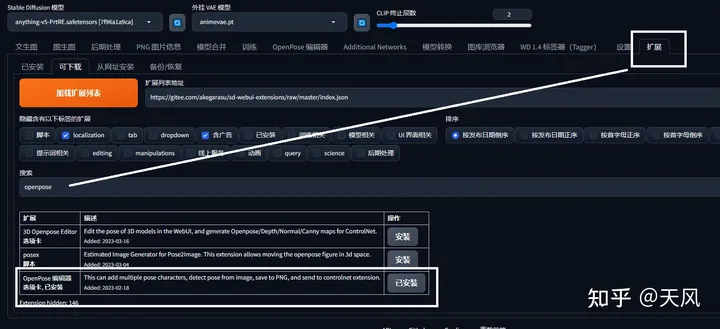
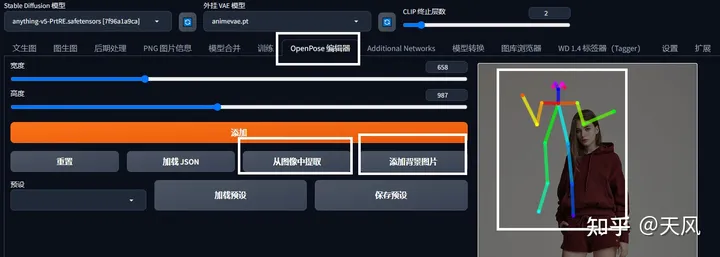
- OpenPose Editor The plugin allows you to modify the poses yourself and export to text-born or graph-born.
- scribble Recognize the input image as a line drawing. If the artwork has a white background, be sure to check "Invert Input Color".
- fake_scribble Recognizes the line art of the input image before generating an image as a line art.
- segmentation Recognize what types of items are in each region of the input image, and then use this compositional information to generate an image.
controlnet 1.1 model
Input Color
Invert Input Color
control_v11p_sd15s2_lineart_anime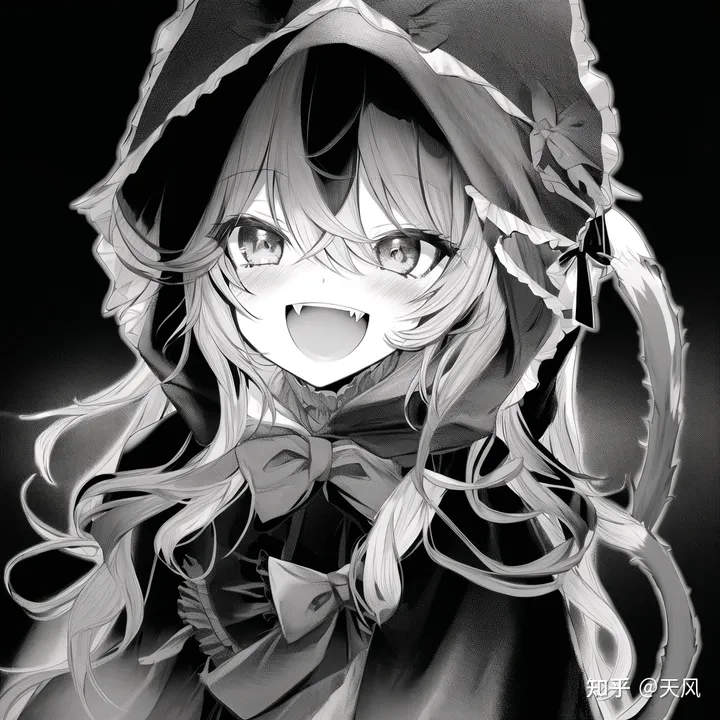
control_v1le_sd15_ip2p
Cue words need to write instructions, such as make it night into the night at the same time, you can also add some night tag. this needs to be adjusted to lower the CFG, low to 5 or less, unstable, use discretion!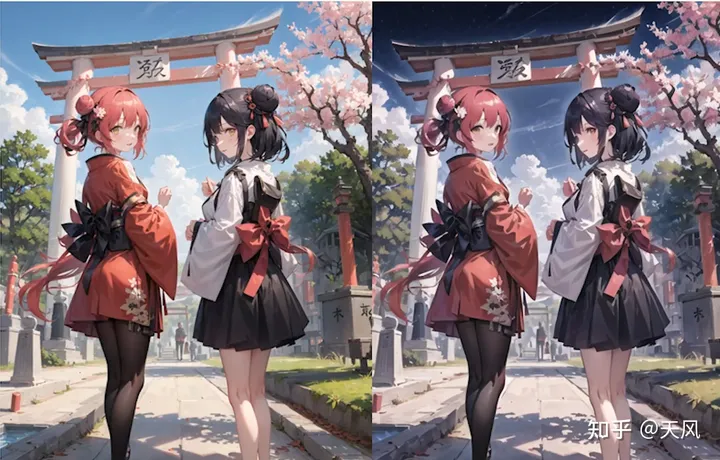
tile_resample
control_v11fle_sd15_tile
GodBeFeature:
-Ignore details in the image and generate new ones.
-If the local content does not match the global cue word, the cue word is ignored and the local content is inferred from the surrounding image attempts.
Effects:
-Functionality to make the image blend better (e.g. P up an item and Tie can infer the surrounding blend)
-Functionality to add detail
If you directly pull up the resolution and then use Tle, then he can have the function of enlarging the picture
With other image amplifiers (e.g. post-processing inside the enlargement, can be very good to fix the details caused by the enlargement of the problem)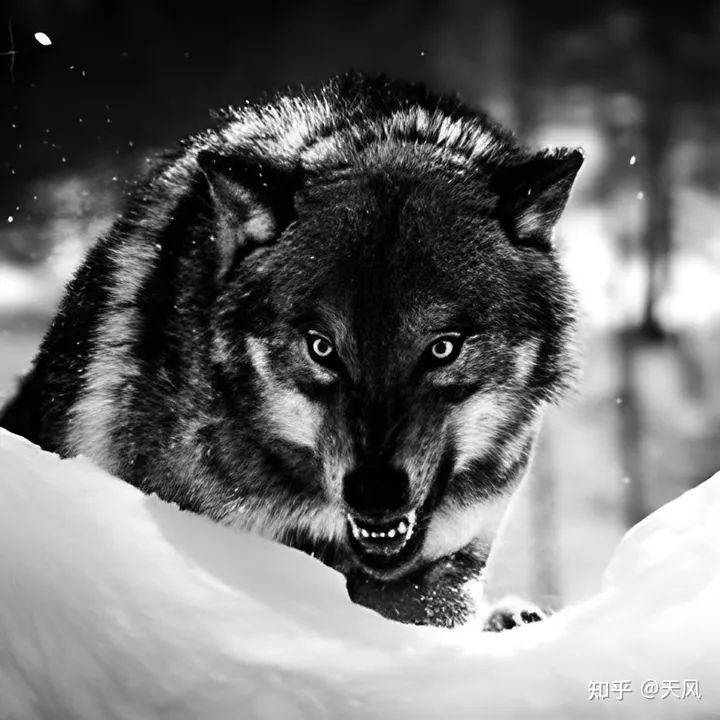
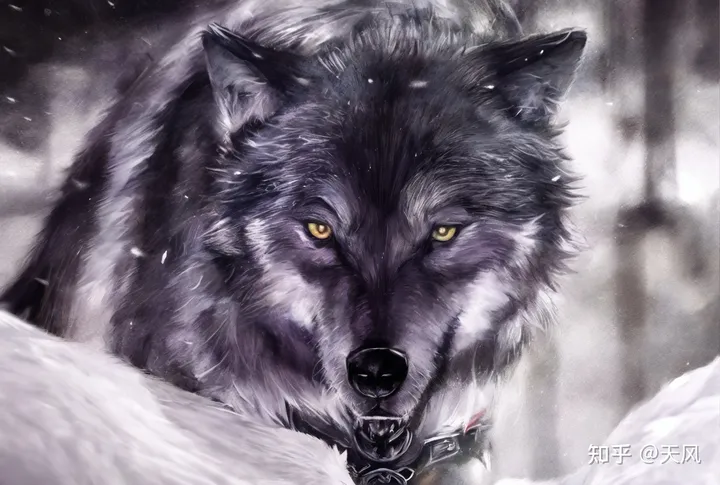
Pose Control
openpose + control_openpose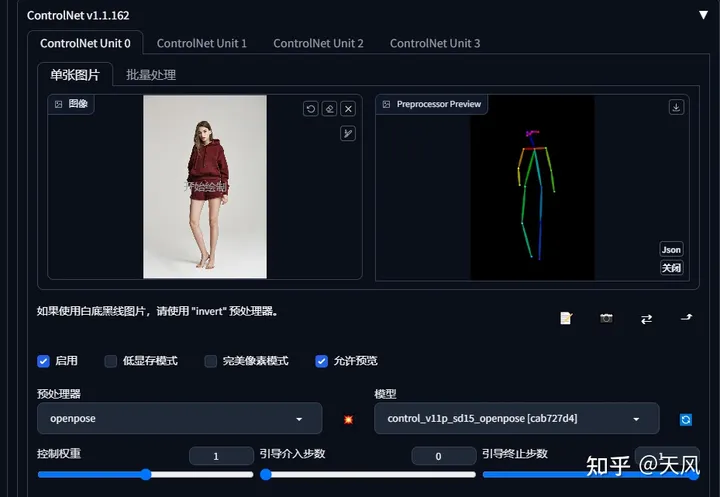
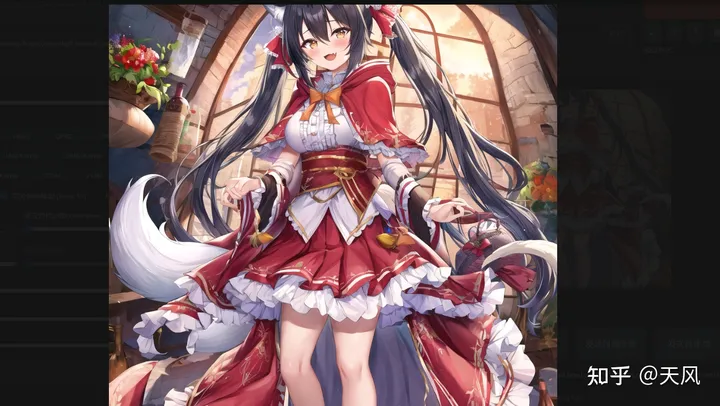
You can also edit the pose, download openpoe in the extension and drag the key points of the pose map into the pose you want.
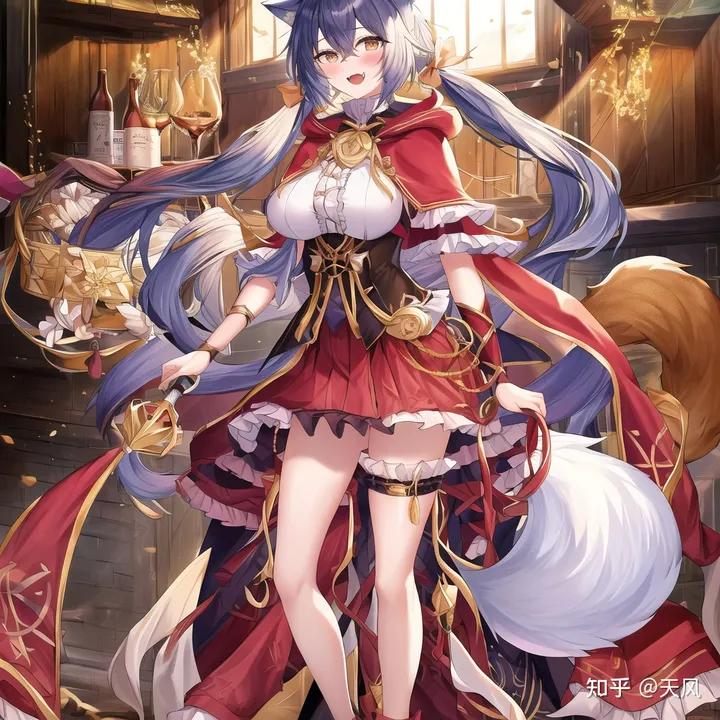
Embedding model: yaguru magiku +LORA: GuoFeng3.2 Lora
V. Model Download Placement
1.Model Download
Models can effectively control the style and content of the generated painting. Commonly used modeling sites are:
Civitai | Stable Diffusion models, embeddings, hypernetworks and more Models - Hugging Face SD - WebUI Resource Station Elemental Codex AI Model Collection - AI Drawing Guide wiki (aiguidebook.top) AI Museum of Painting Models (subrecovery.top)
Civitai | Stable Diffusion models, embeddings, hypernetworks and more

 Models - Hugging Face

SD - WebUI Resource Center

 Elemental Codex AI Model Collection - AI Drawing Guide wiki (aiguidebook.top)

AI Drawing Model Museum (subrecovery.top)
2. Model Installation
After downloading the model you need to place it in the specified directory, please note that different types of models should be dragged and dropped into different directories. The type of model can be determined by theStable Diffusion Spell ResolutionDetection.
- Ckpt: put in models\Stable-diffusion
- VAE models: Some big models need to be used with vae, the corresponding vae is also placed in the models\Stable-diffusion or models\VAE directory, and then selected in the settings section of webui.
- Lora/LoHA/LoCon models: put in extensions\sd-webui-additional-networks\models\lora, also in models/Lora directory
- Embedding model: into the embeddings catalog
- hypernetwork Chinese name: hypernetwork. Its function is similar to embedding, lora, will be targeted to adjust the picture, can be simply understood as a low version of the lora, so its scope of application is relatively narrow, but it is easy for the conversion of the picture style, but also can generate a specific model and characters. In the right side of the C station filter column filter hypernetwork, you can see all the hypernetwork model, in which to pick their favorite just. models\hypernetworks
3. Model use
- Checkpoint (ckpt) model The model that has the most influence on the effect. Selected for use in the upper left corner of the webui interface. Some models have a trigger word, i.e. enter the appropriate word in the cue word for it to take effect.
- Lora model / LoHA model / LoCon model.
Models that perform better on characters, poses and objects are used in addition to the ckpt models. Enable it by checking Enable under Additional Networks in webui interface, then select the model under Model, and adjust the weight with Weight. The higher the weight, the higher the impact of the Lora. It is not recommended to use too much weight (more than 1.2), otherwise the result will be distorted easily.
Multiple lora models can be mixed together to create an overlay effect. For example, a lora that controls the face can be combined with a lora that controls the style of painting to create a specific character with a specific style of painting. Therefore, it is possible to use multiple lora models that focus on different aspects of optimization, adjusting the weights individually, to combine them to create the effect you want to achieve.
The LoHA model is a modification of the LORA model.
The LoCon model is also a modification of the LORA model with better generalization capabilities.- Embedding
Models that have an adjustment effect on characters and painting styles. Just add the corresponding keywords to the prompt. Most Embedding models have the same keyword as the file name, for example, a model named "SomeCharacter.pt" will trigger the keyword "SomeCharacter".
VI. Tips for use (under exploration)
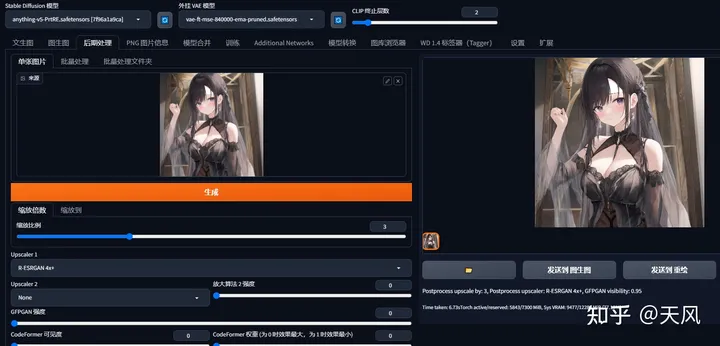
1. amplification algorithm BSRGAN
Chestnut: 1024×1024-"3072×3072
2. LORA model use
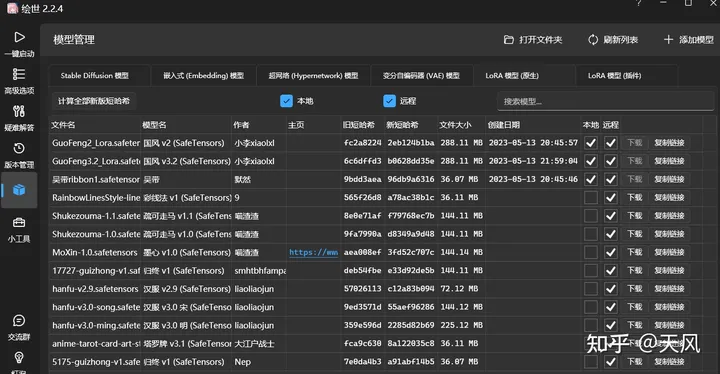
LOAR model: that is, other people's well-trained model, load other people's model will make their own generation of images to other people's well-trained style adjustment
The launcher interface provides a LORA model for download, or go to theStation cDownload it to the models/Lora directory, as mentioned above. Restart the client
Write random cue words, previous forward and reverse cue words, use a national style model, or Additional Networks to enable LORA

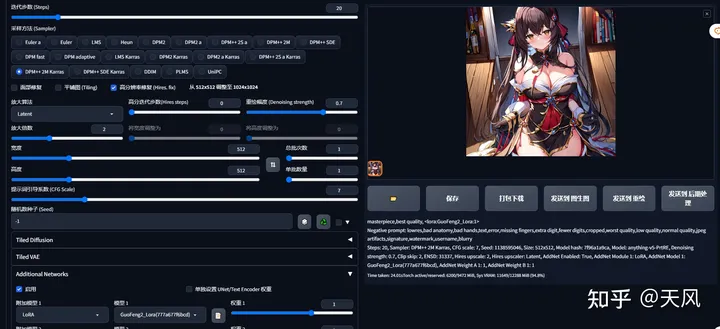
GuoFeng3.2 Lora The result: why the picture is so topsy-turvy, definitely not yellow!
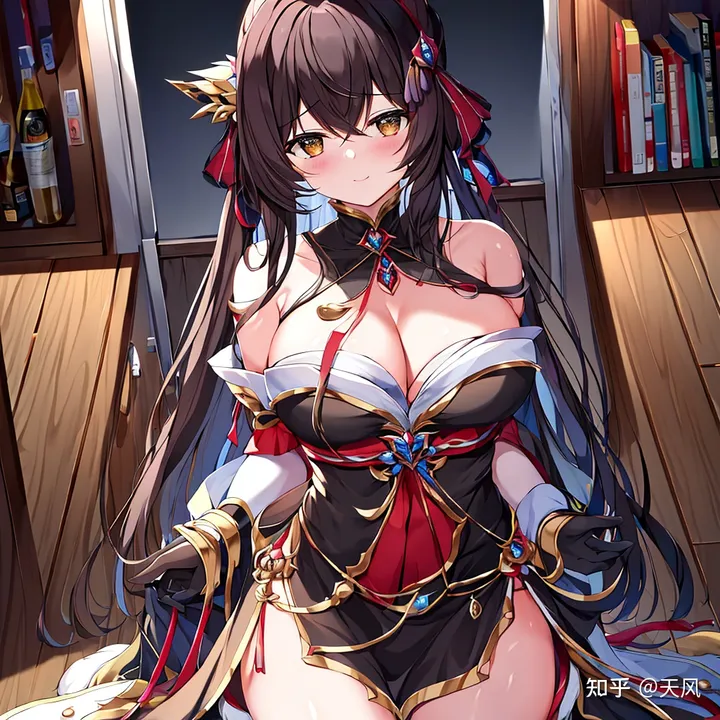
hanfu-v3.0-ming
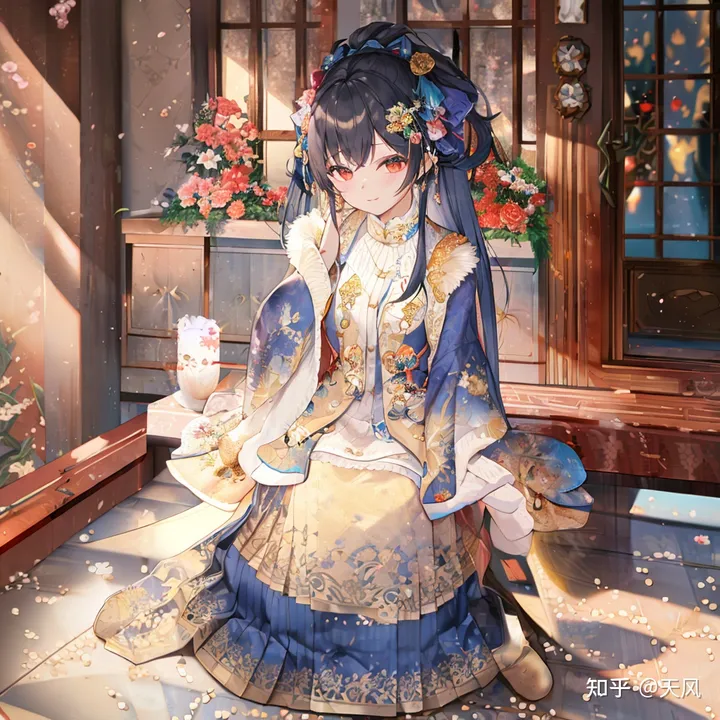
hanfu-v3.0-song

MoXin-1.0
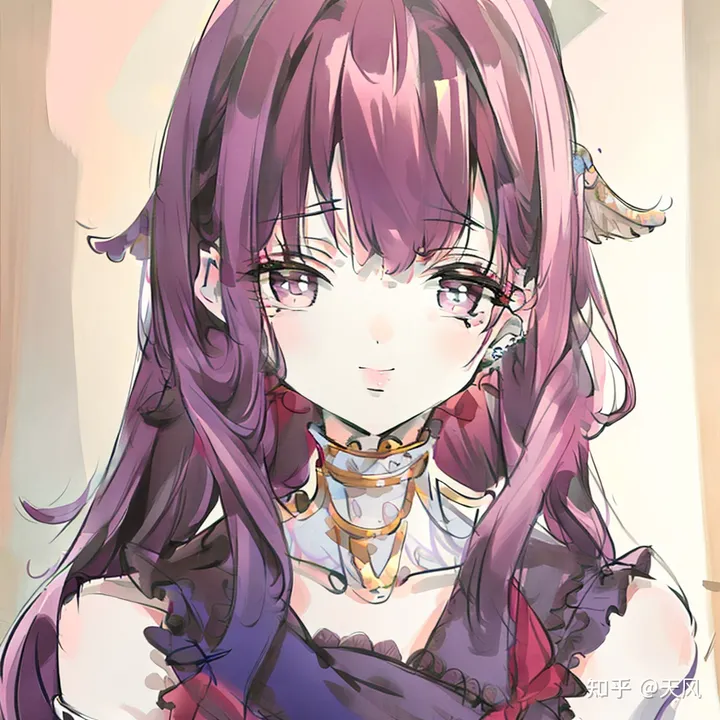
RainbowLinesStyle-linev1
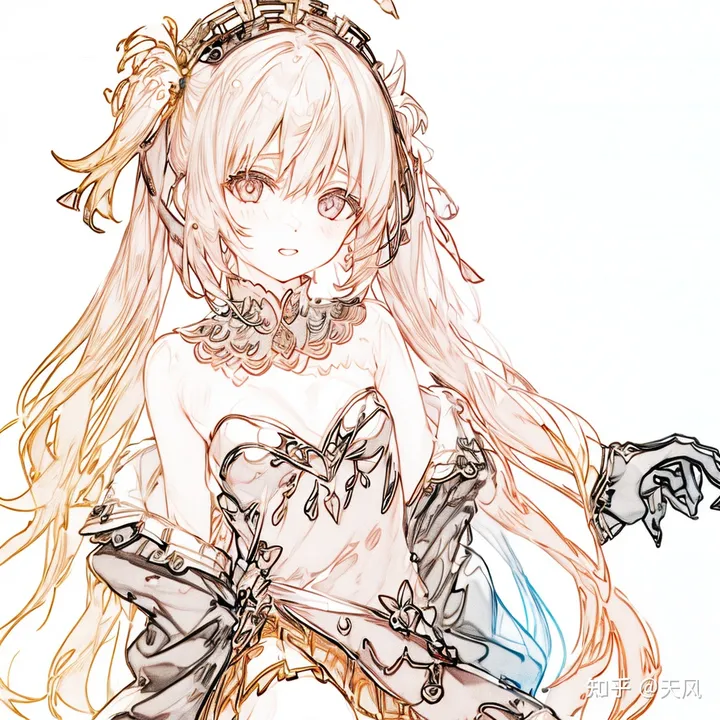
Shukezouma-1.1
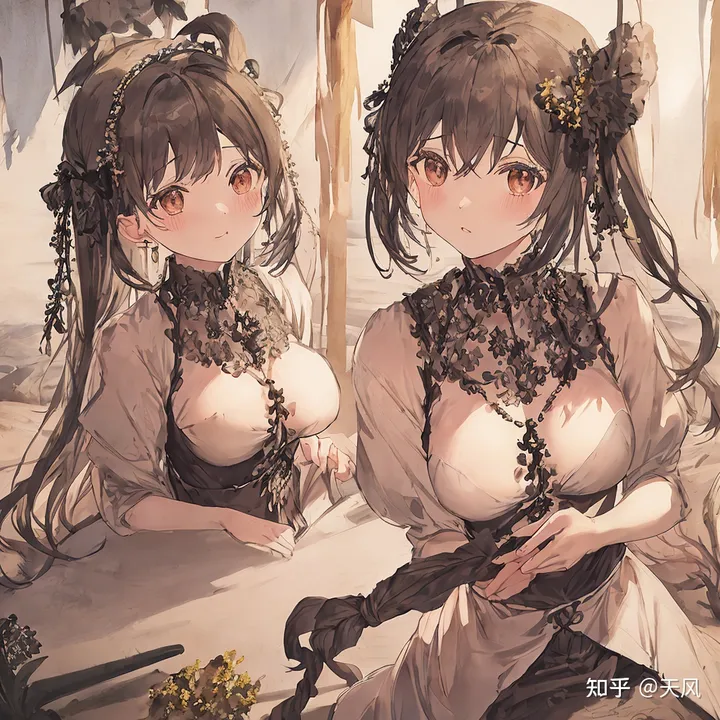
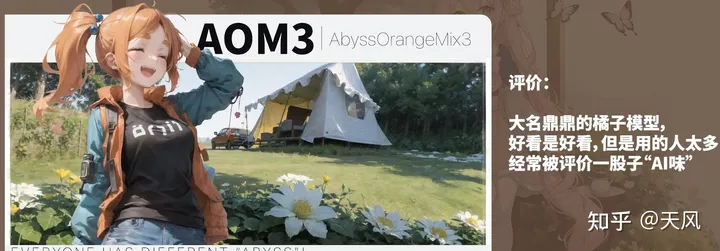
3. Introduction to the big model (provided by Big Brother Akiba)

Large model now in useanything-v5-PrtRE
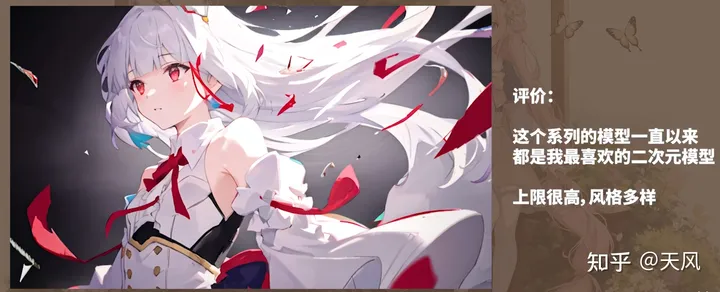
Counterfeit-V2.5
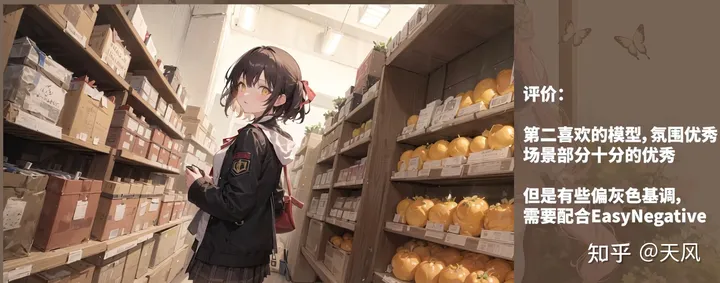
Pastel-Mix

AbyssOrangeMix2
Cetus-Mix
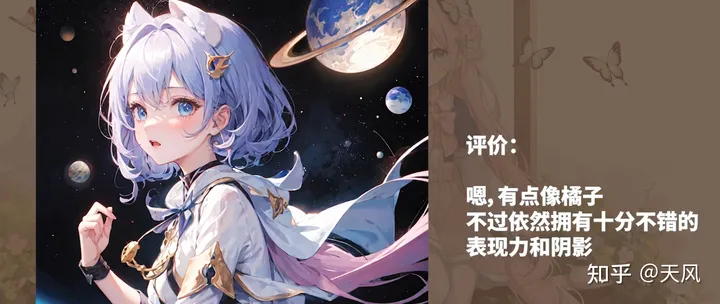
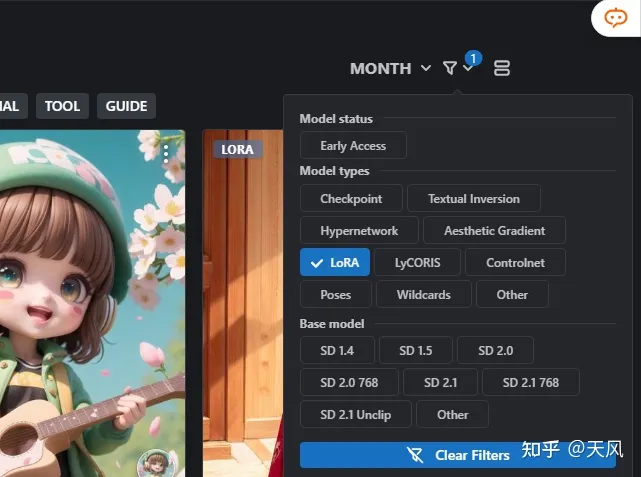
4. How to use C station to reproduce other people's diagrams
In the upper right corner you can select a different model to download and put it in the model file path
Fill the parameters into our interface
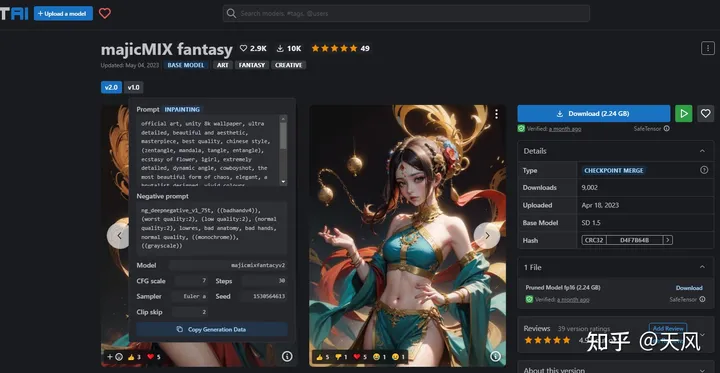
majicMIX realistic large model
If you want the picture information, the following operation, and then send it to the text raw picture

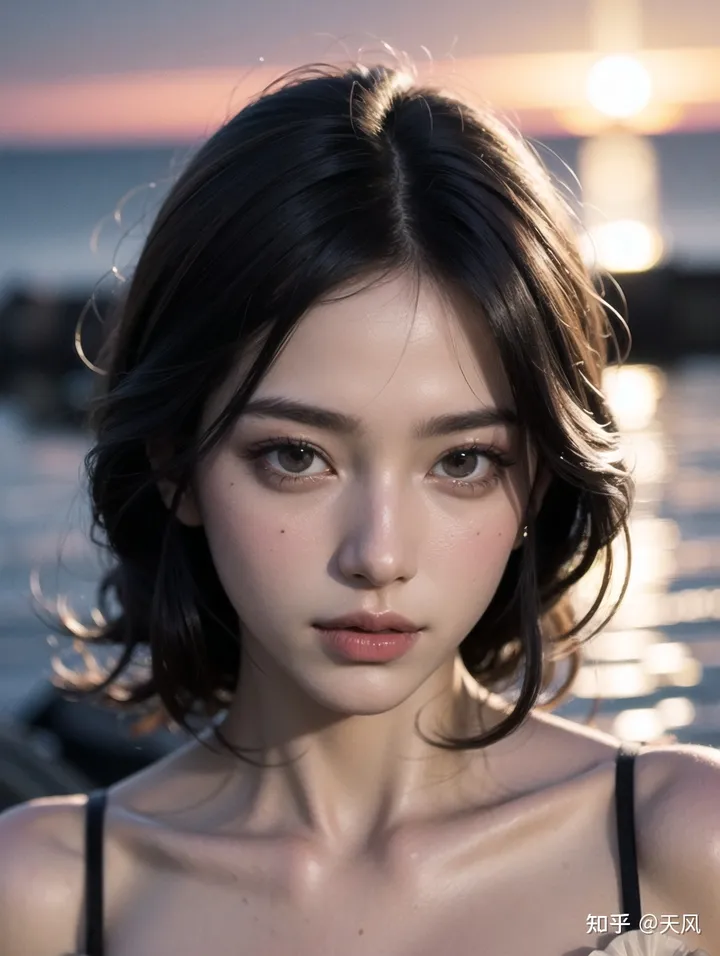
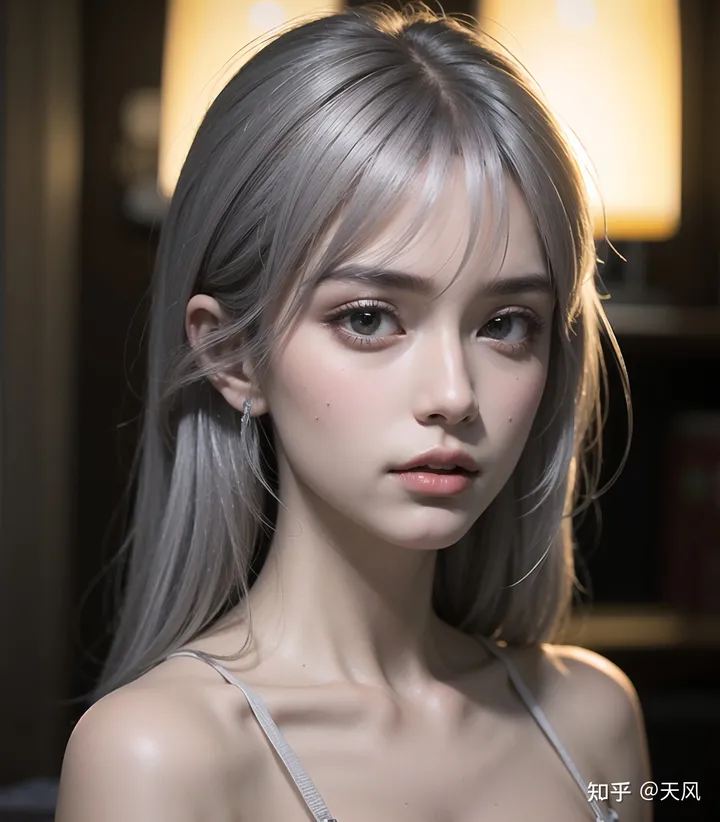
majicMIX realistic +FilmGirl (LORA)

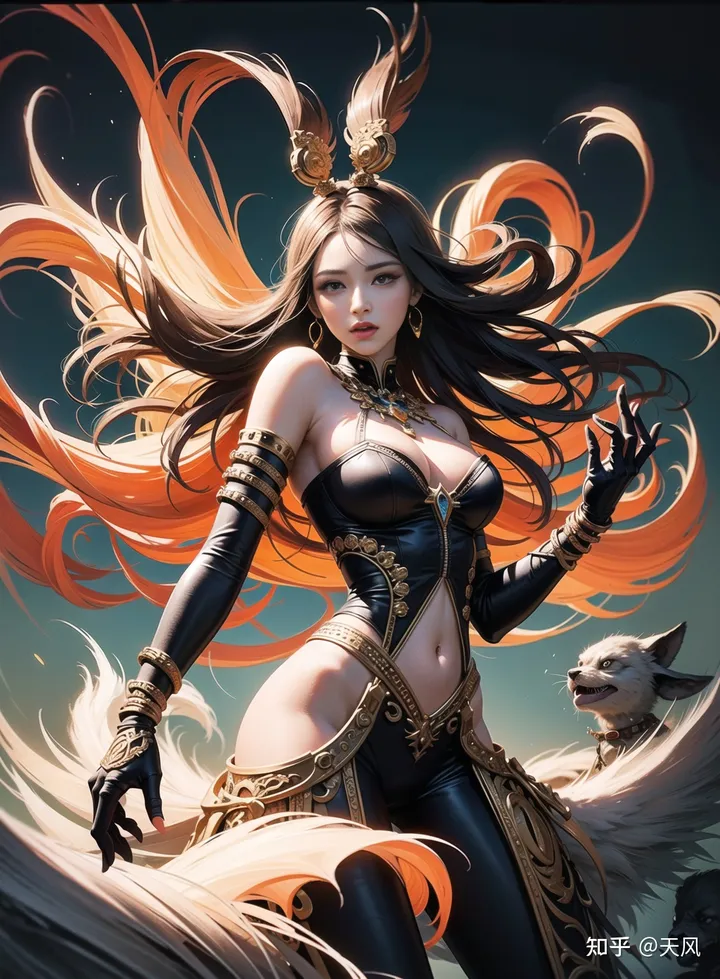
majicMIX fantasy
5. Finally provide a plug-in
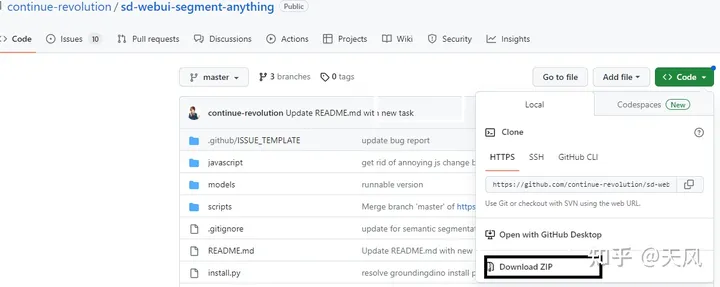
Used for image segmentation and then you can enter the prompt word into the look you want, similar to the p chart, the following is the github address, which has a detailed document, download the code and weights file can be 8G video memory selection vit_l 1.25GB, respectively, into the
\sd-webui-aki-v4\extensions
\sd-webui-aki-v4\extensions\sd-webui-segment-anything-master\models\sam
https://github.com/continue-revolution/sd-webui-segment-anything

VII. Summary
- Model download into folder
- It's all about filling in the parameters and making adjustments, and each parameter affects the result
- Use separate LORA models, try the results alone for the larger model, and then fuse to see what wonders are done
- The controlnet usage is actually very varied, and there are many manifestations in the details, so I look forward to your alchemy!
- Continuously updated later