Today I will share an operation to change a photo into anime style. It is mainly for personal notes. You can take a look at it if you need it. The model and lora address used will be given at the end of the article. Without further ado, let’s get to the practical stuff.
tool
The AI tool used this time isStable DiffusionThe plug-ins involve [WD 1.4 tagger] and [controlnet], and the models mainly use two-dimensional models and anime-style lora.
Effect display
Original image

Anime style transfer graph
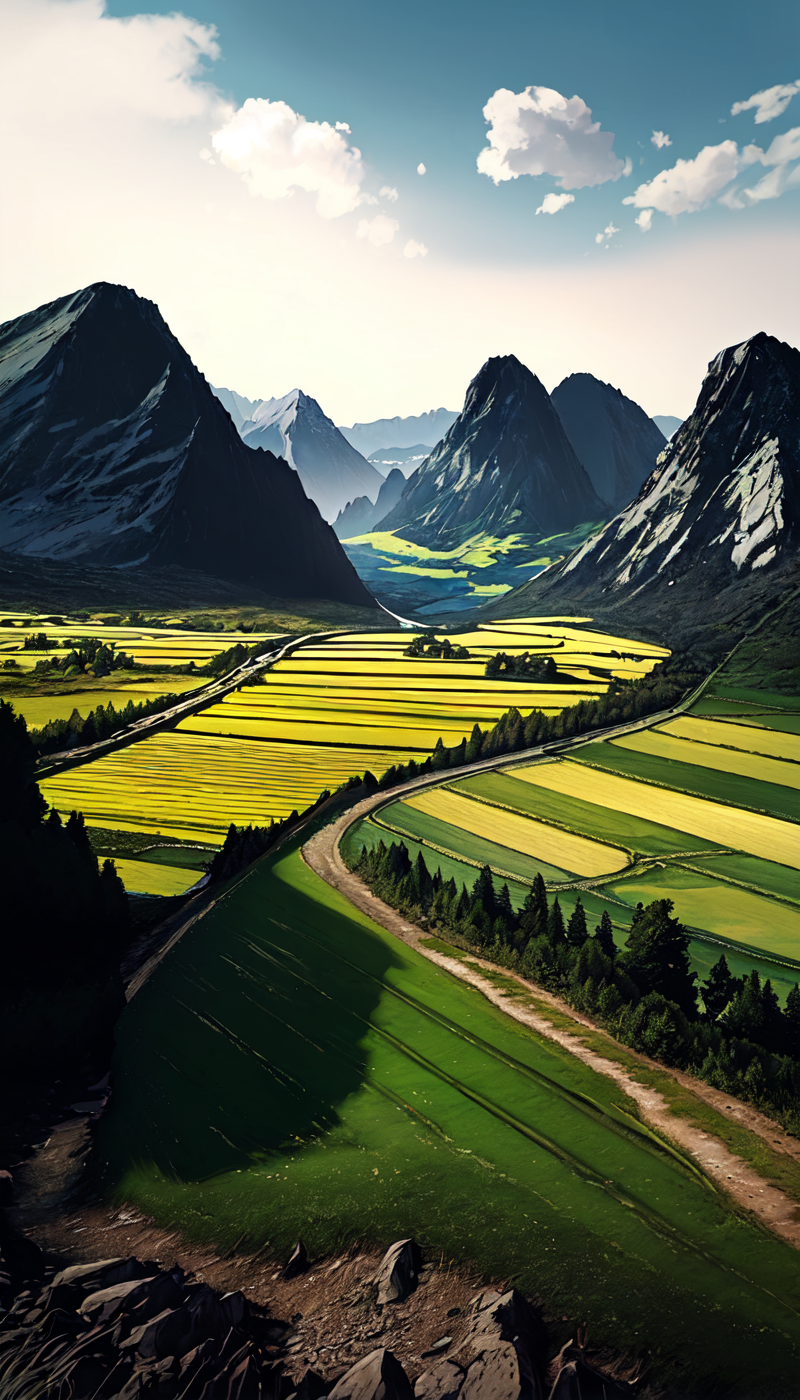
This kind of raw picture has been redrawn, so it is impossible to be exactly the same. There will be some differences, but the overall picture will not change too much, except for the style.
Detailed explanation of the drawing process
1. Open sd and make sure [WD 1.4 tagger] and [controlnet] are installed as shown below
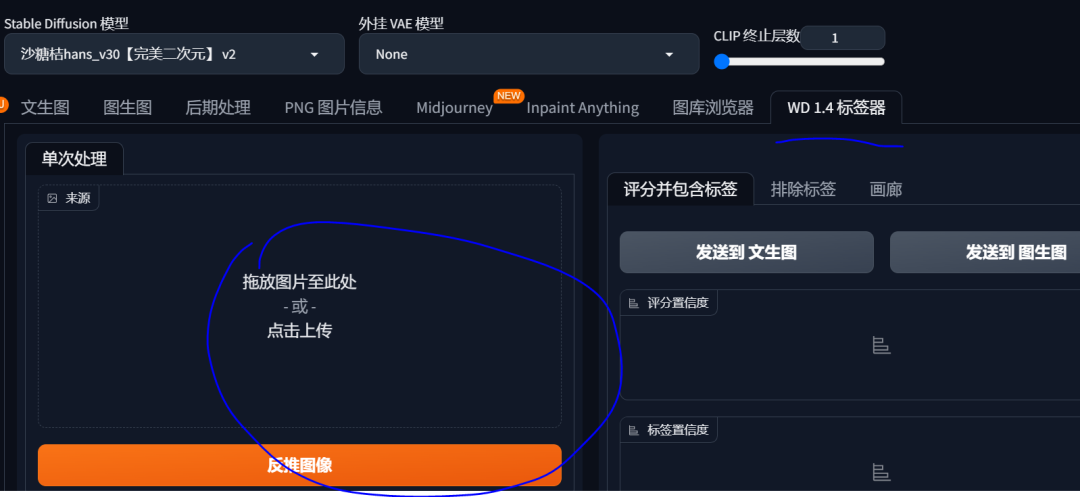
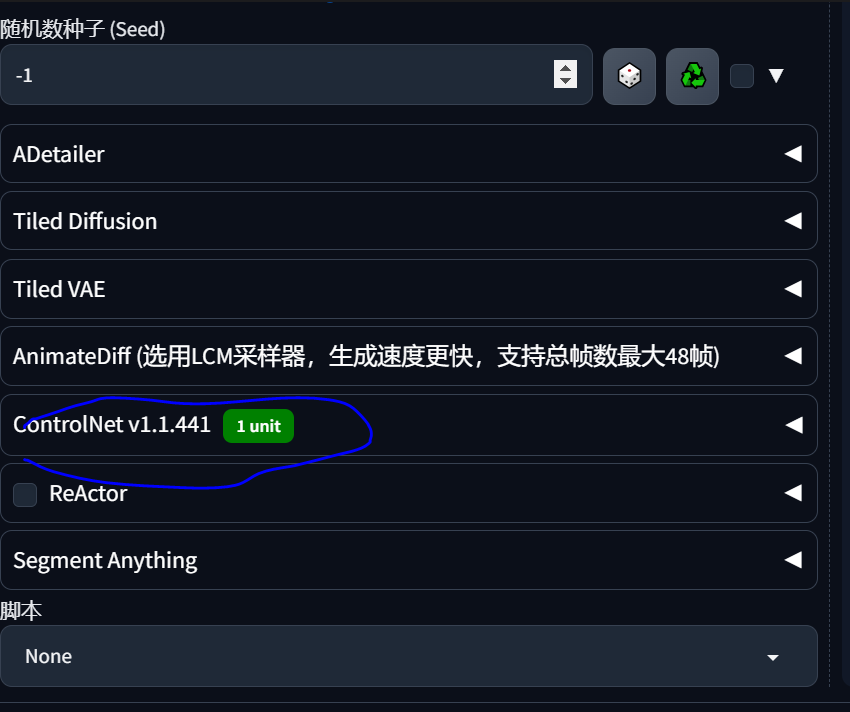
controlnet is under sd
2. First, determine the large model of the graphic design to be used. We are converting realism into two-dimensional animation, so choose a large two-dimensional model for the model. You can go to lib or sushi. I will give the link below. No ladder is required, haha.
I used [Outline Color Outline Painting Phoenix] The link is as follows: https://www.liblib.art/modelinfo/33857095e4b34627a7ab01f68908e6bd
Officially launched
1. Tag reverse deduction means using [WD 1.4 Tag Maker] to obtain the corresponding tags for your images.
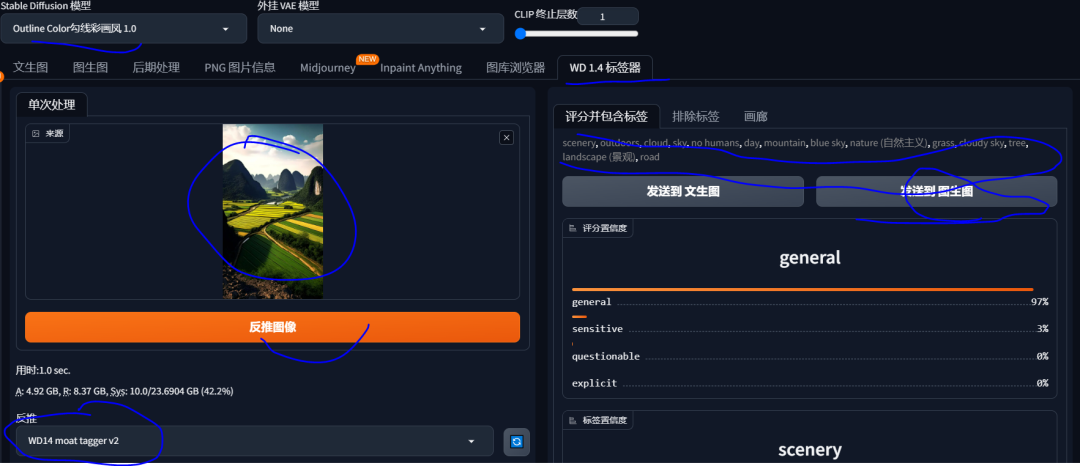
The specific process is [select wd1.4->upload the picture to be reversed->select the reversed model (I use WD14 moat tagger v2)->click the <Reverse Image> button->get the reversed tag->send to the raw image] OK, the first step is done.
2. Set in the image

As shown in the figure, the model selects the above large model. The keywords are mainly inferred. A lora is also used. The link is as follows: https://www.liblib.art/modelinfo/b6e5fd5851324c608cf1e77e1b51a811. Go download it yourself.
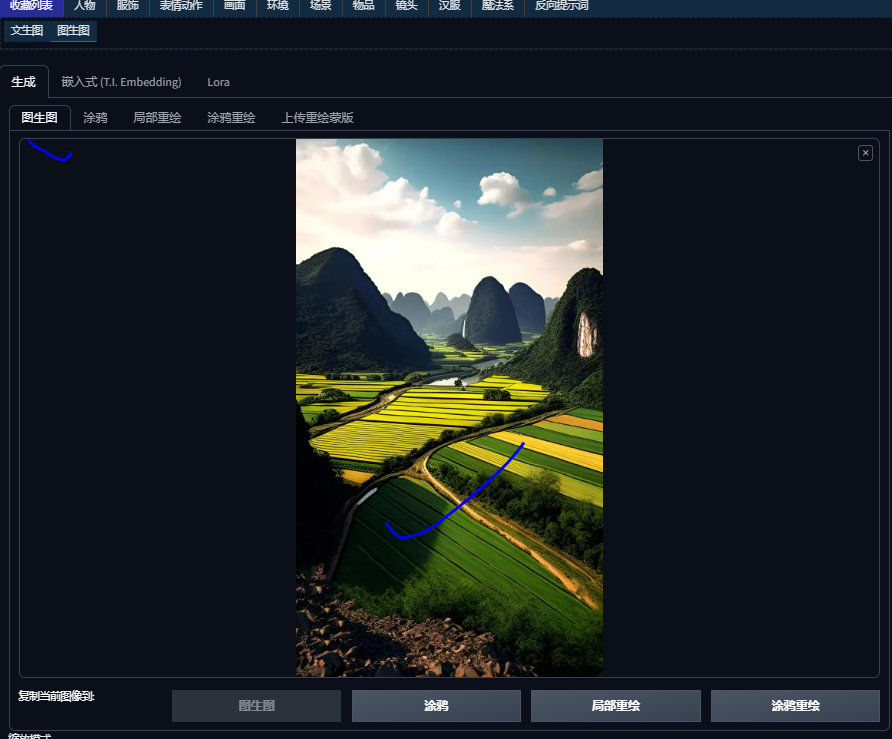
Upload the original image to be redrawn
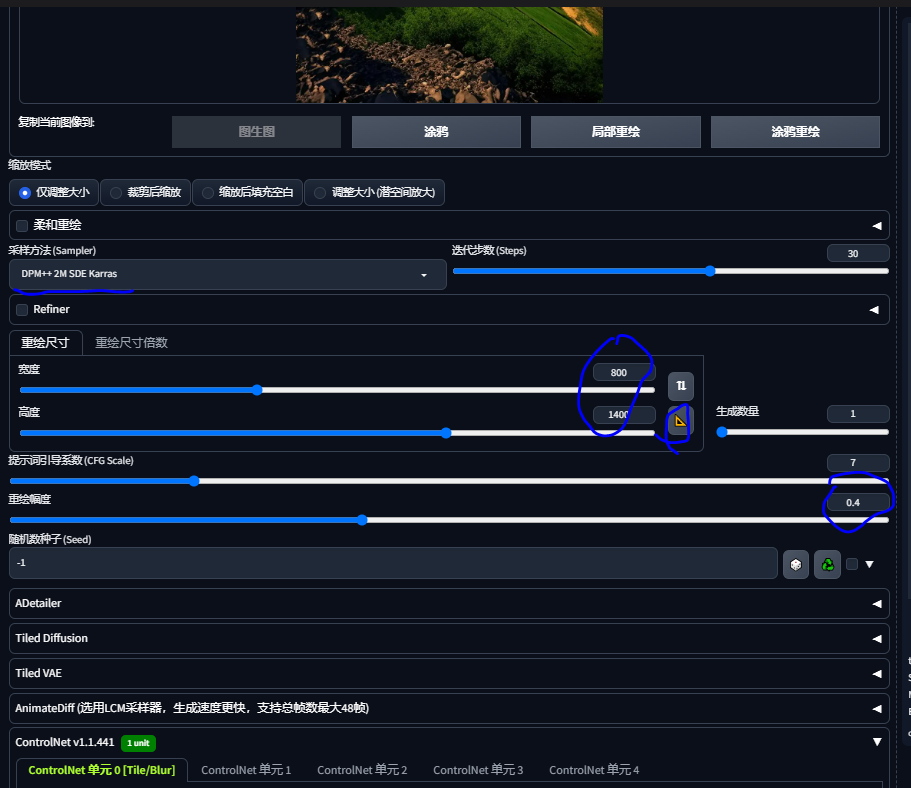
Select [DPM++ 2M SDE Karras] for the sampling method, click the yellow [triangle ruler] to automatically set the image size, and set the [redraw amplitude] to between 0.4 and 0.5.
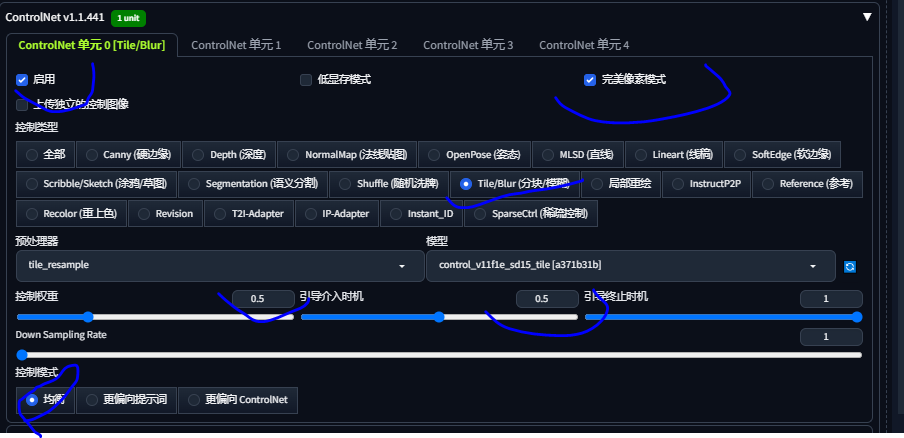
Set [controlnet] to enable; perfect pixel mode; select [Tile/Blur] for control type. This mainly divides the image into blocks, renders each block, and then composes a large image; set [Control weight] to 0.5; set [Guided intervention timing] to 0.5; [Control mode] balanced, ok, the settings are complete.
Click Generate to display
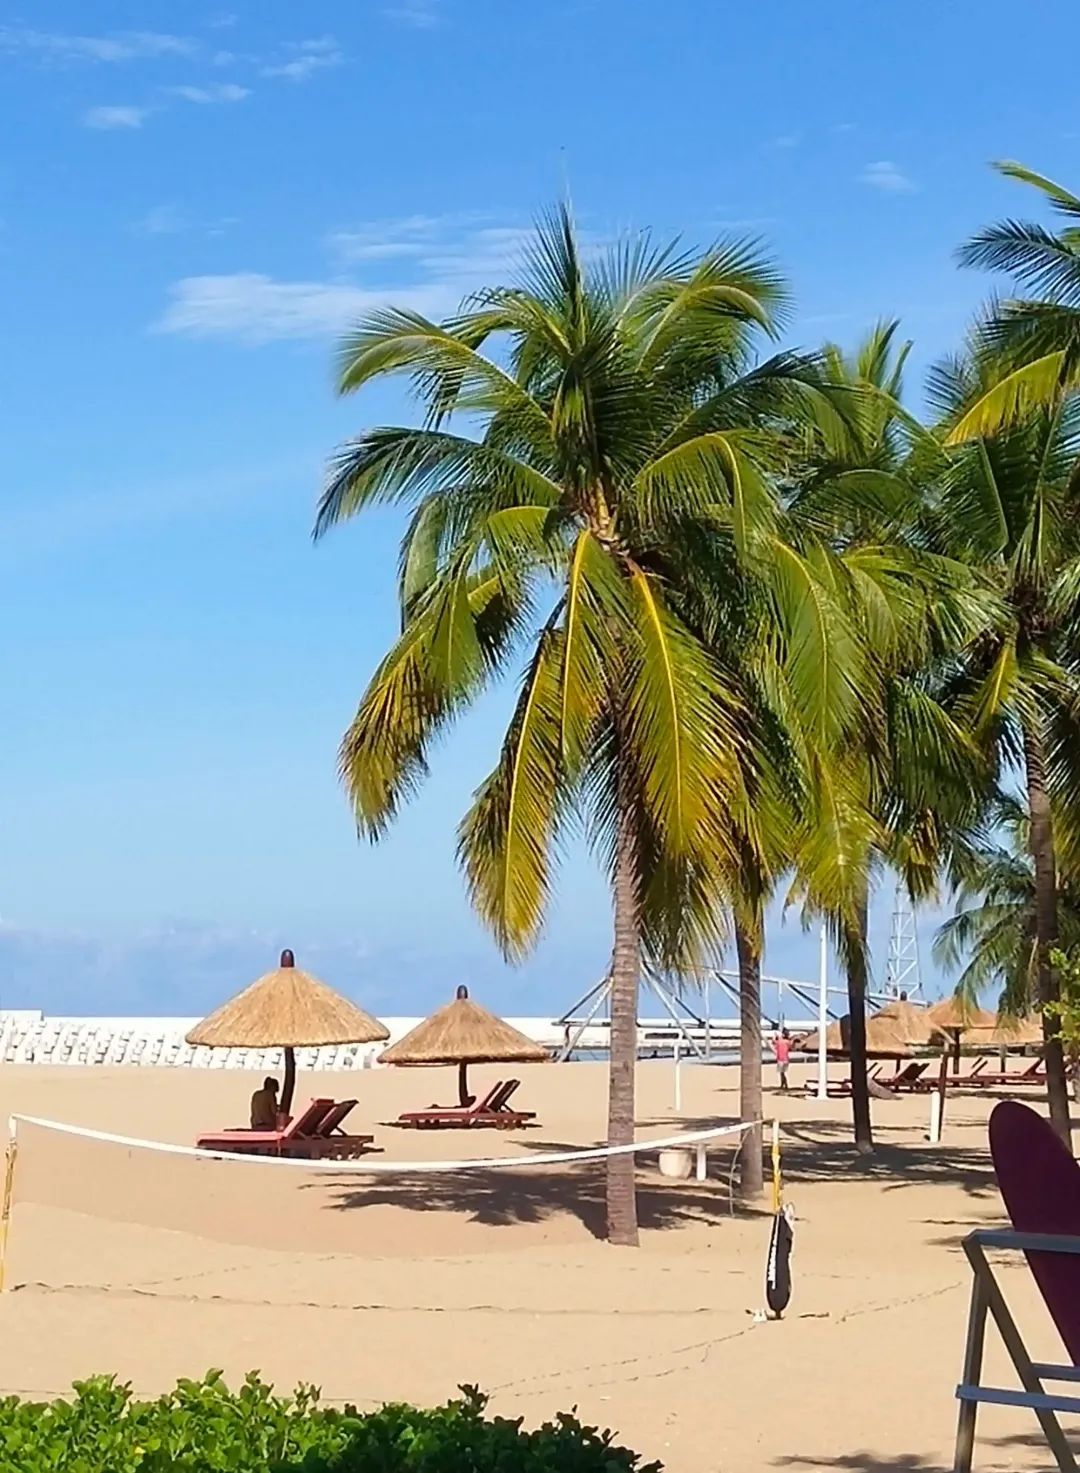
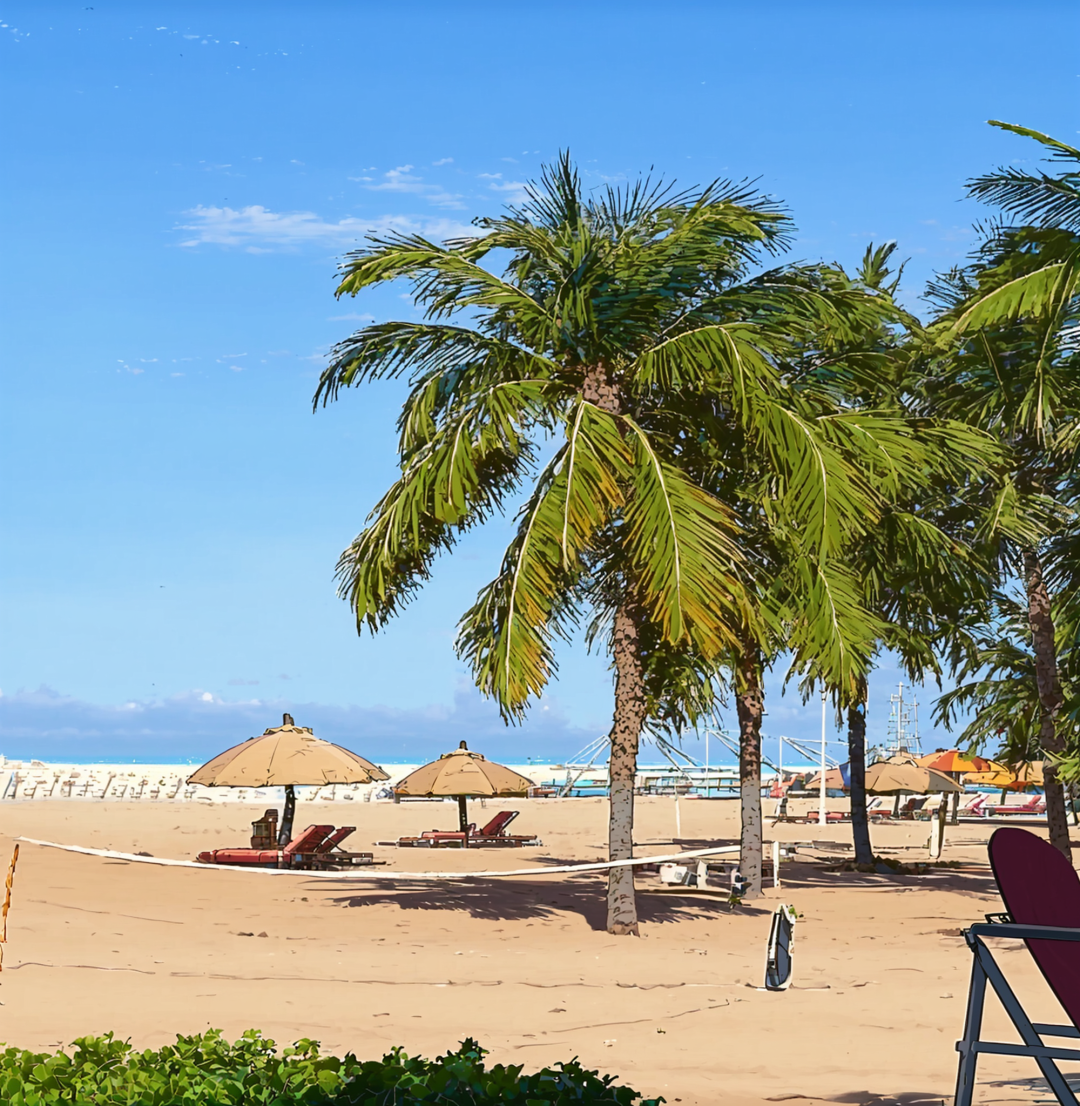
The style is still very obvious. You can also try other models, not necessarily the ones I mentioned, haha.