This time we are going to introduce an AI project.You can deploy private ChatGPT Web Application, and supports NextChat (project name ChatGPT-Next-Web) with GPT3, GPT4 & Gemini Pro models .
github address:https://github.com/ChatGPTNextWeb/ChatGPT-Next-Web

How to deploy
Image pull:
docker pull yidadaa/chatgpt-next-web
Run it:
docker run -d -p 3000:3000 \ -e OPENAI_API_KEY=sk-xxxx \ -e CODE=page access password\ yidadaa/chatgpt-next-web
Generally speaking, we can stop here. We can use IP + port (3000) to access the project we just deployed:
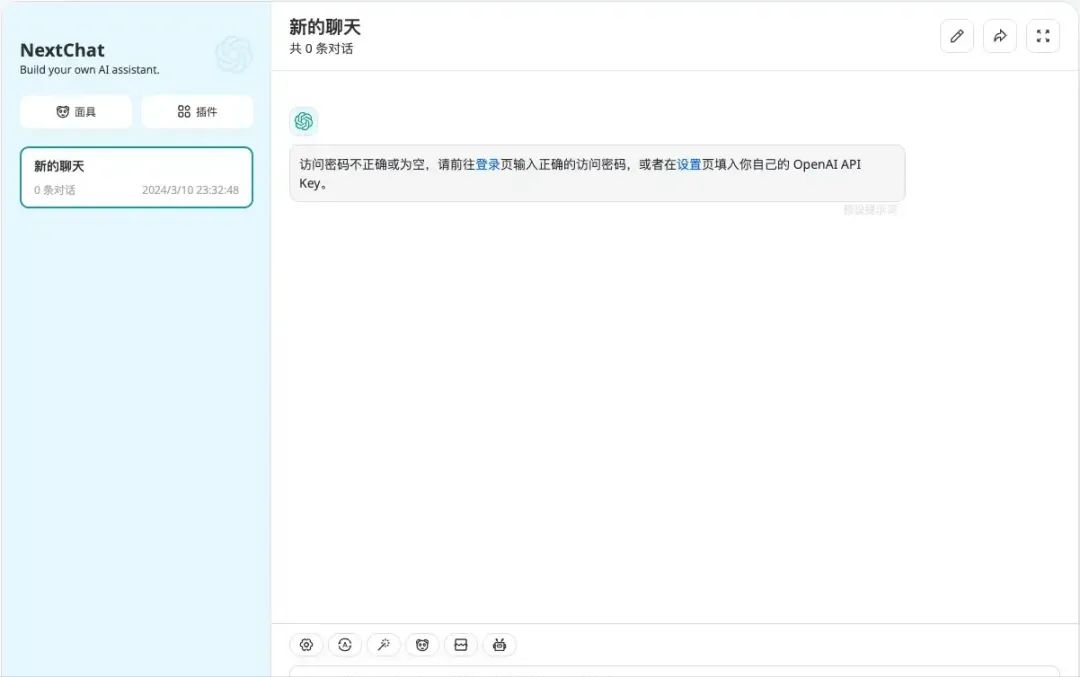
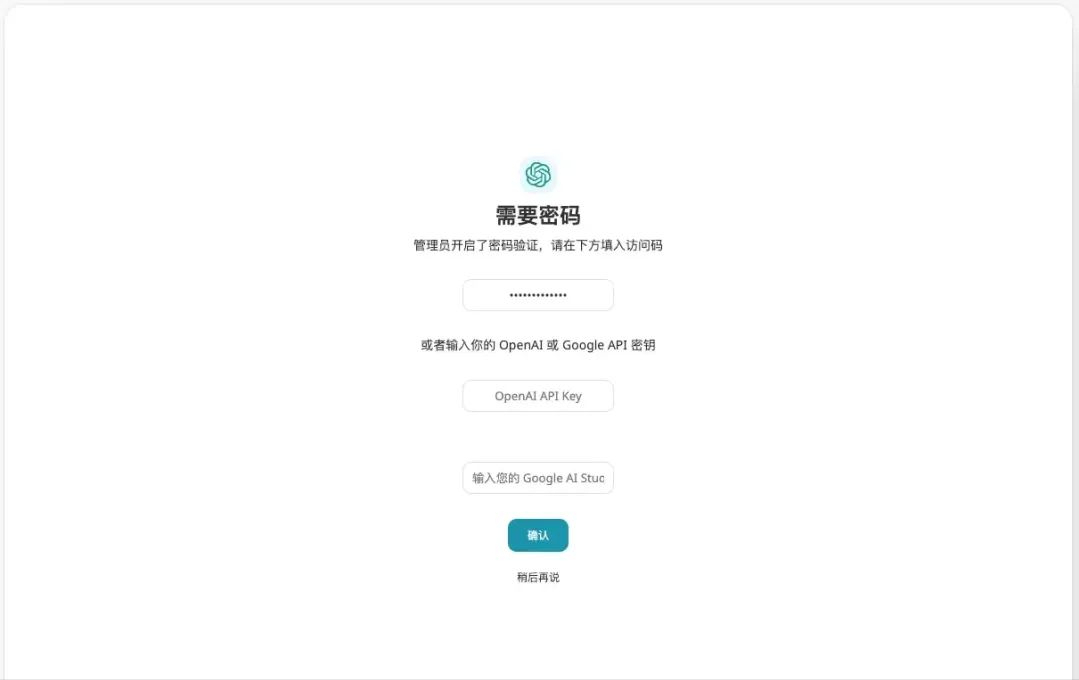
However, you cannot use it directly at this time. You need to jump to this page through the "Login" or "Settings" link provided in the dialog box to set the password or API key:
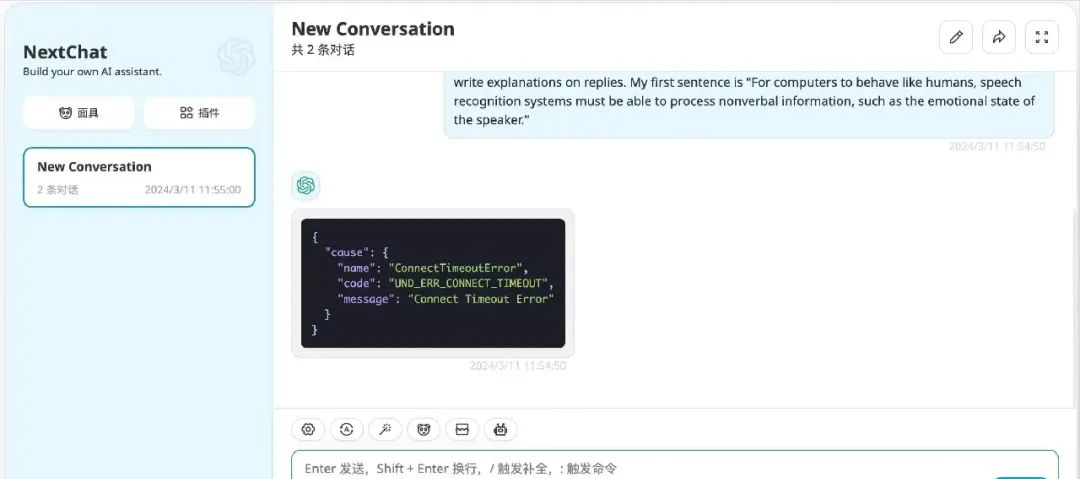
After configuration, because you are using a free API_KEY, you also need to enable the "Custom Interface" in the settings, otherwise the conversation will not be able to proceed normally:
Click the settings icon in the lower left corner to enter the settings page, find "Custom Interface" and turn it on, then set the interface address and API Key:
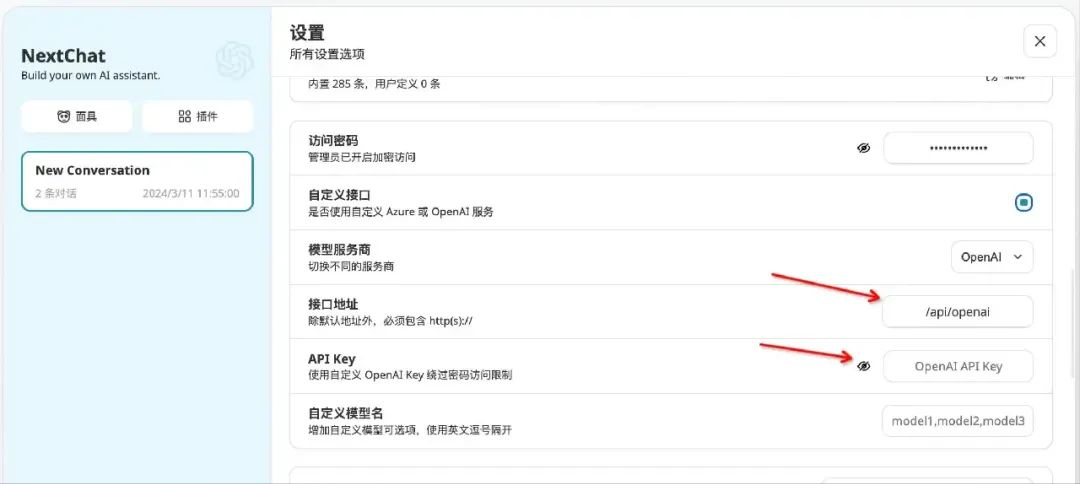
The interface address and free API Key will be updated in the next article~
Then we can use it normally:
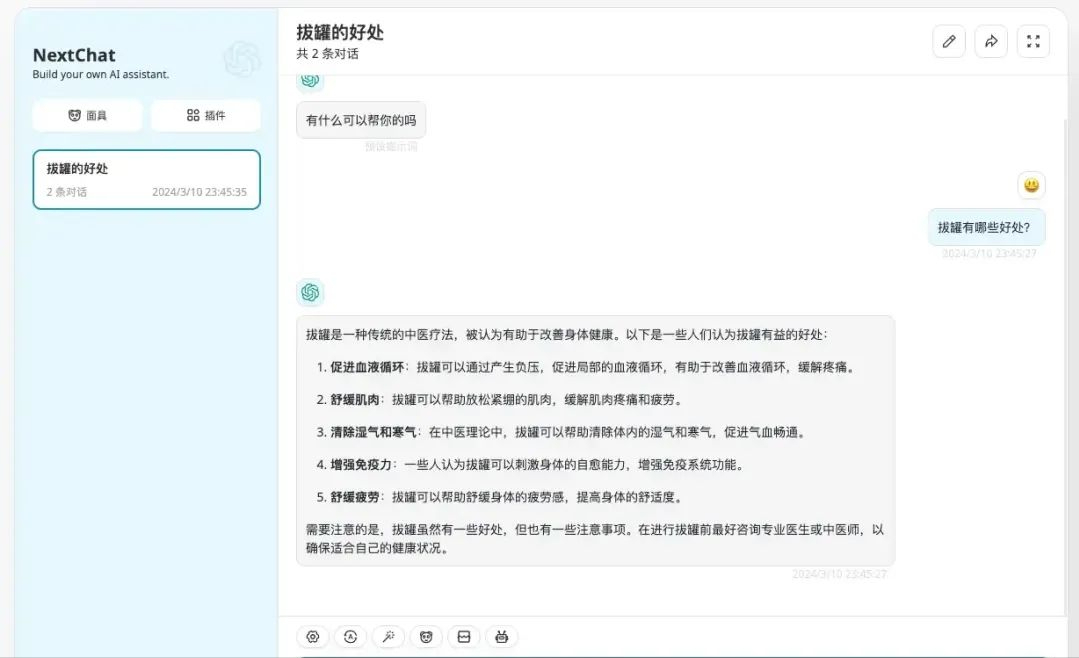
Replenish
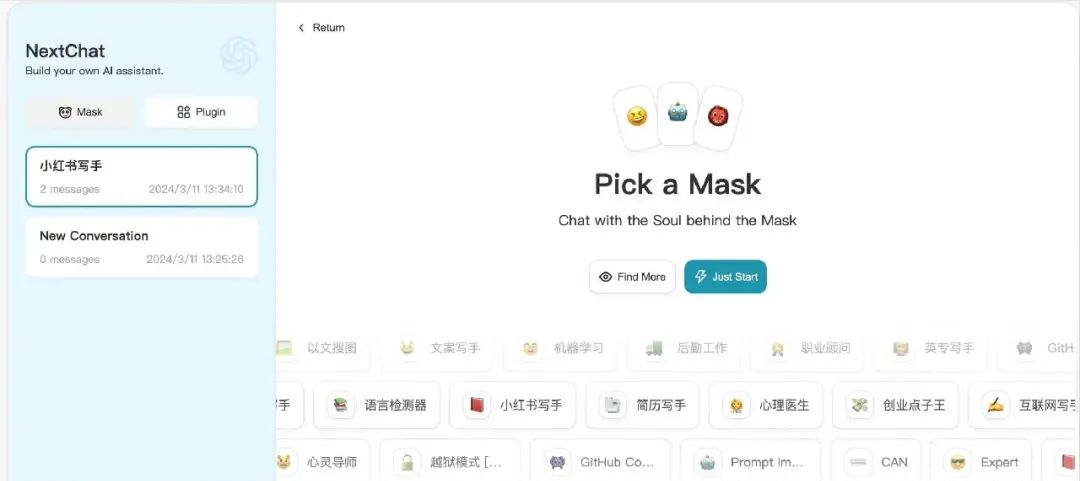
NextChat also provides a mask function, which is actually a series of preset roles that allow users to quickly create conversations for certain scenarios.
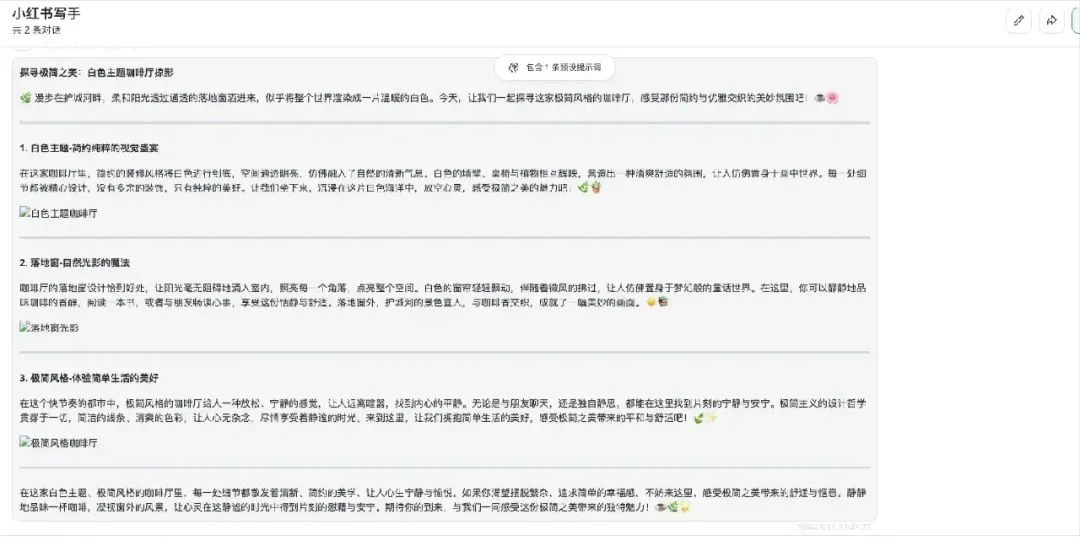
It can quickly answer the scenario and carry some pictures (not shown here because the provided picture address is not accessible):
Next to the mask function there is also a plugin function, but it is still under development.
If you are interested, you can try it yourself.