AlthoughMidjourneyThe controllability is poor and it is not very suitable for "transfer painting", but some simple style transfer, such asReal PeopleIt is still possible to convert illustrations.
This article will introduce how to change the real painting style toComic Style, digital oil painting and other styles.
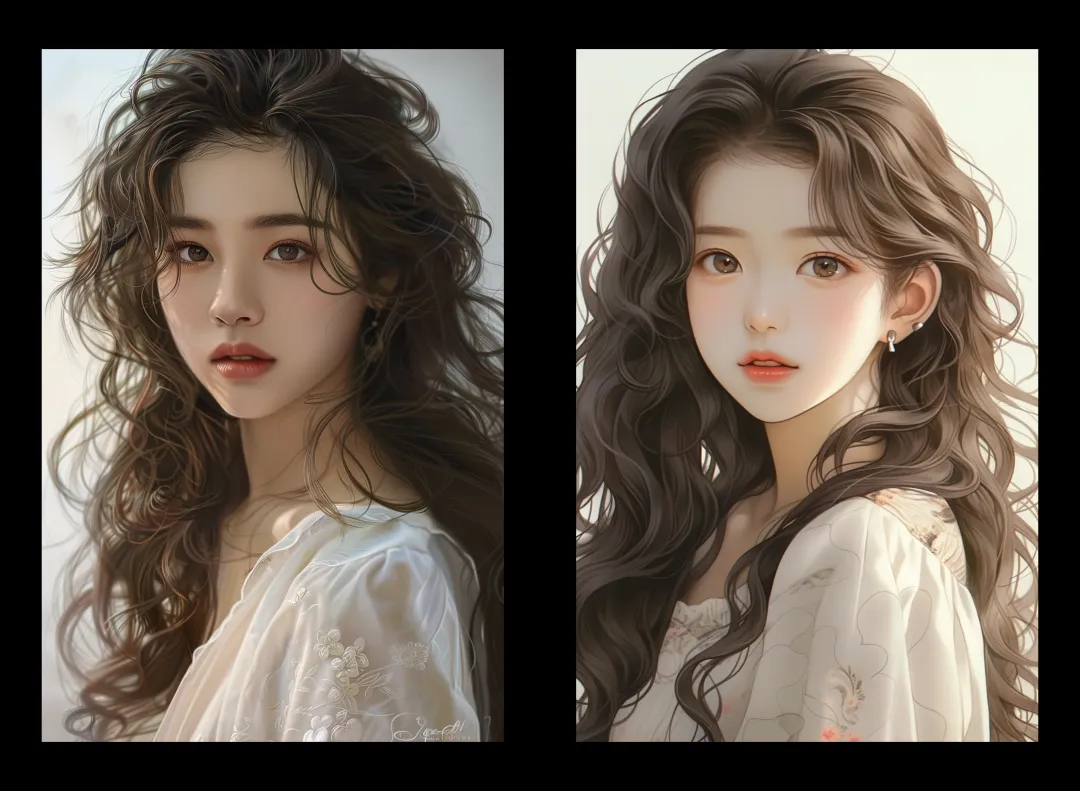
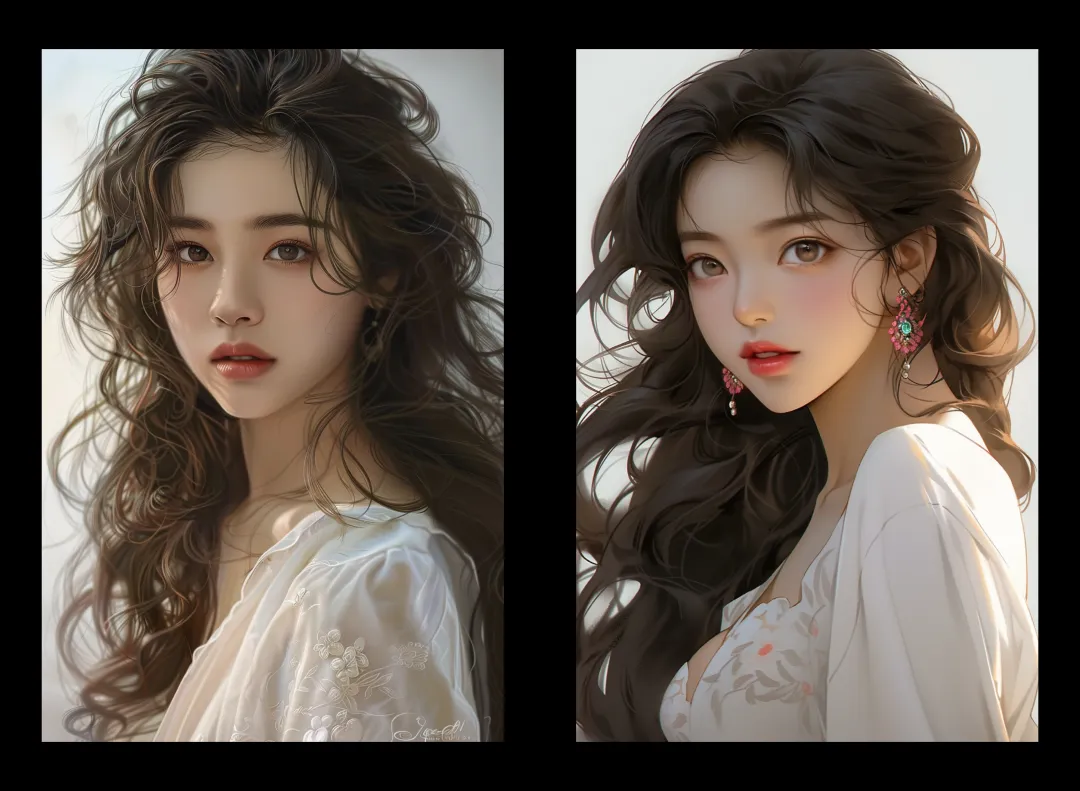
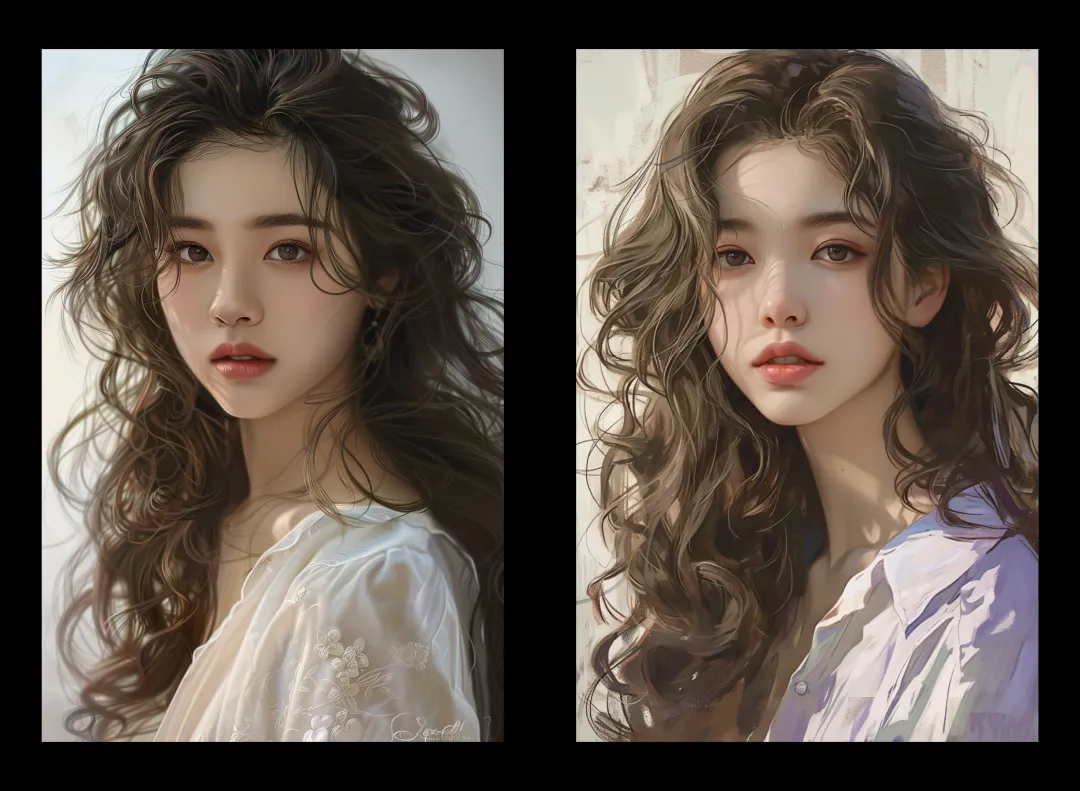
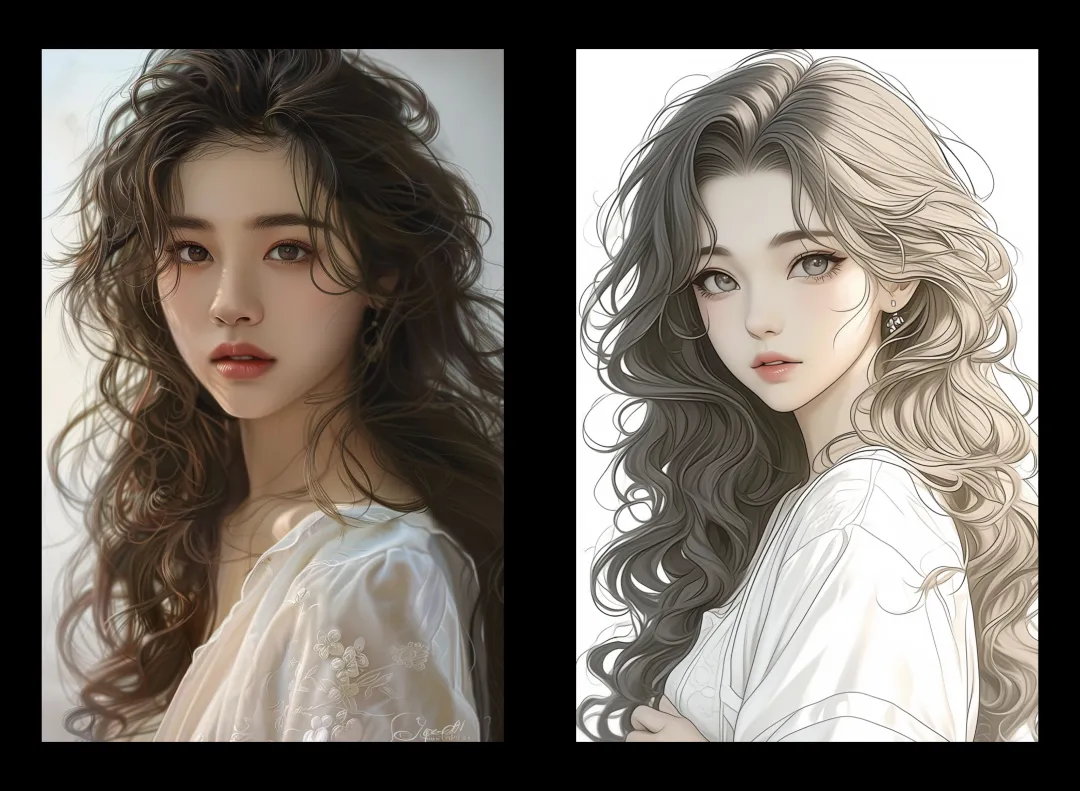
Let’s look at the effect first
The left side is a photo, and the right side is the effect after "transfer painting". They correspond to Japanese and Korean comics, European and American comics, digital oil paintings, and line illustrations respectively.
Two ways to stylize your photos
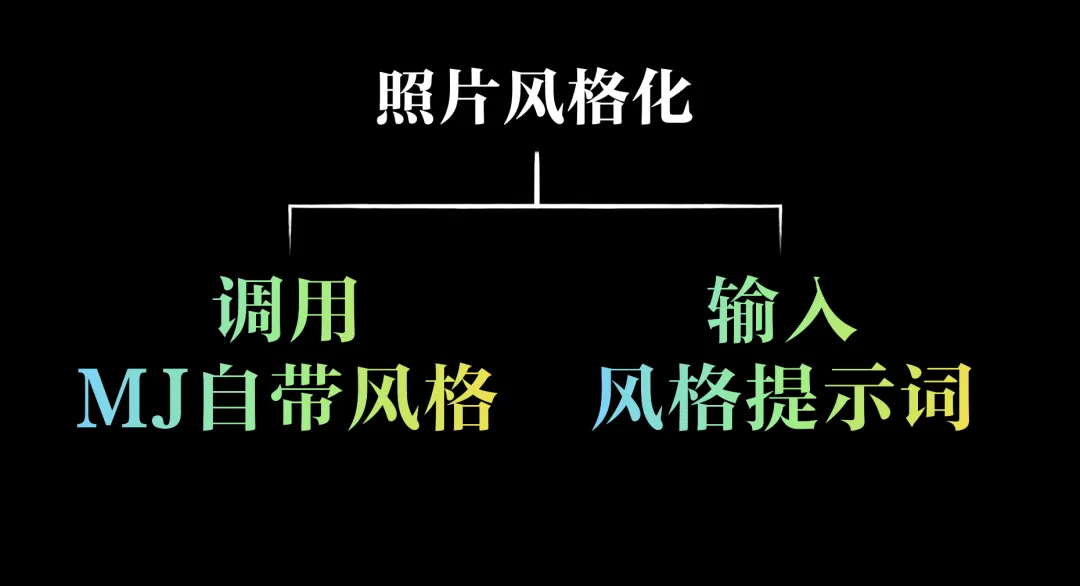
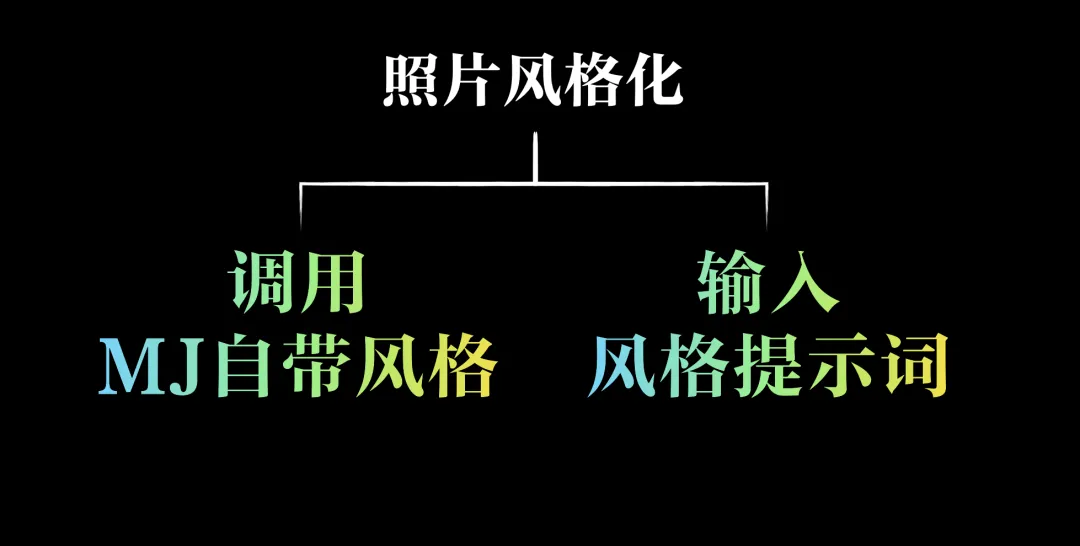
The idea of stylizing photos in MJ is actually very simple. You can either use MJ's ready-made output mode, such as the anime style of the niji series, or use the most common method of guiding the style through prompt words.
Use niji5's style model
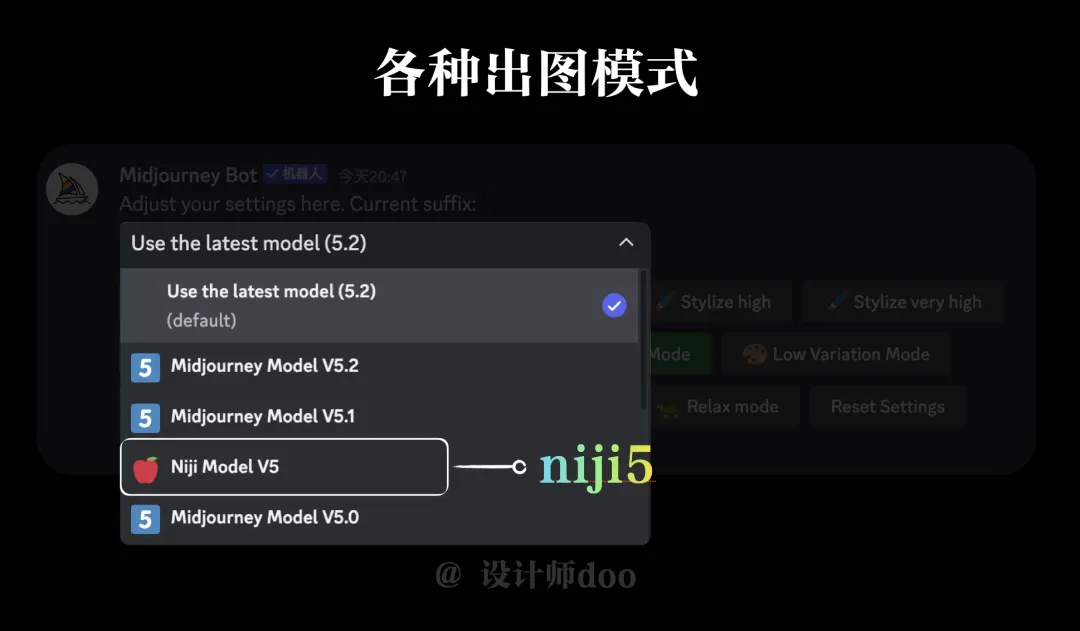
The first method is to call the ready-made style model of niji5. In the "/settings" setting panel, select the niji5 mode and click Send. Then you will see the 5 sub-types below niji5.
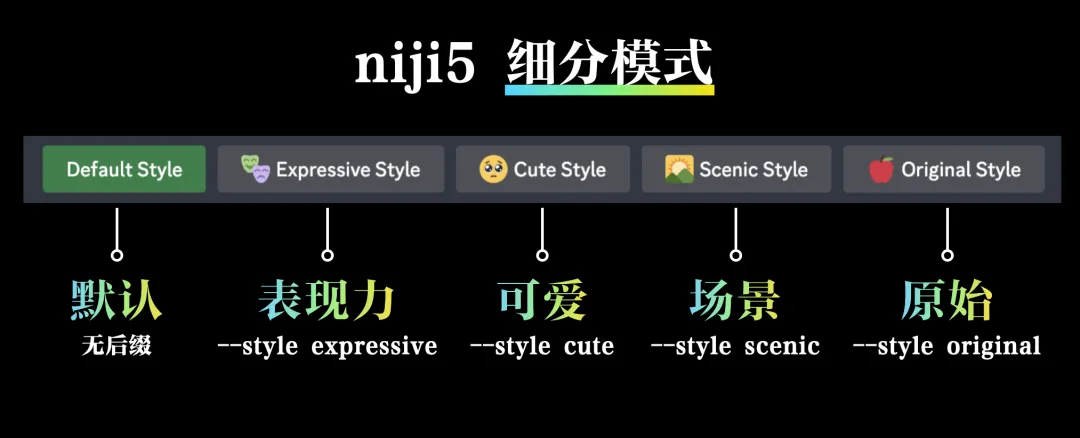
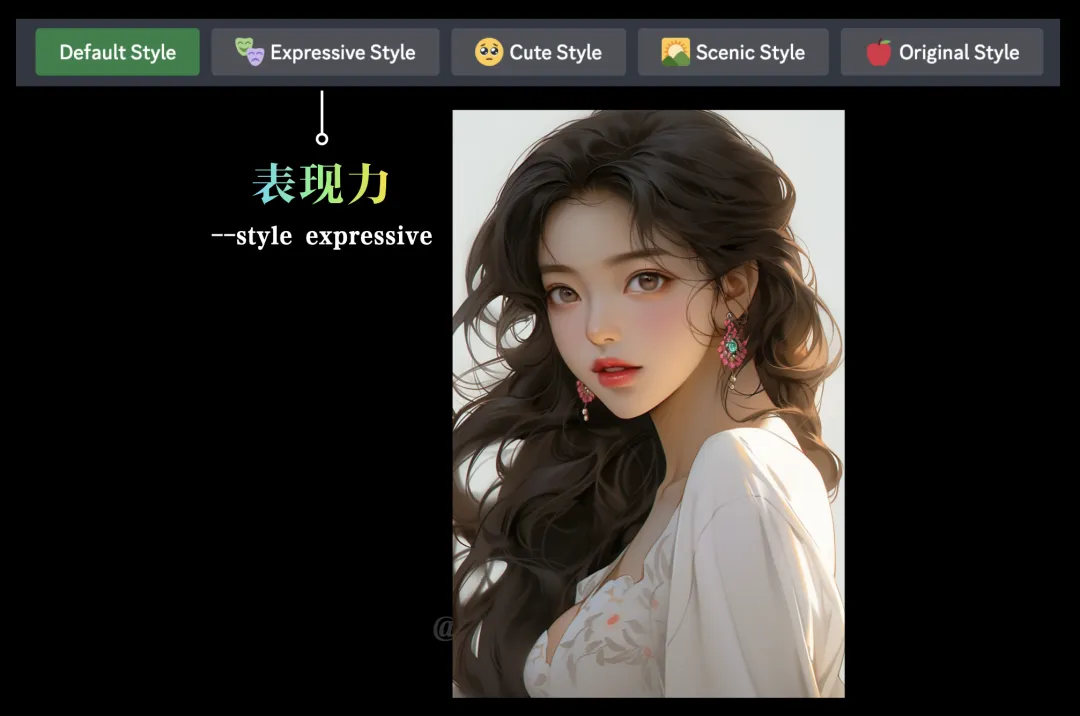
They are Default Mode, Expressive Mode, Cute Mode, Scene Mode and Original Mode. I personally recommend using the Expressive Mode and Cute Mode because they have more distinct visual styles.
The painting style corresponding to the expressive mode is more European and American, while the painting style corresponding to the cute mode is more Japanese and Korean.
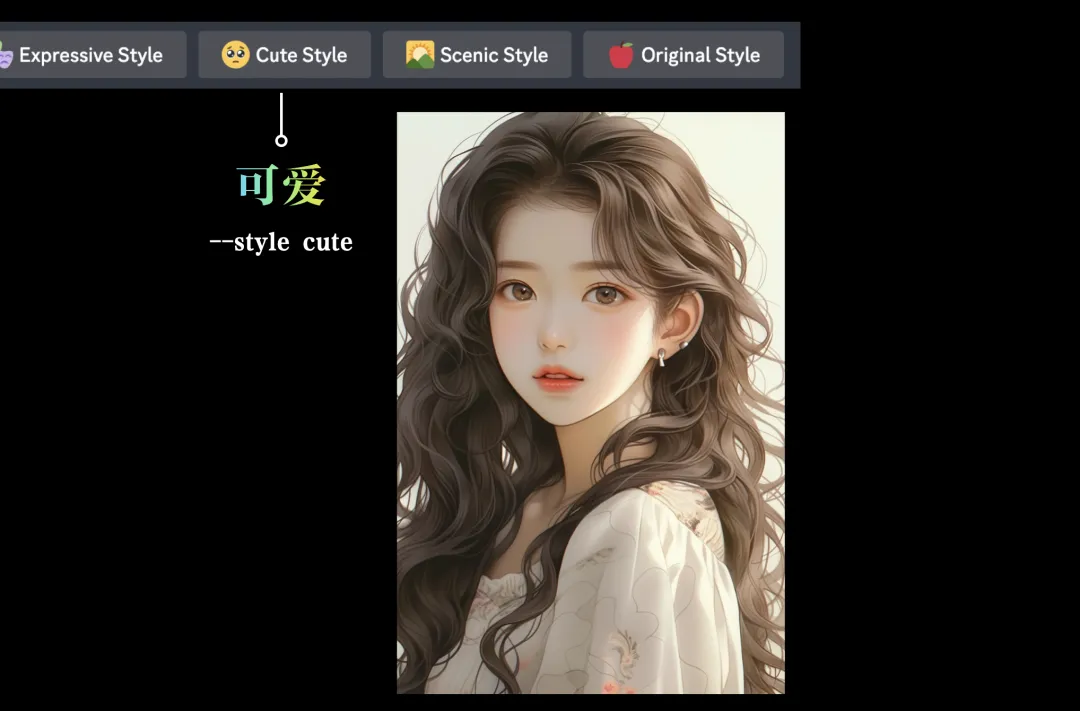
Friends who are not familiar with the niji5 mode can refer to this article:How to use niji5 mode?》
Japanese and Korean style painting transfer case
I will use the Japanese and Korean painting styles as examples to demonstrate how it is done.
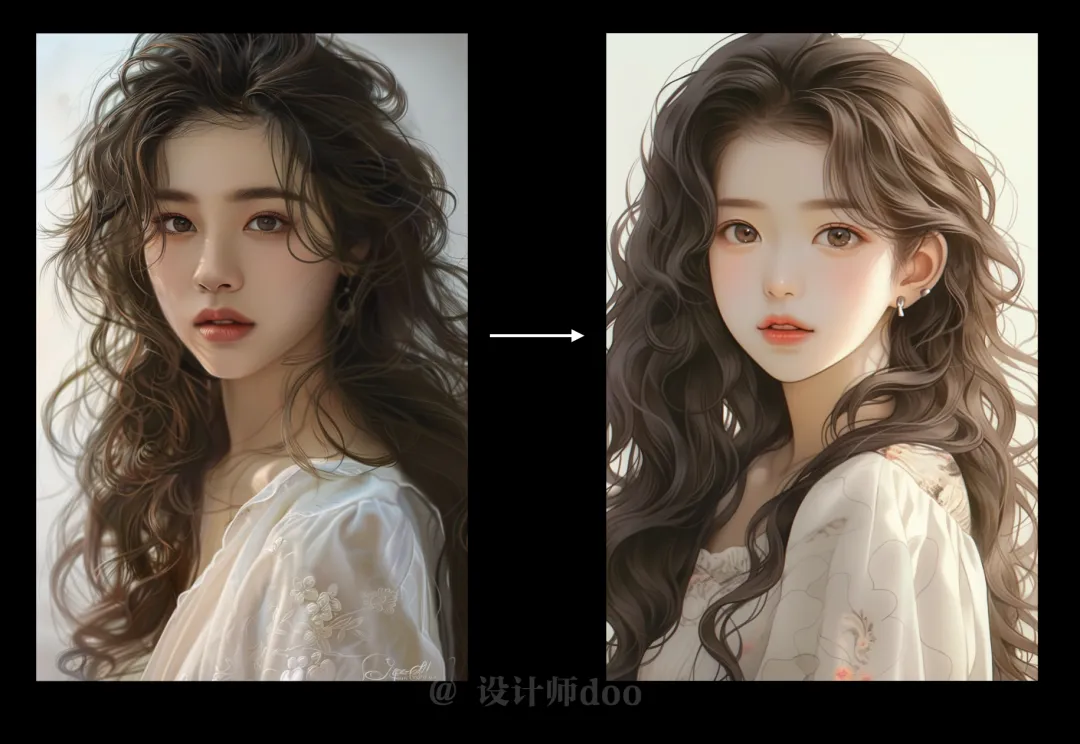
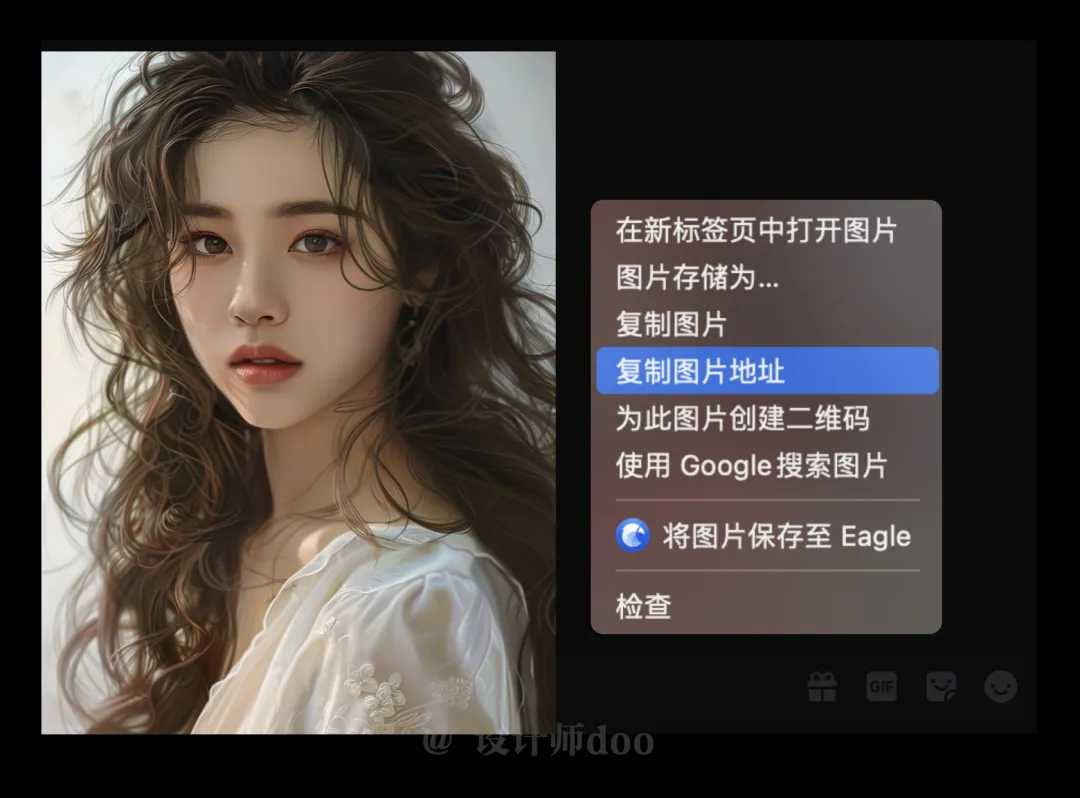
Step 1: Pad the picture. The specific steps of padding the picture have been explained many times, so I won’t repeat them. If you are still not clear, please watch the video at the top of the article, which has the specific steps. We use the padding method to copy the image link of the reference picture.
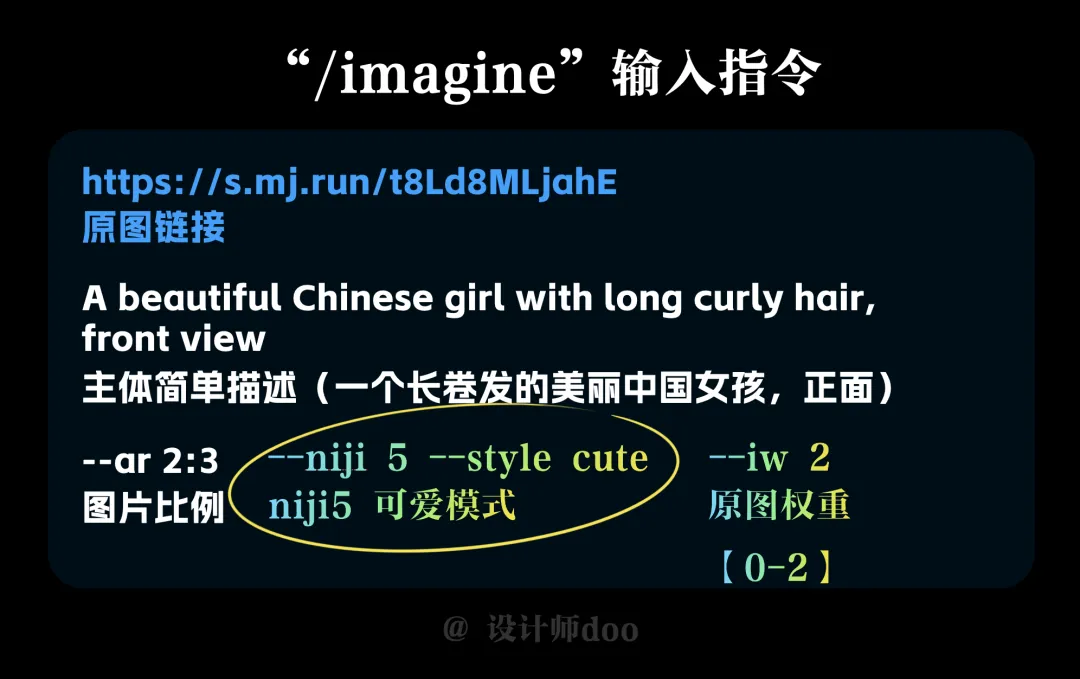
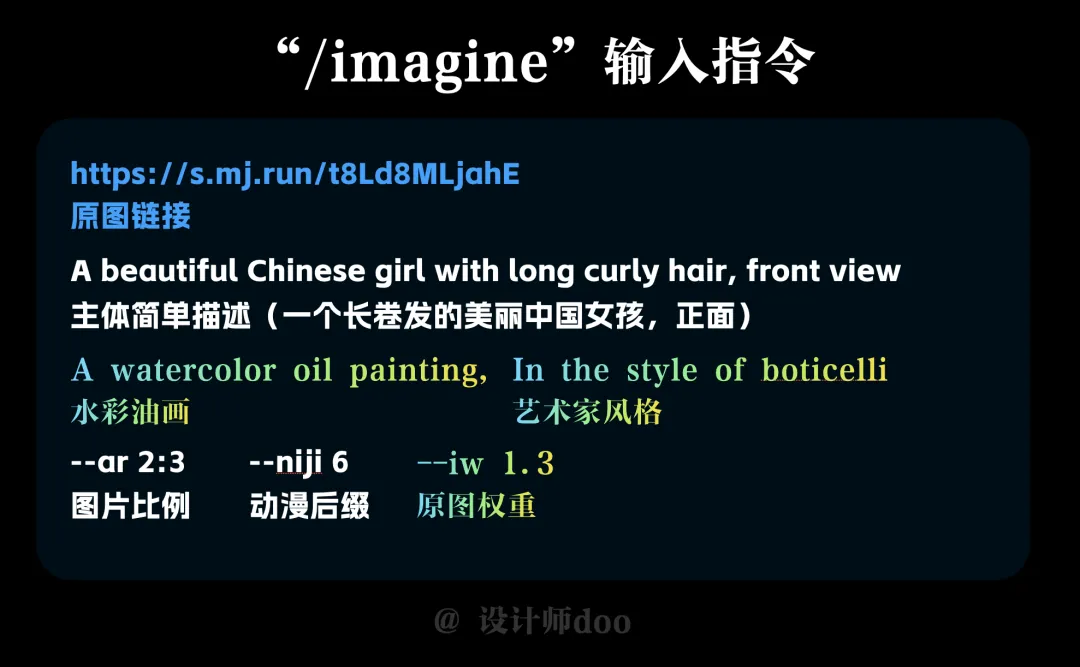
Then start writing the prompt words normally. The structure of the prompt words is very clear: original image link + main description + style suffix + reference image weight.
The reference image link has been obtained in the previous step, just put it in the header. The main description can be simple, such as a beautiful Chinese girl with long curly hair, front view. Add the image ratio at the end. Then add the constraint style output mode suffix, "--niji 5" for anime style and "--style cute" for cute mode. Finally, "--iw+number" means the weight of the reference image. The larger the number, the greater the proportion of the reference image, and the closer it will be to the original image. The specific number here needs to be adjusted according to the actual situation, and the higher the better. Sometimes it is too similar to the reference image, it will be too realistic and the style cannot be expressed. The range of the number is 0-2, and the default value is 1.
The second method: change the painting style through prompt words
This method is a more "orthodox" method, providing some style-related prompts to control the output. After all, the principle of using Midjourney is basically based on prompts. Therefore, the writing of prompts and vocabulary reserves are still relatively important.
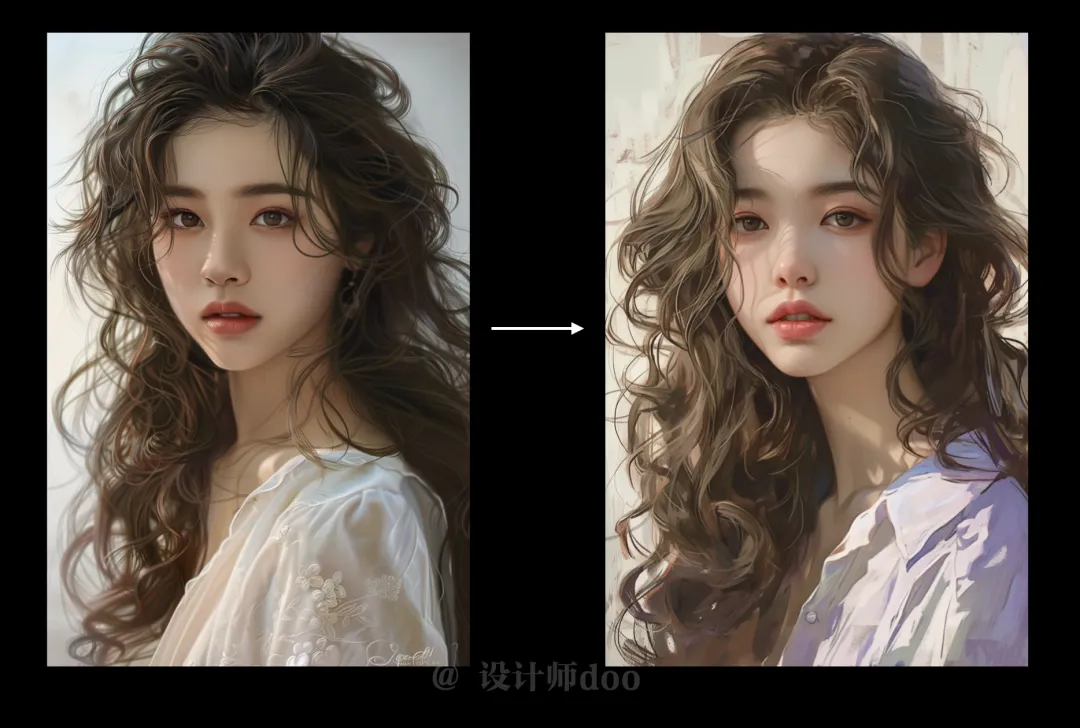
Take the digital oil painting style in the above picture as an example. In addition to the head image and the main body description, you also need to add prompt words related to the style, such as watercolor oil painting, oil painting artist style, etc.
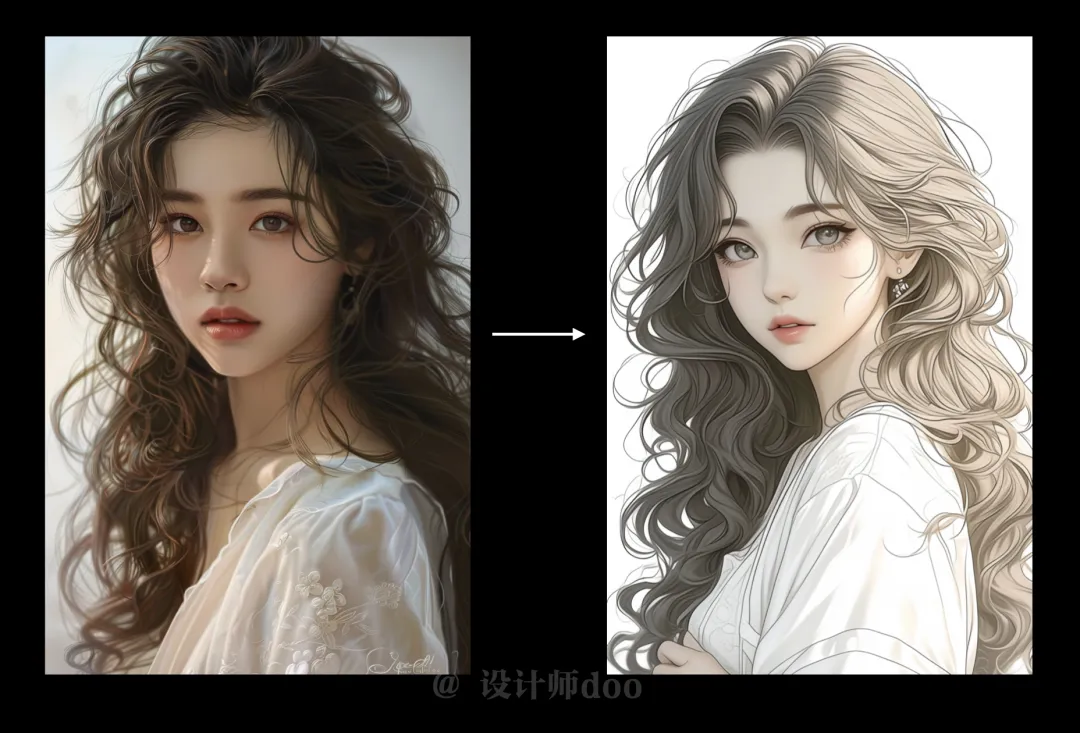

The principle of redrawing in a simple illustration style is the same, and the style vocabulary can be written using the common "comic, anime, Japanese manga, clean lines".
Summarize
The steps for transferring images using Midjourney are very simple and the results are pretty good. Although it is not possible to achieve an exact match of the character's details, the general effect can still be easily achieved.