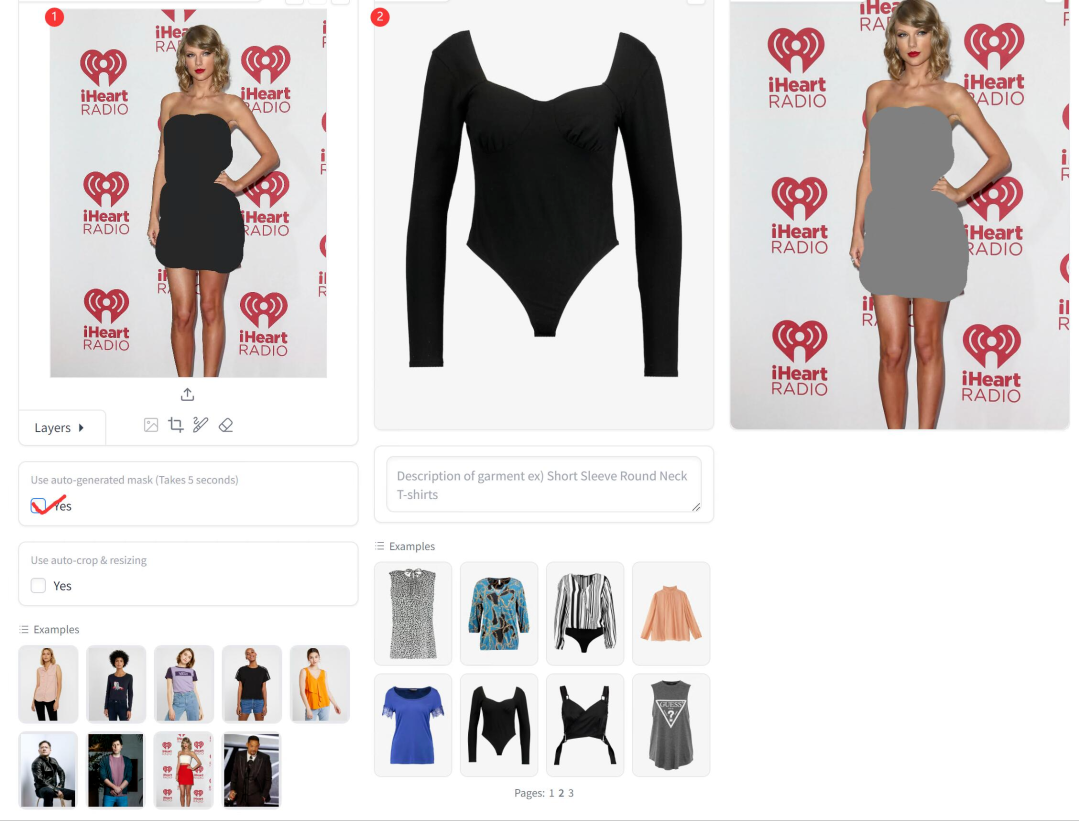
This software allows you to easily change clothes with just one click.
Previously introducedUse AI to realize virtual fitting, and change clothes online with just photos, briefly demonstrated online use.
Today, let’s demonstrate how to install it on your local computer!
Local configuration will require a certain degree of professionalism, and those who understand it can refer to it.
If you don’t know how to do it, just scroll to the end and move your fingers!
I'll send you a finished one.Offline packages.
Without further ado, let’s get started!
Make sure you have a local graphics card (I use 3090), Windows system, and have installed Python or Conda, GIT and other software.
1. Get the software source code
This is an open source project, so you can use git to go directly to the source code.
:
2. Create a virtual environment
If you only use Python occasionally, you can just install Python 3.10. This step is not necessary.
If you often play with Python AI projects, you must know how to use Conda to create a virtual environment to isolate different projects.
The general practice is to use the environment file that comes with the project to create a virtual environment and install dependencies at one time.
The command is as follows:
-.
However, this method has a high failure rate.
In fact, I also failed using this command directly.
So, I changed it to create a virtual environment first.
-=3.10
After creating the virtual environment, remember to activate it.
3. Install dependencies
After the virtual environment is created and activated, you can use the pip command to install dependencies.
I usually install torch independently first.
-==2.0.1==0.15.2==2.0.2 ---:
Then batch install other dependencies:
-.
req.txt is a file I created myself, the contents of the file are:
==0.25.0==1.2.1==4.66.1==4.36.2==0.25.0==0.7.0==0.39.0==1.11.1-==4.24.0==1.16.2
After the execution is completed, all dependencies are installed. From my local test, all dependencies and specified versions can be installed normally without any conflicts or red records.
4. Get the model
Through the above steps, the environment configuration has been completed, and the next step is to obtain the model.
I can simply divide the models into two categories, one is the basic model, the other is the exclusive model for this project.
Let’s talk about the exclusive model first, and pay attention to the following directory structure.
|--|--.|--|--.|--.|--|--|--.
The project author has created these files and models for you. However, the model files are just for show and have no actual content, so you need to download and replace them yourself.
The basic model will be automatically downloaded when you start it for the first time. It is about 28G
To get these models, you can use this address:
:
For exclusive models, find the model in the corresponding folder and download it to the corresponding local path.
For other models, I use the following code to load it automatically.
=./.
Please note that the first line of code is very important to prevent your C drive from exploding!
The second line of code actually starts the webui. Since the model will be loaded first during the startup process, this can be used to download the model.
Since the model is relatively large, even with a good network, it will take some time.
5. Run WEBUI
After the model is loaded, WEBUI will be started automatically. If you want to start it manually in the future, just execute the same command.
=./.
After entering the command, some content will be output. If you see the following information, it basically starts successfully.
:://127.0.0.1:7860
Copy the address above, open it in your browser, and have fun.
The interface after opening is exactly the same as the web version introduced yesterday.
So the usage is the same, for the sake of readability, I will briefly introduce the usage.

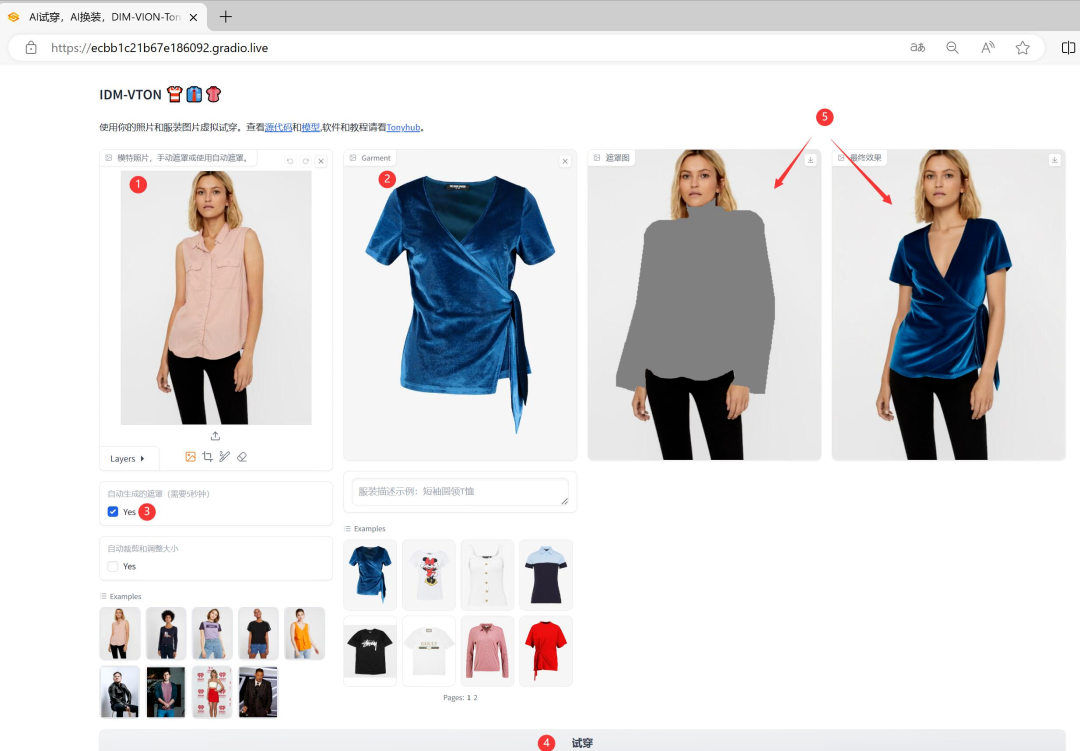
The general steps are: ① model photo, ② upload the clothes, and click to try them on.
For clothing photos, it is natural to choose the cleanest flat photos. For models, as long as the clothes and other content are easy to distinguish, it will be fine.
6. Run offline
In theory, after the local configuration is completed, the model has been cached locally. The software should be able to run offline. However, since the model is loaded through huggingface in the code, it still needs to be loaded online even if there is a local cache.
To solve this problem, I tried using offline variables.
=1 =1
But I don't know why, it keeps going wrong.
Later, I thought of a solution that was to directly copy the downloaded model cache file to another folder.
A small discovery is that by copying the soft link in the cache file, you can directly copy the corresponding file.
Then modify the code in app.py:
=
After the modification is completed, the local model can be loaded completely offline.
7. Offline one-click run package
The installation and configuration are all covered if you are good at configuration, and the local network is smooth and the hard disk reads and writes quickly.
Then just copy the command to quickly complete the configuration.
But for most people, most situations may not be so smooth.

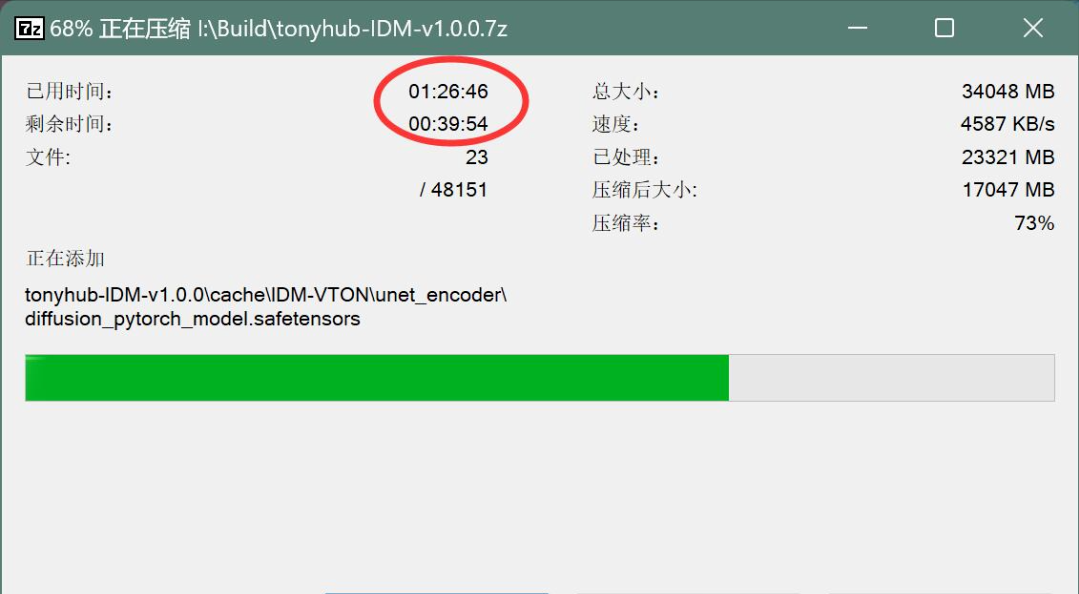
For example, on my computer, it took me2 hours. After packing 20GB, it takes a lot of time to upload it to the network disk!
The previous configuration and trial and error time will definitely be more.
Therefore, it is very necessary to make a packaged software package. It will save time for me in the future and for everyone.
The following is a brief introduction on how to use the software package.
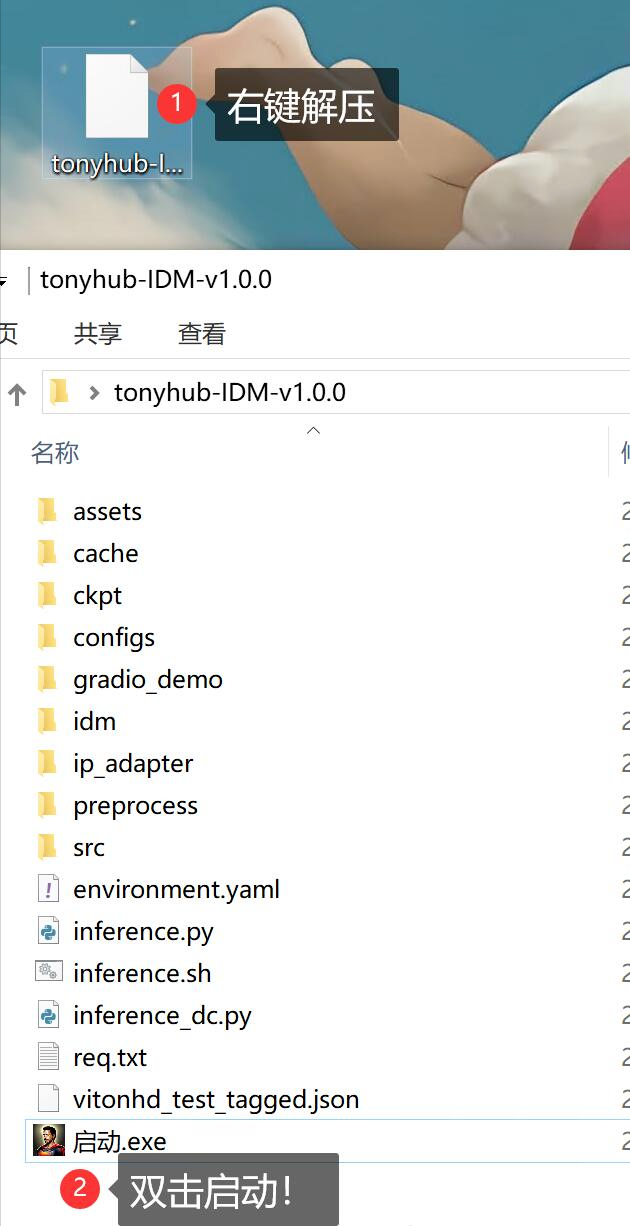
First get the software package, after getting it you will get a.7zThe compressed package.
Then use the decompression software to decompress it. You need to enter a password during the decompression process. The password can be found in the instructions in the network disk.

After the decompression is complete, double-click "Launch .exe" .
The startup process is as follows:

First there will be a prompt message, and then wait until the URL information pops up, and then the local default browser will automatically open after it pops up.
You can see the following interface on the browser:

The usage is exactly the same as before, upload the model photo and the clothes photo, click to try it on. Wait for a while, and you can see the final effect picture in the upper right corner.
The waiting time will vary greatly depending on the computer configuration.
For example, on my computer equipped with a 3060 graphics card, it seems to take several hours to run a picture.... I feel that shared memory is used when loading the model, or other resources are insufficient, so it is very slow.
But on a computer with a 3090 graphics card, it was quite fast, taking 54 seconds for the first time.The second time only took 14 seconds.
Once every 14 seconds is well within the acceptable range.
That’s about it for today’s article. If you have any difficulties with installation and configuration, you can communicate with each other.
If you use the software package directly, there should be no problem, as long as your computer configuration is strong enough.
Download link: https://pan.baidu.com/s/1hF8JLgRLFtD7L5_QE5xA_g?pwd=tony